3D Printer Hardware Upgrades

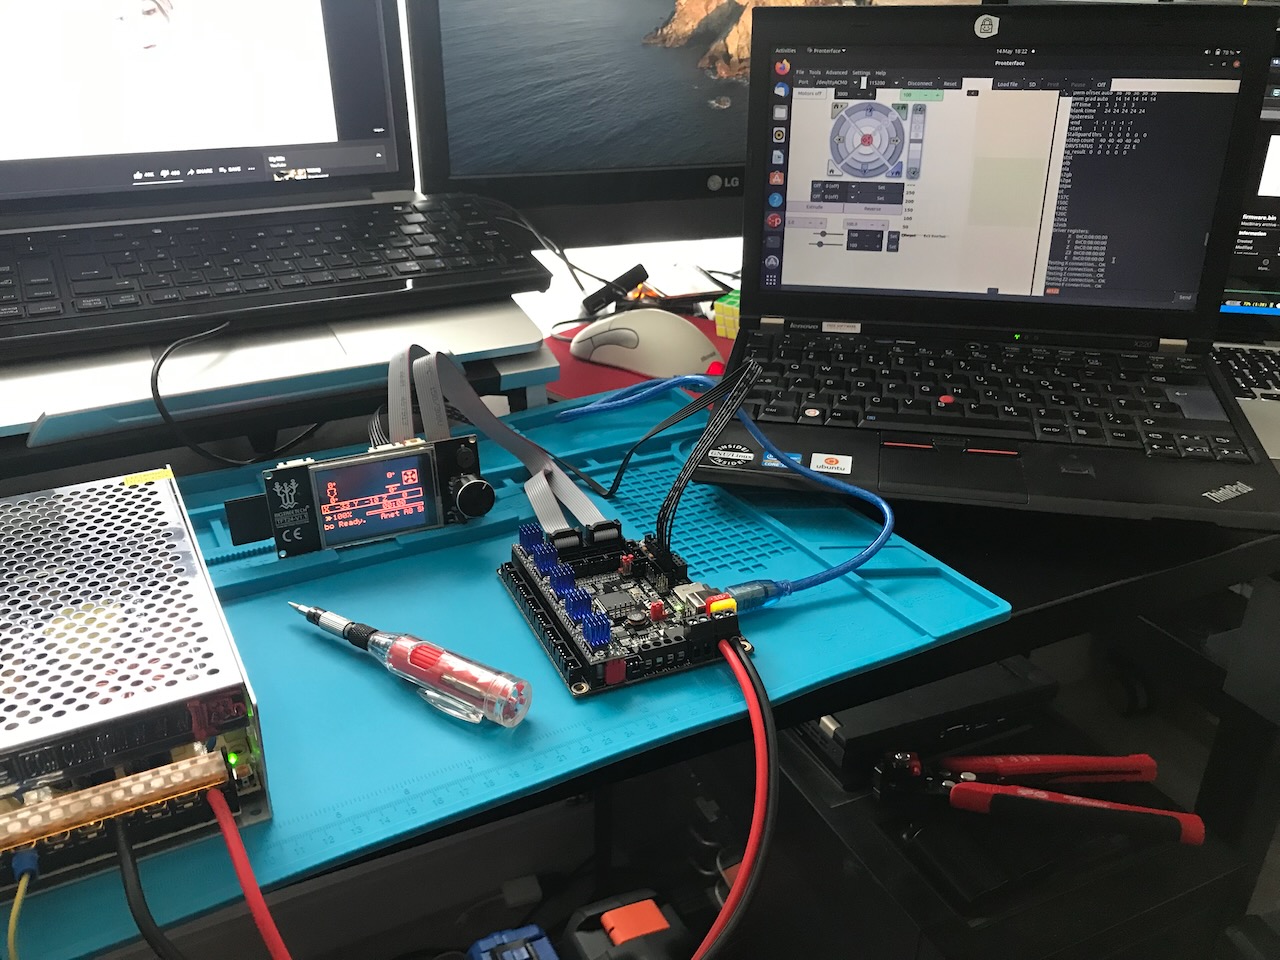
Table of contents
- Intro
- Wiring
- SKR 1.4 Control Board
- TFT24 Mount
- Smart Filament Sensor
- Relay Mount
- 3D Touch
- Drylin Bearings
- Hard Silicone Bed Mounts
- Neopixel LED Strip
- Optical Endstops
- 0.9 Degree Motors
- Aluminium Bed Support Plate
- PEI Flex Plate
- BMG Direct Drive
Intro
This page contains information about how I upgraded my Anet A8 to add various hardware mods including swapping out the control board to a BigTreeTech SKR 1.4.
Wiring
In addition to upgrading the heated bed cables as part of the safety upgrades I also have replaced the original 12V wiring with thicker 18AWG cables.

I made adapter cables by following the guide at Caggius Interweb blog so that I did not need to repin the existing cables if i ever need to go back to using the original Anet A8 control board.
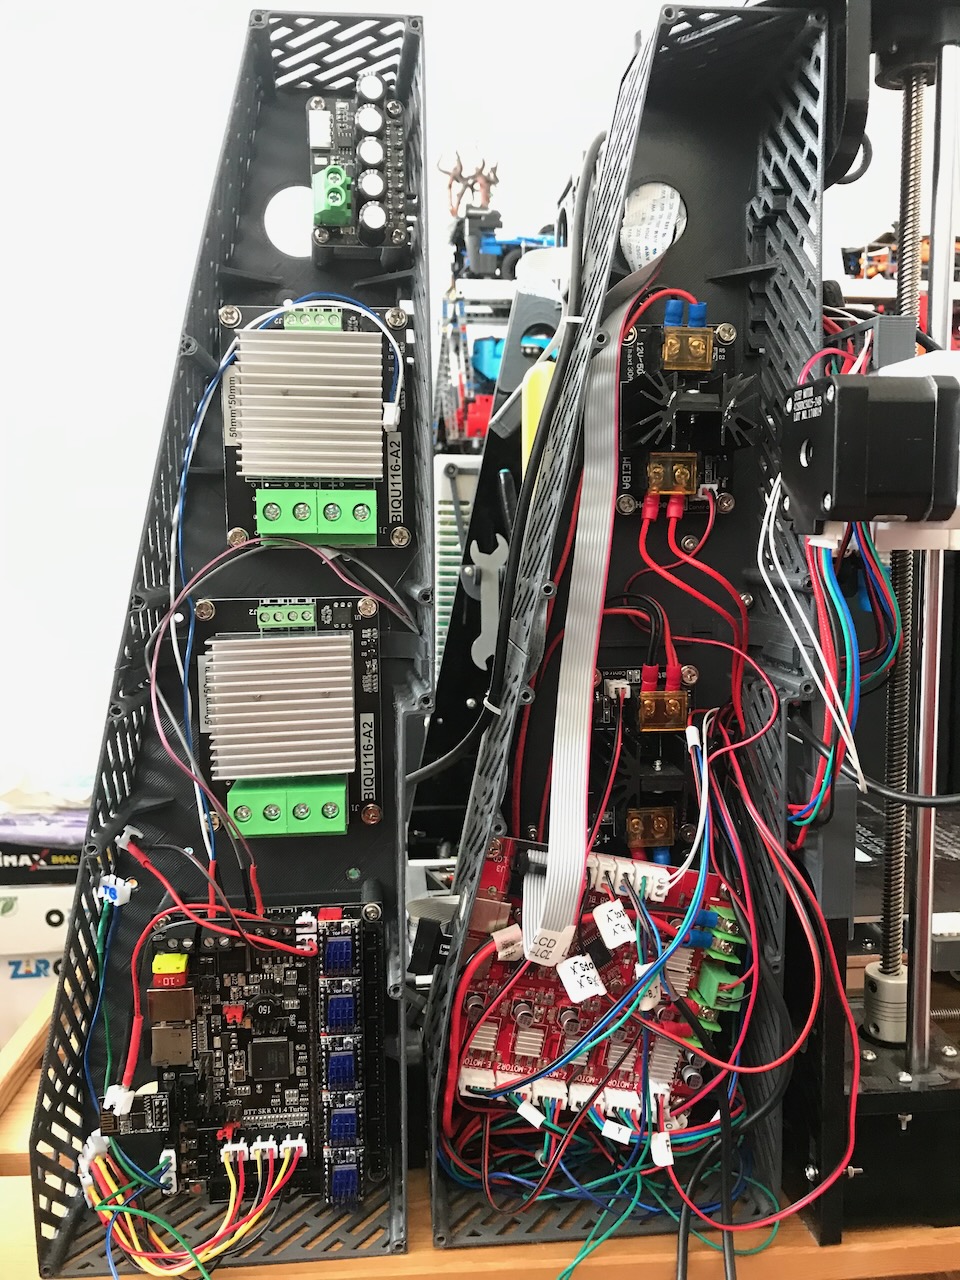
SKR 1.4 Control Board
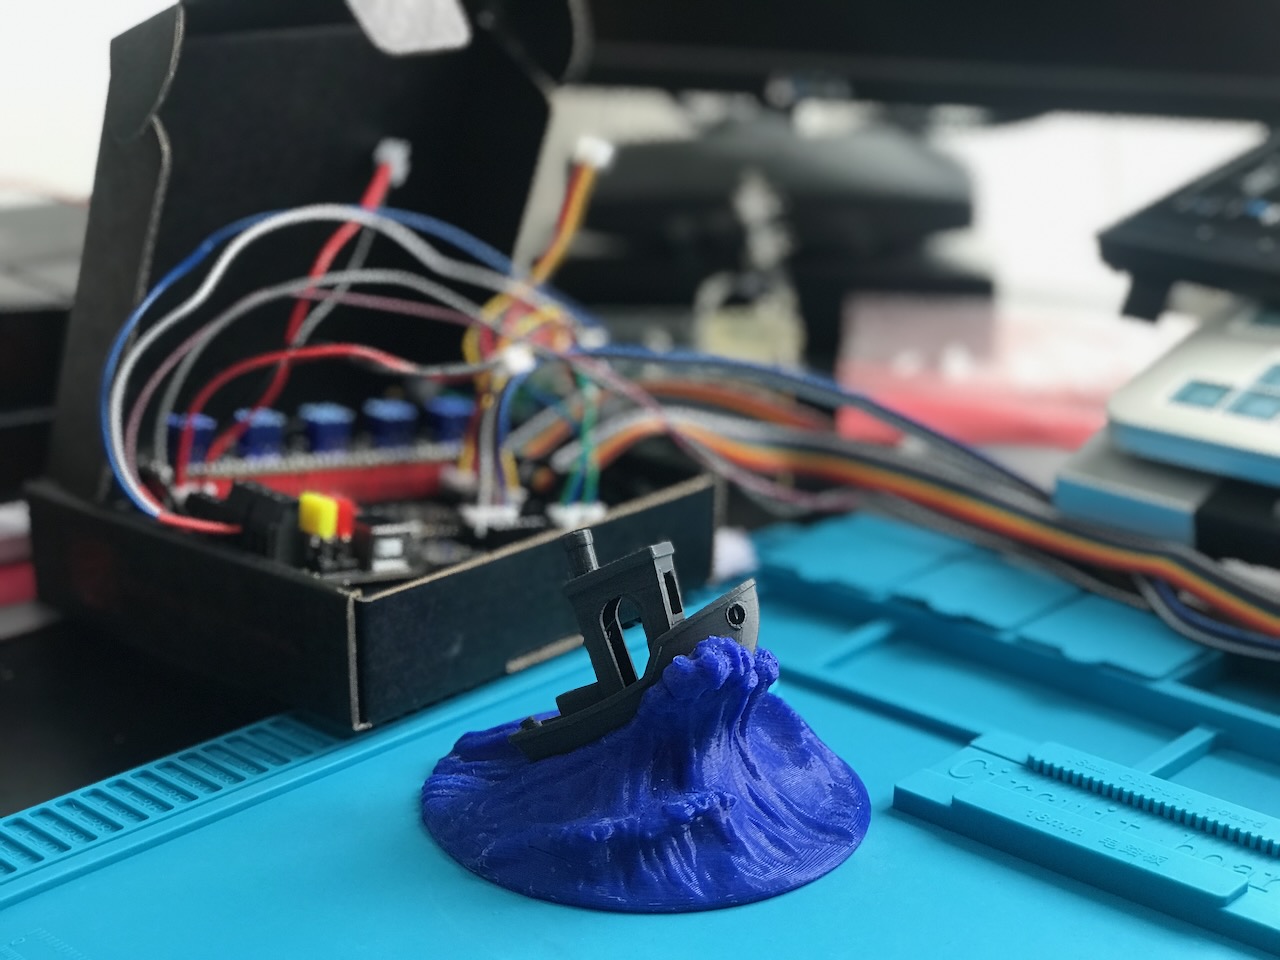
Electronics Case Design
Adapted from Anet A8 Electronics Case
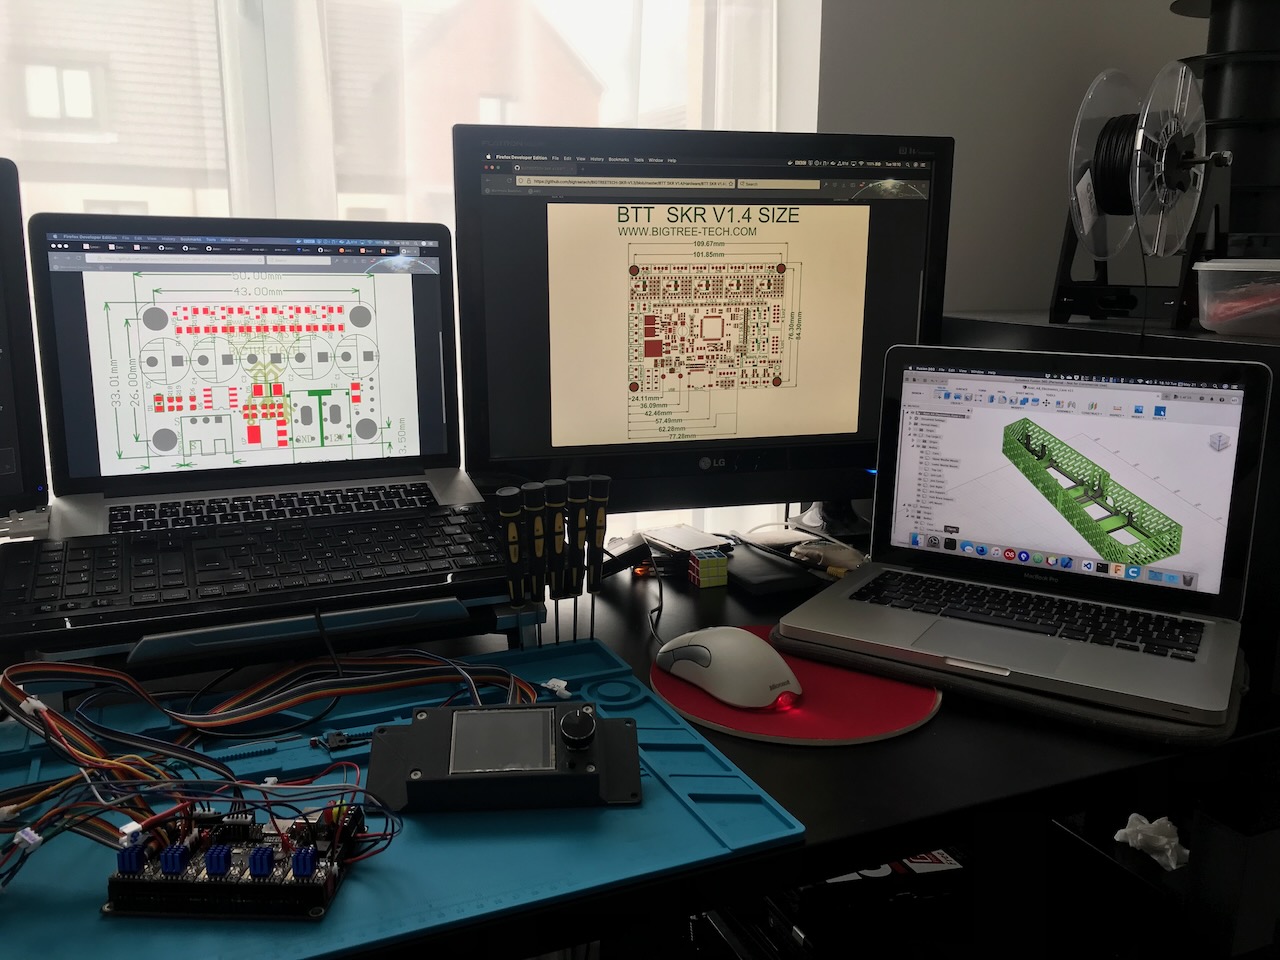
The STLs that I printed to install the new board and mosfets are available on my 3D printing repository on Github including the top half that has an update to hold the Mini UPS V2.0.

I have made a few updates to the design to allow access to the USB port and to fit the TF Cloud V1.0. The design also includes a pocket to house the BTT EEPROM module however, I have not yet printed this so there may be some issues with sizes & support of the holes in the back, and the size of the pocket for the EEPROM module. You can download the experimental design from my 3D printing repository on Github.
Firmware
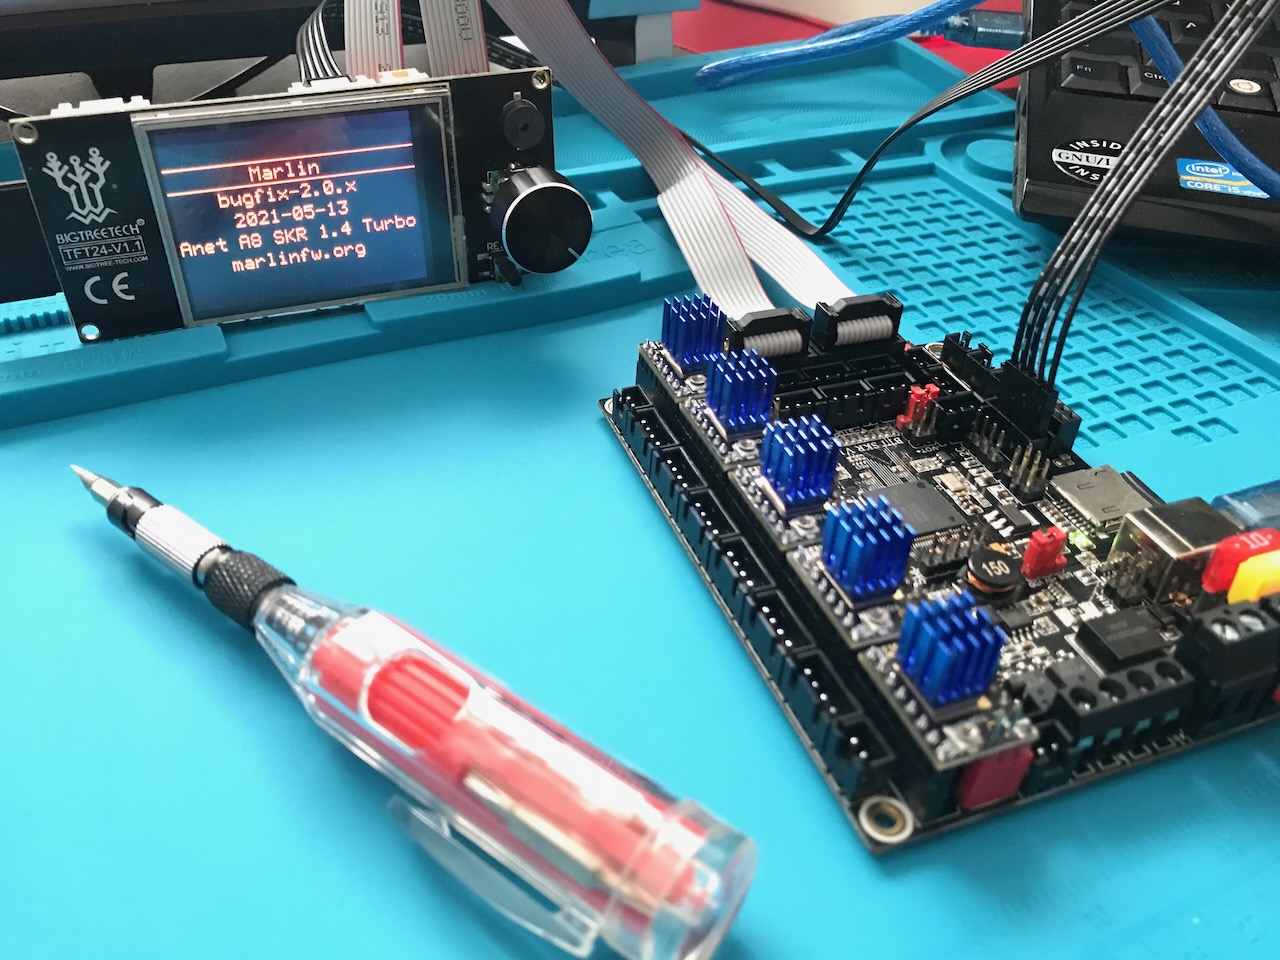
The firmware configured to run the printer and all of the mods I have made is available on my Marlin Github repository.
TFT24 Mount
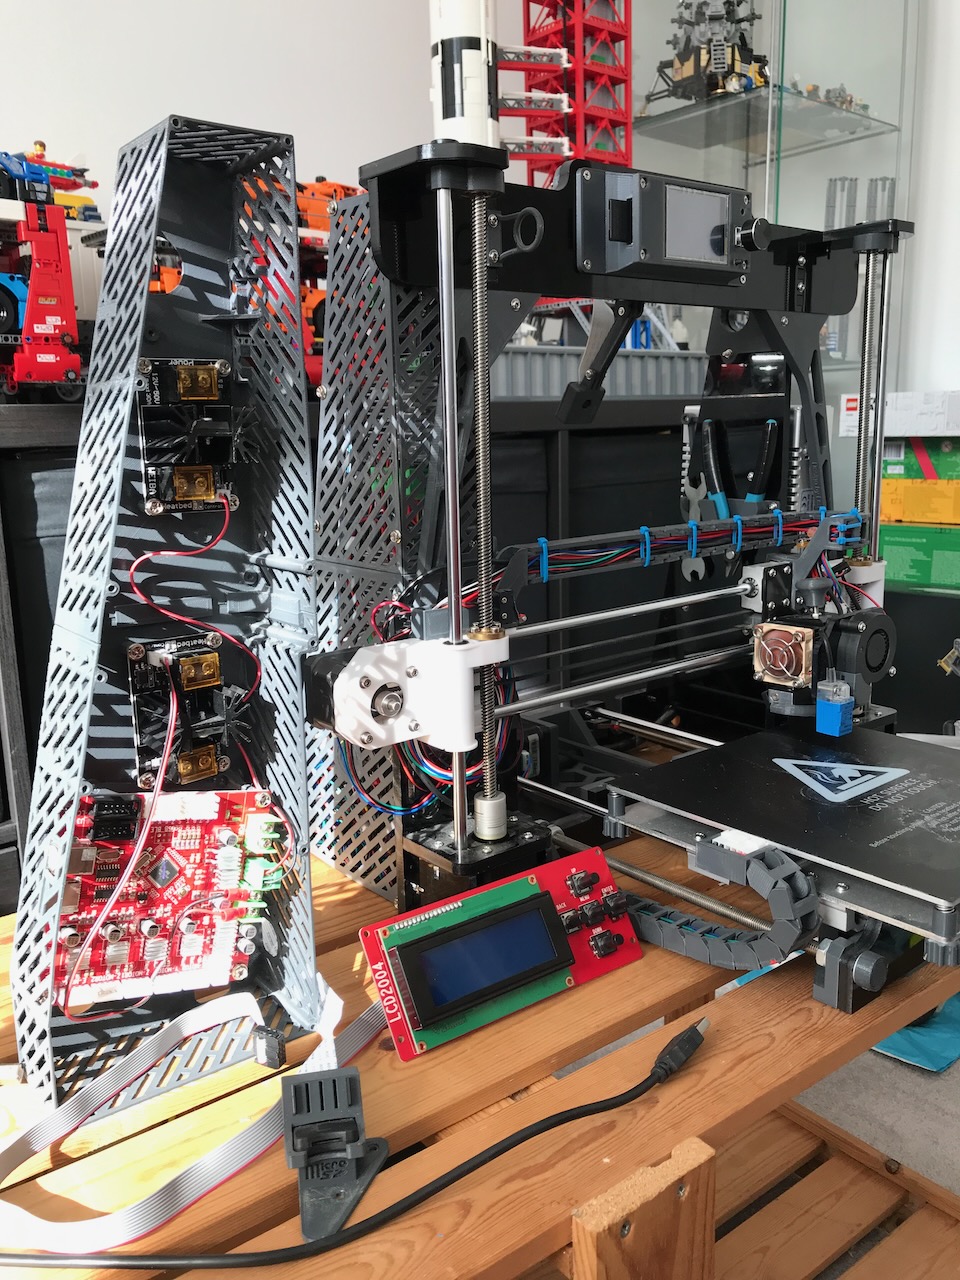
TFT24 Case for AnetA8 from Thingyverse by user joeleonardo
I used this design to locate the new display in the same place as the original, to cover up the holes at the top of the frame. I may replace this at a later date with a blanking plate and relocate the screen somewhere else as this one blocks the gantry at about a height of 200mm and therefore I have lost approximately 40mm of Z travel.
Smart Filament Sensor
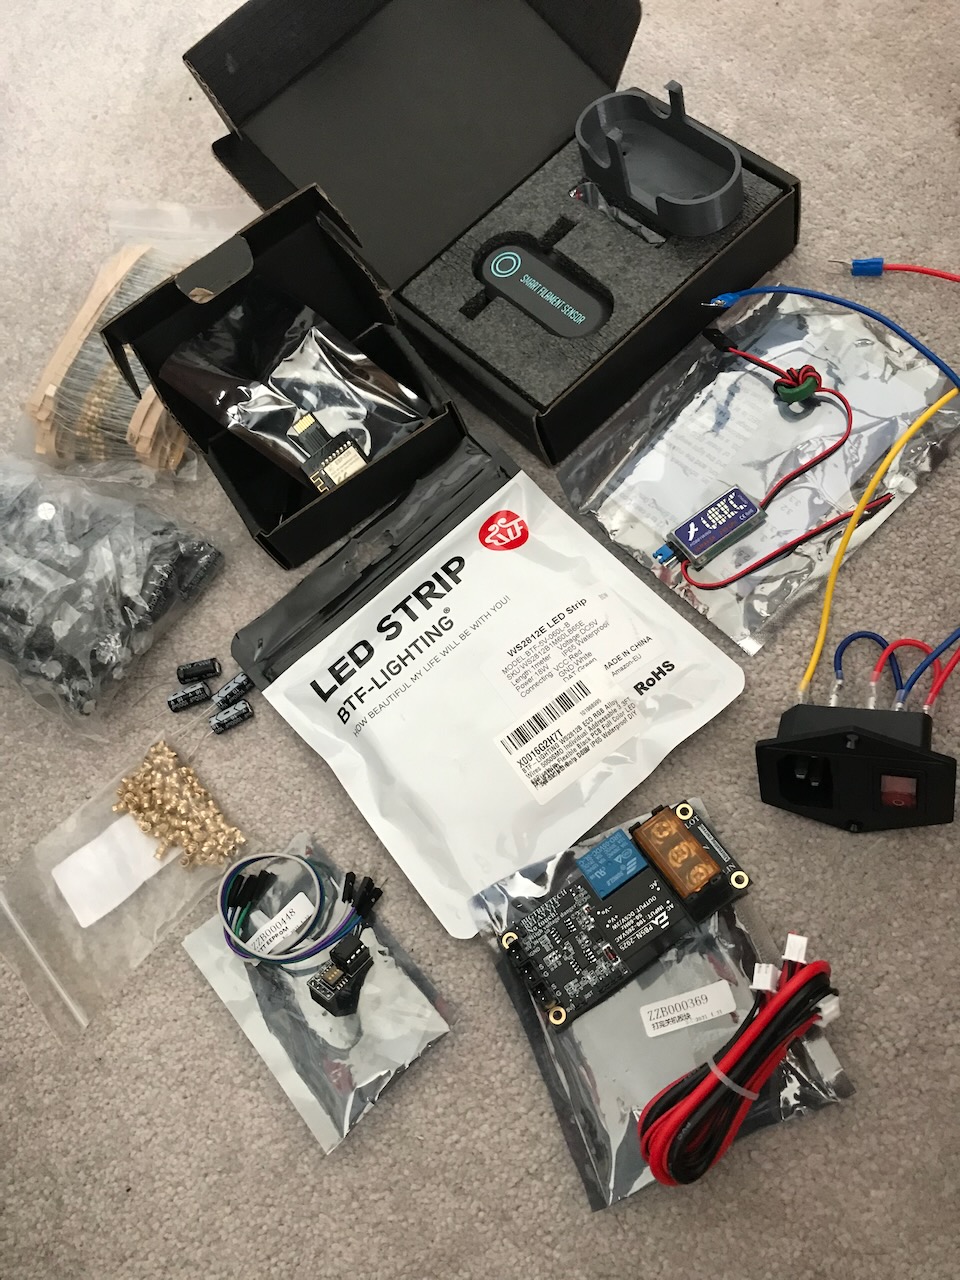
Mount for BTT SFS V1.0 Smart Filament Sensor from Thingyverse by user StonehengeFR
I used the original design with the arms as the updated design without the arms was too loose and would not hold the sensor in an upright position.
Relay Mount
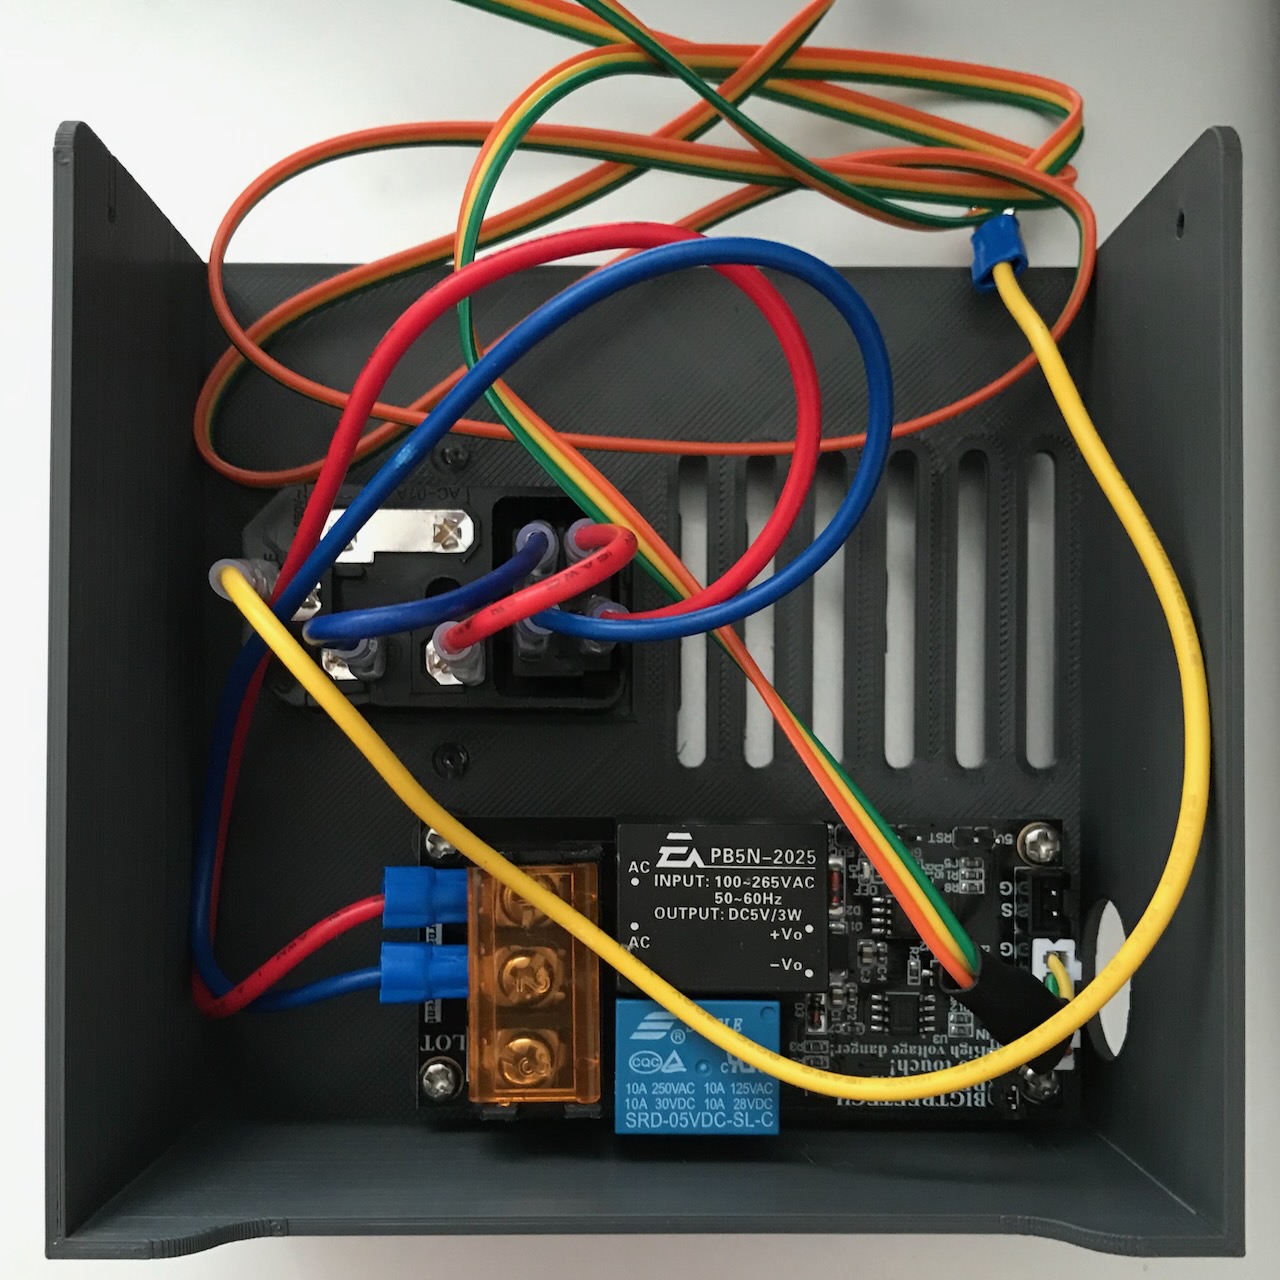
Adapted from PSU Cover Remix
I updated the PSU Cover to hold the BTT Relay V1.2 The relay allows me to safely turn off the printer when a print has finished and to save electricity.
You can download the changes to the original PSU Cover from my 3D printing repository on Github.
3D Touch
My inductive probe did not sense the bed underneath the borosilicate glass plate I purchased to make my prints have a smoother appearance on the first layer so I installed a 3D Touch sensor in place of it to physically touch the bed and get more accurate bed mesh.
Drylin Bearings
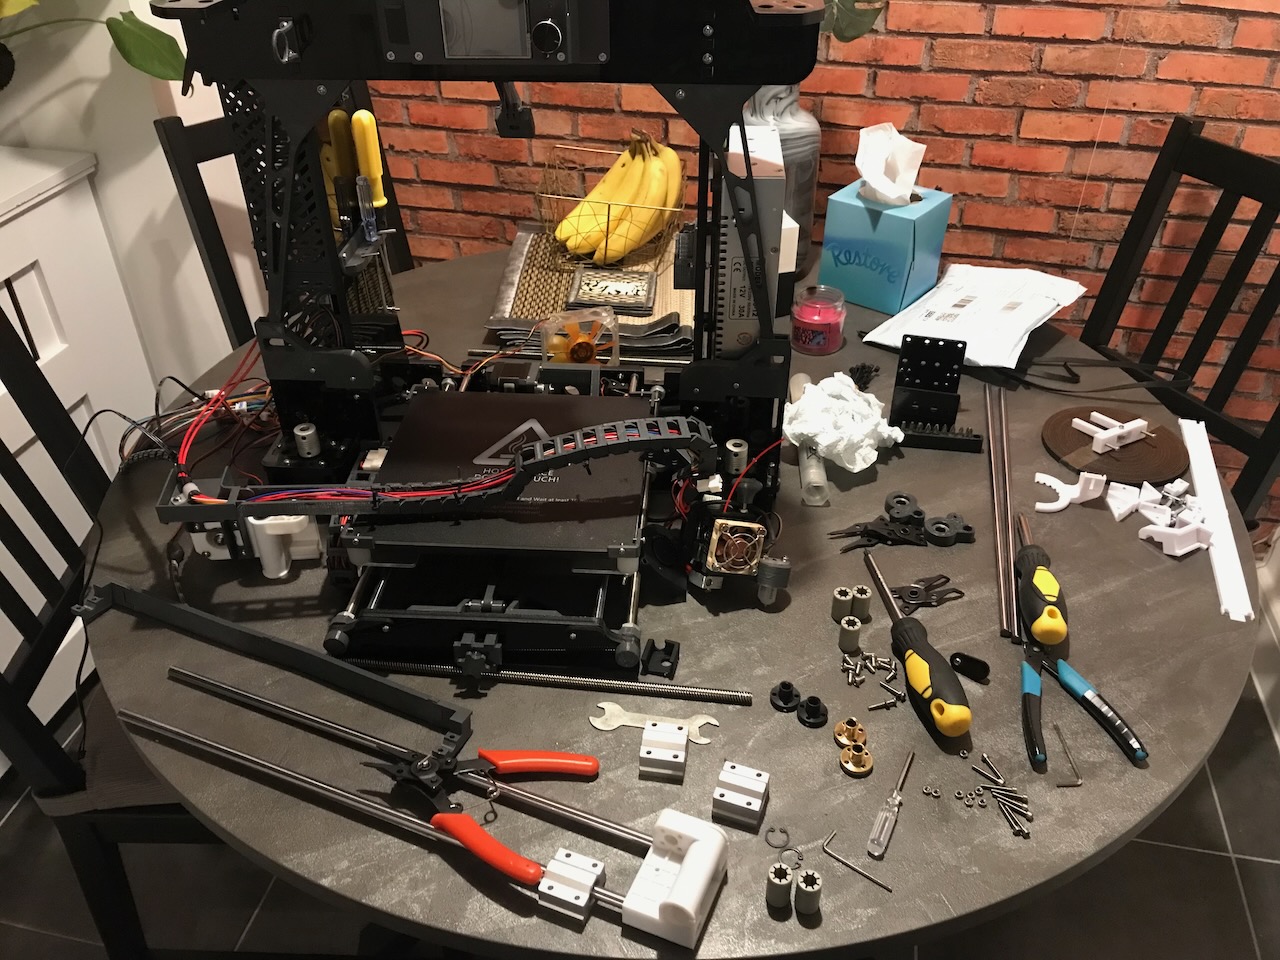
To make the movement of the printer smoother I decided to replace the stock metal linear bearings with Drylin ones.
Hard Silicone Bed Mounts
![]()
The stock bed springs can vibrate at high accelerations and cause ripples in the prints. I have replaced them with hard silicone mounts to help stop these.
Neopixel LED Strip
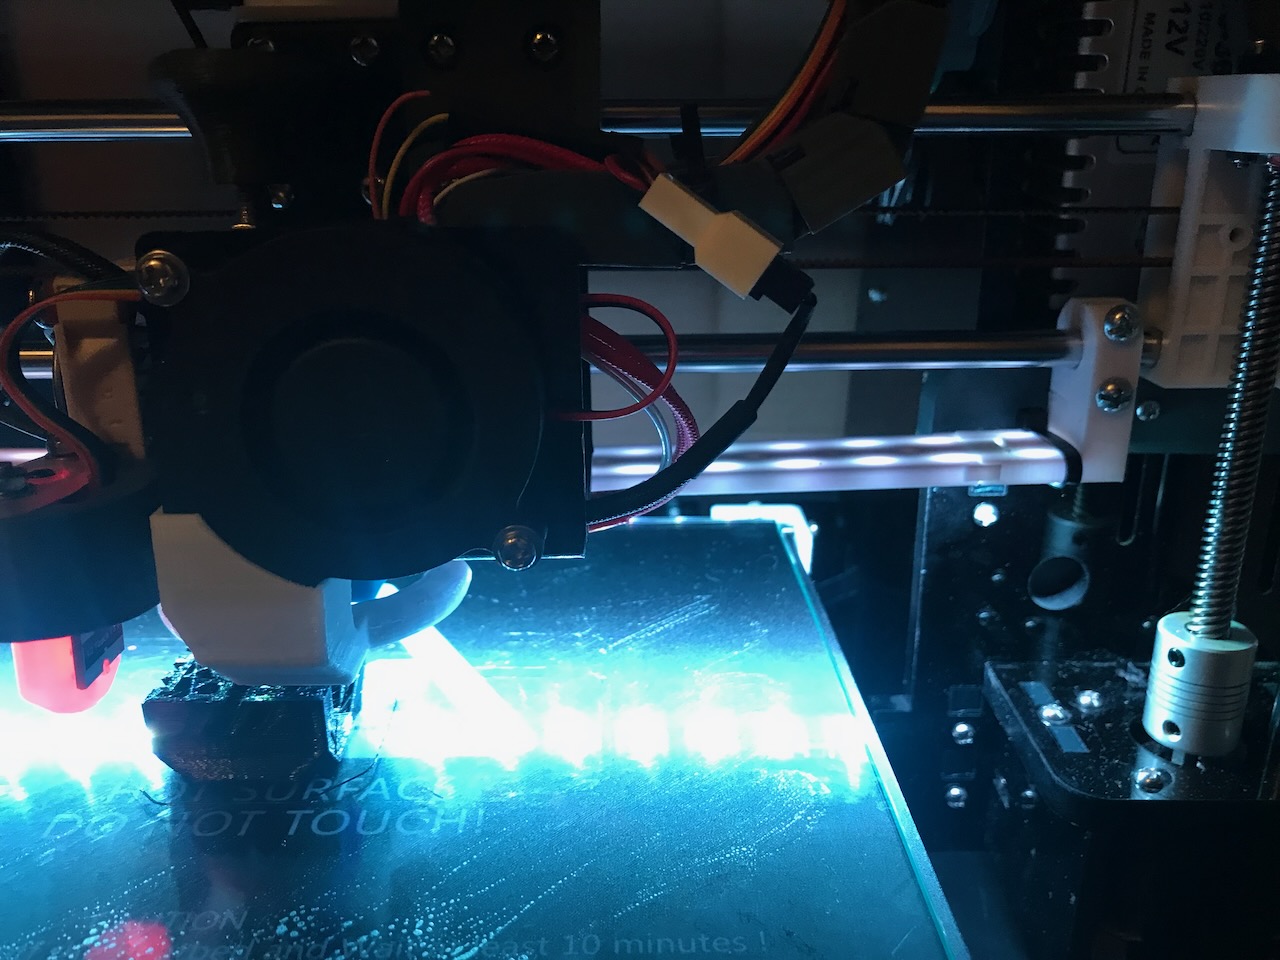
I followed this guide to add 20 Neopixel LED lights to the bottom of the X gantry. This also required the DCDC Power adapter to allow higher power draw from the main board.
Optical Endstops
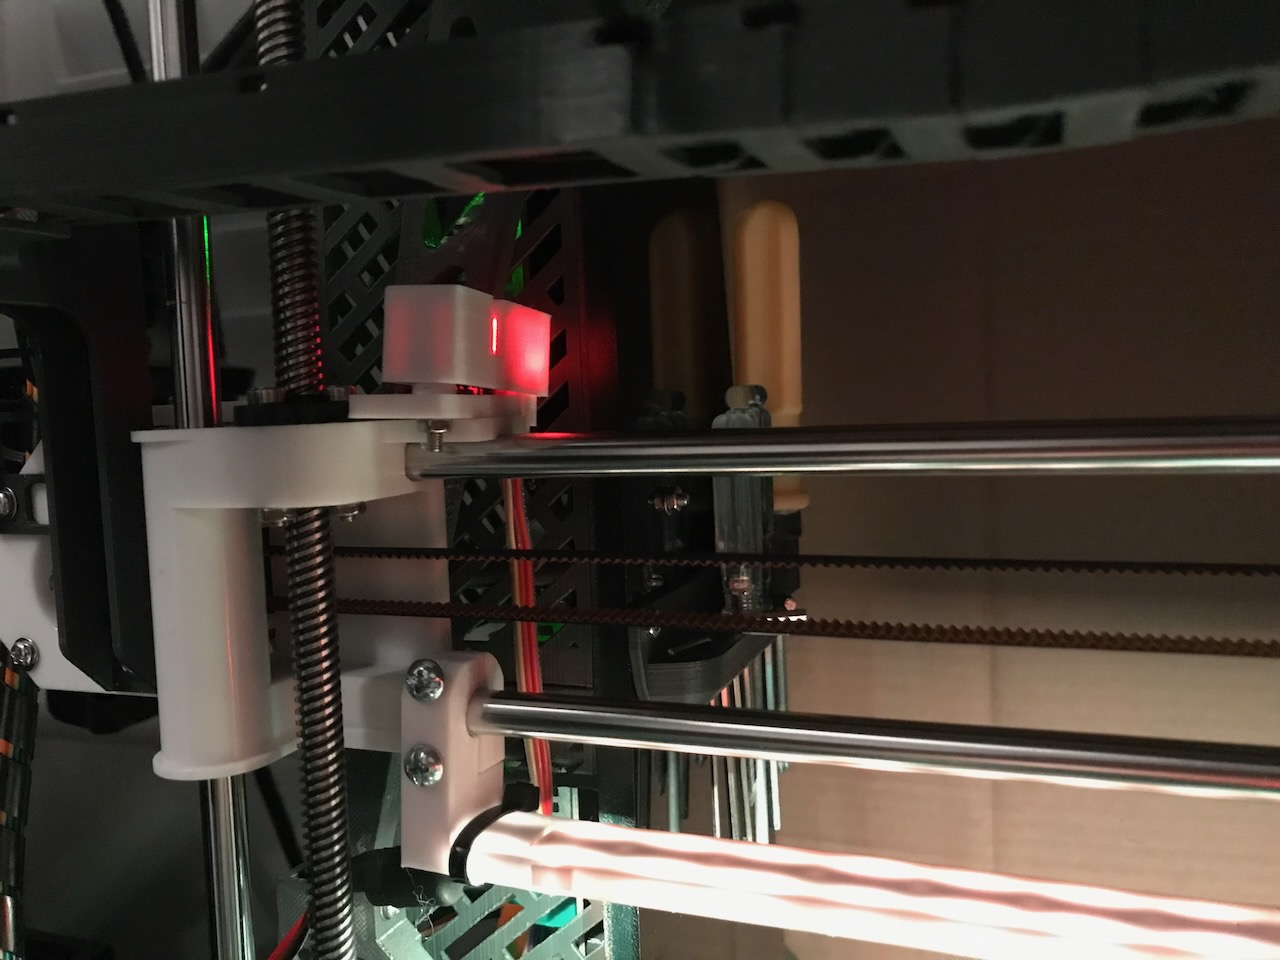
The stock clicky switches are only rated to a certain number of presses before they fail. I wanted to try out optical endstops to replace the clicky switches to stop any extra stresses of the gantry constantly hitting the frame.
0.9 Degree Motors
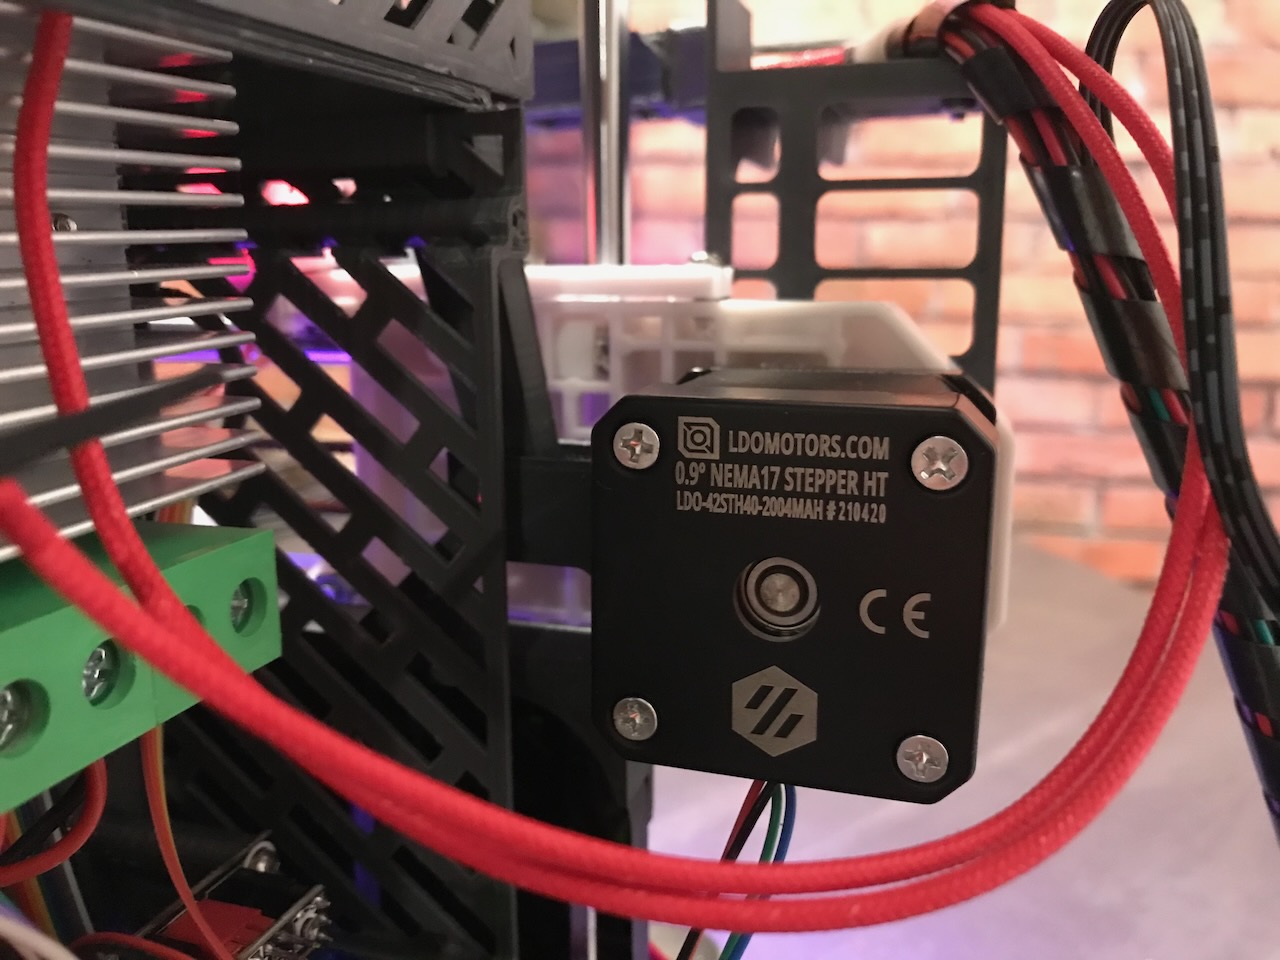
Since tuning the printer to remove as many imperfections in my prints as possible, I started to notice Vertical Fine Artifacts in my prints:
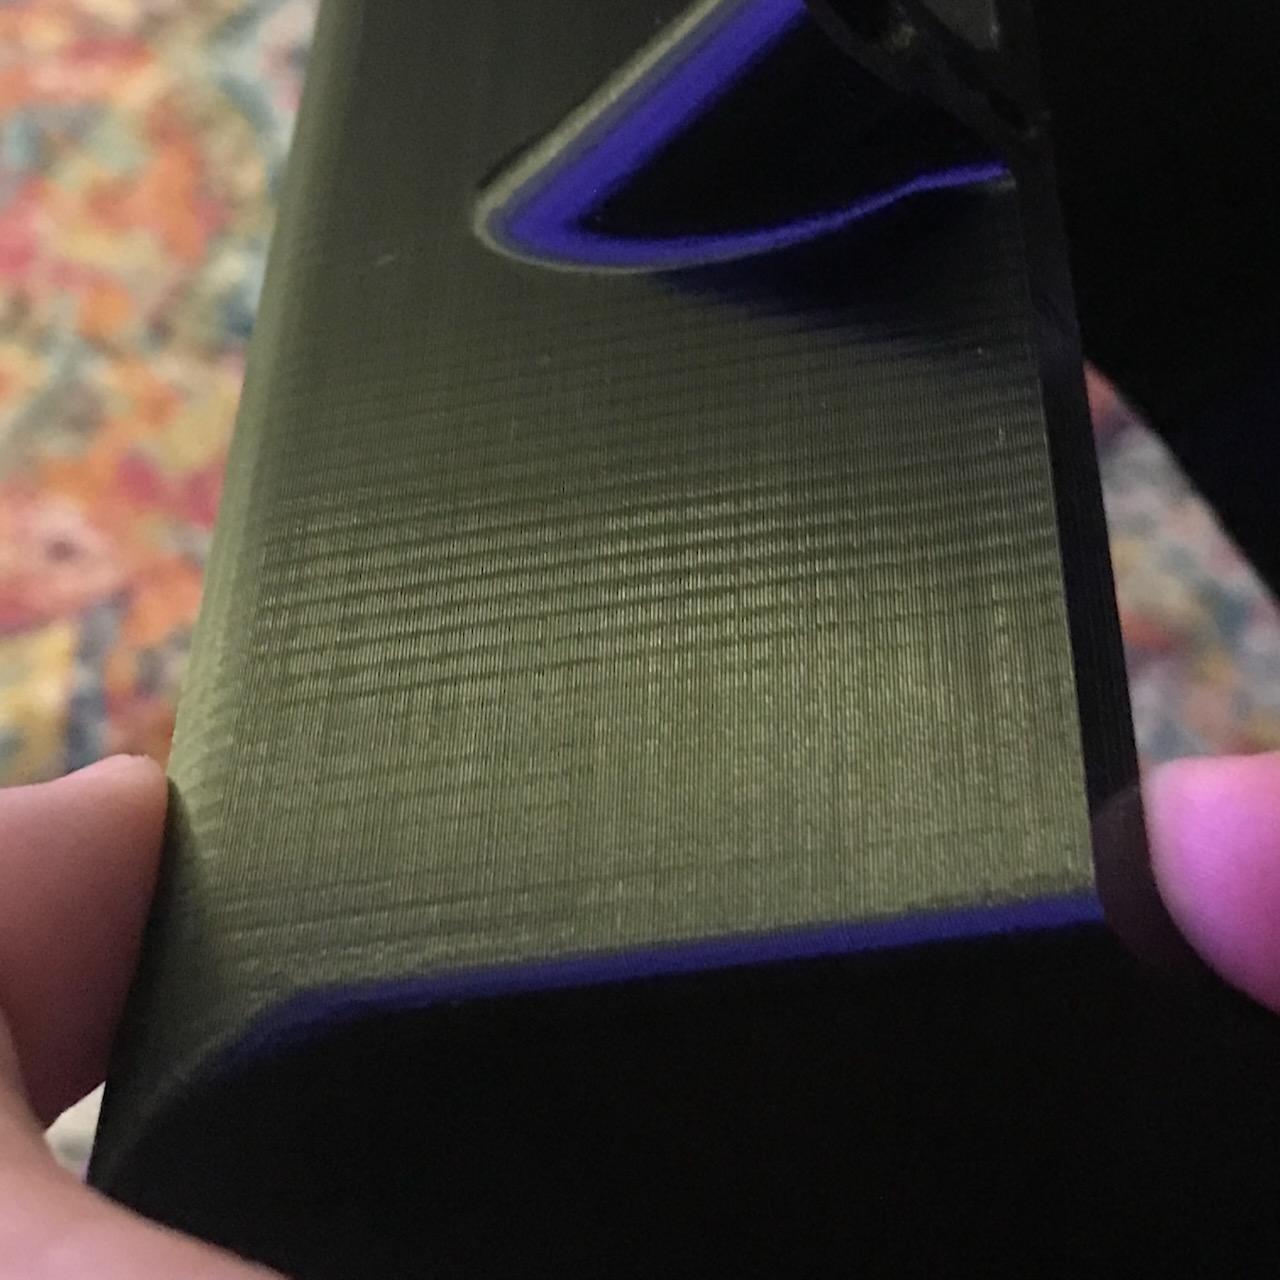
This page on the Prusa Printer Forums suggests replacing the stock 1.8 degree motors with higher resolution 0.9 degree stepper motors.
I have mainly been printing with Matt ABS filament since fitting the motors and therefore have not really seen any improvements in print quality. I will have to print with some glossy black PETG to see some like for like results before recommending the upgrade.
Aluminium Bed Support Plate
I have purchased a one piece Aluminium support plate to replace the stock steel 3 piece design, mainly for aesthetics.
The plate I have purchased is from Ali Express and the hole spacing in the center of the plate is designed to mount on a linear rail and therefore has a spacing of 20mm x 20mm for MGN-12H or 20mm x 15mm for MGN-12C.
I have therefore needed to design a belt clamp to affix the belt to the bed as the hole spacing is different to the stock design. You can download the clamp from my 3D Printing GitHub repository.
When trying to fit the support plate, I found out that the bearing holders actually sit about 2mm further apart than the stock 3 piece plate. Therefore I will have to wait until I upgrade to the aluminium frame before fitting this.
PEI Flex Plate
When I first started printing with this machine I printed directly on the bed, covered in painters masking tape.
After having to replace the tape after pretty much every print I purchased a piece of tempered glass to print on, however when I added an inductive bed level sensor the sensor could not sense the metal through the glass pane so I switched to using cheap buildtack clone build surfaces.
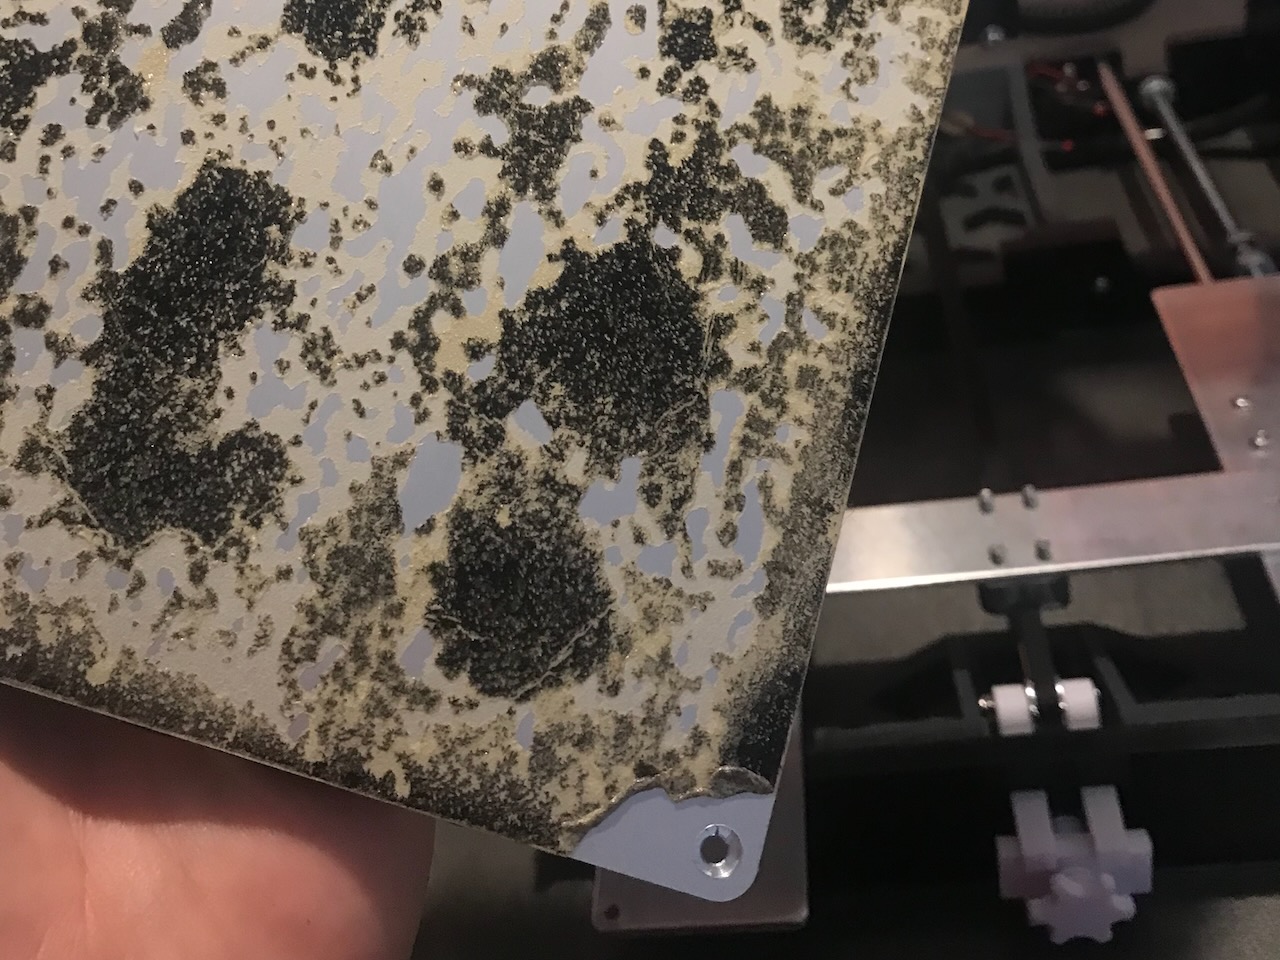
I really liked the glossy look of printing on the glass so after I added a 3D Touch sensor I moved back to printing on the glass build surface. To get the prints to adhere to the glass, I had to use glue stick or Magigoo and wash the glass clean after a few prints.
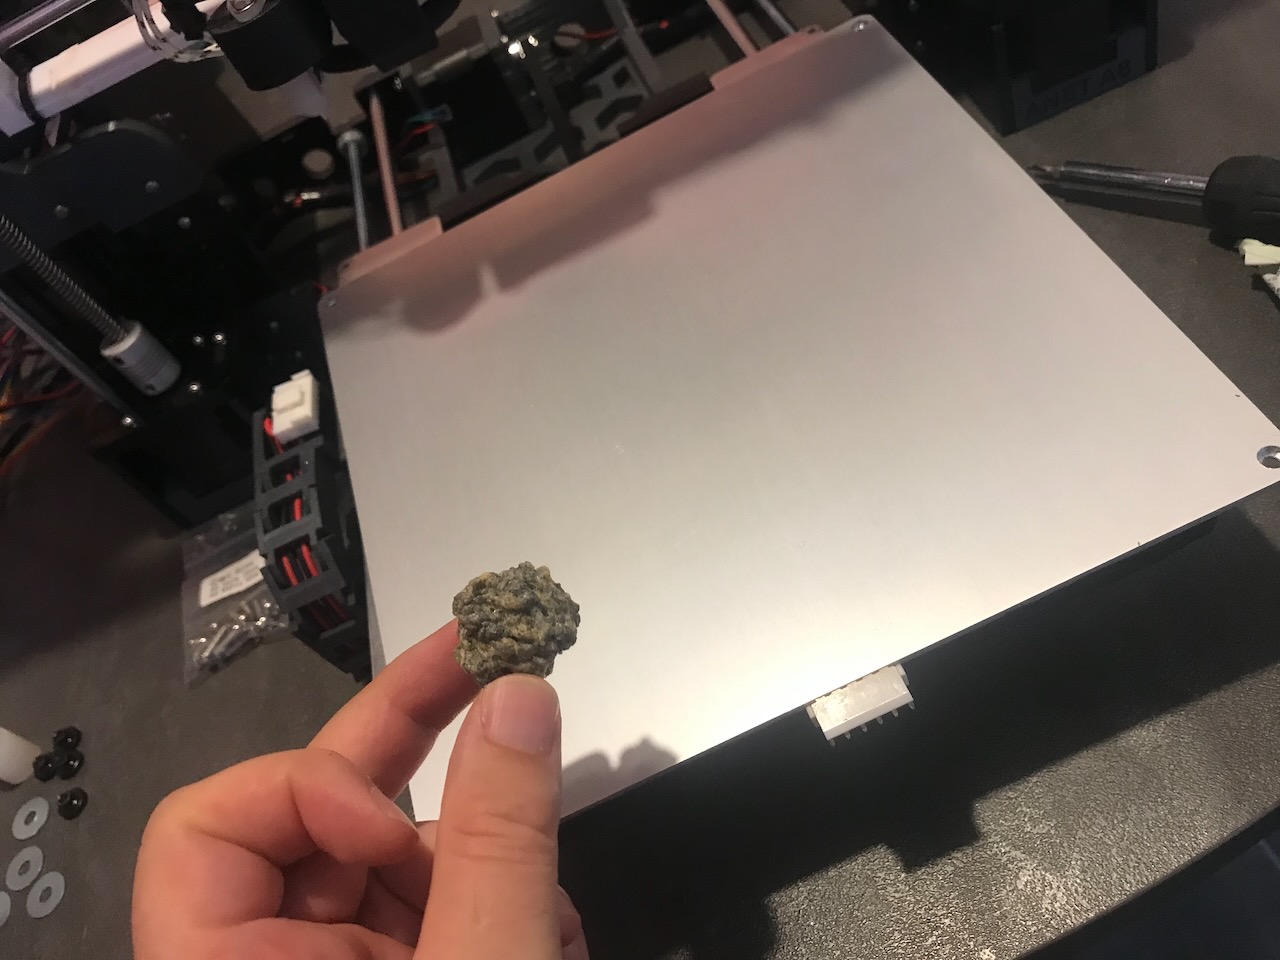
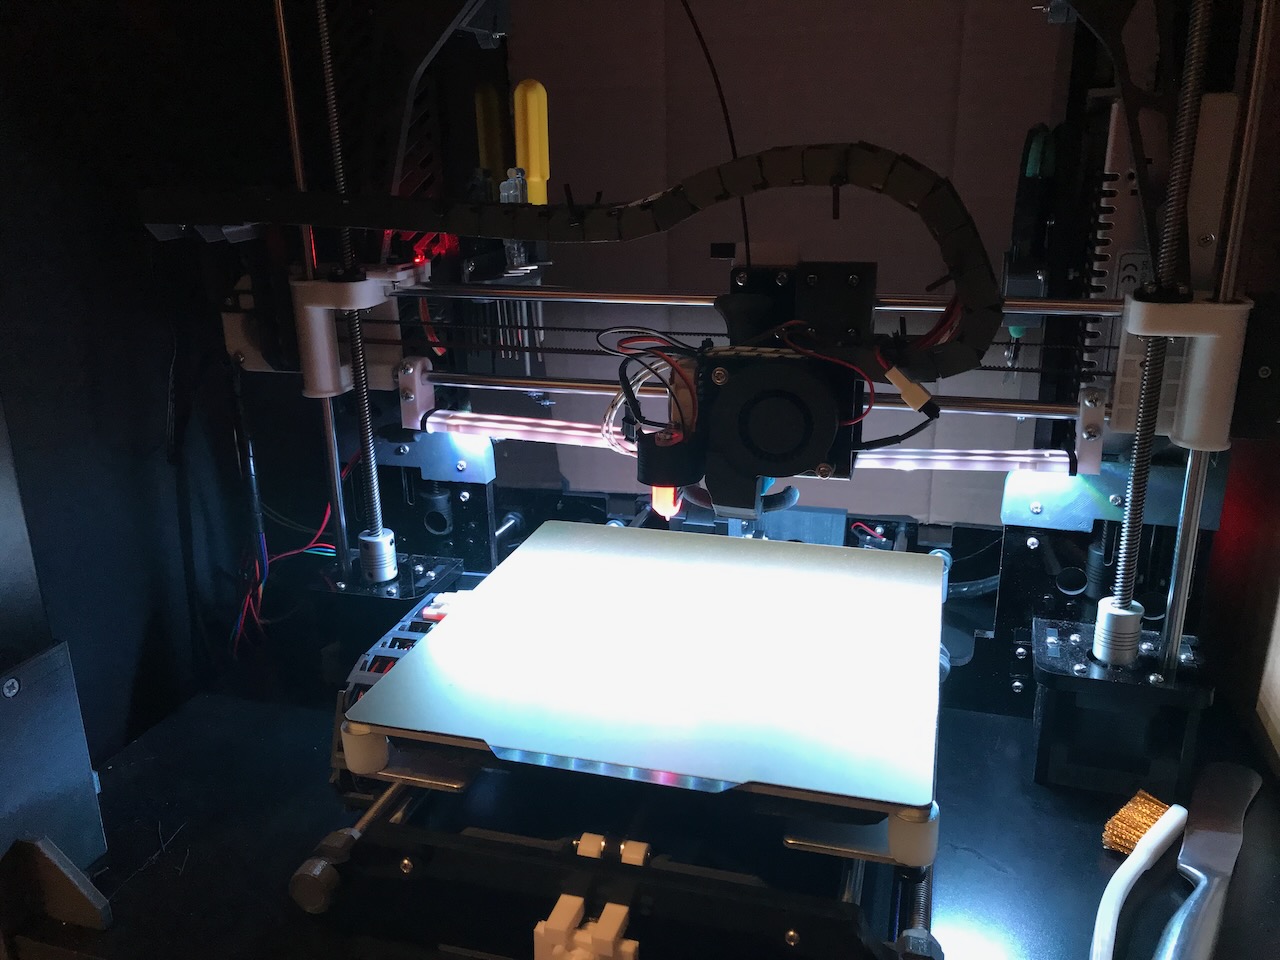
More modern printers have moved over to using magnetic PEI Flex plates. The PEI has excellent print adhesion without adding anything extra and as the flex plate is removable, once the bed has cooled you can easilly pop off the print by slightly flexing the plate.
BMG Direct Drive
I have purchased parts to install the ANET A8 E3DV6 BMG Direct Drive X Carriage, the adapter plate should be a direct bolt on to the X Carriage of the Anet A8. This was chosen as the parts that are required for this are the exact same parts that are required to build the Voron Afterburner.
Motion
| Item | Quantity | Received | Notes |
|---|---|---|---|
| BMG Extruder Kit | 1 | 1 |
Electronics
| Item | Quantity | Received | Notes |
|---|---|---|---|
| 3D Touch | 1 | 1 | |
| 50x50x15 Centrifugal Fan (12V) | 1 | 1 | |
| 40x40x10 Axial Fan (12V) | 1 | 1 | |
| E3D V6 Bowden Hotend Kit (12V) | 1 | 1 | |
| NEMA17 Motor | 1 | 1 | Using stock Anet A8 Extruder Motor |
Printed Parts
| Item | Quantity | Material | Printed | Notes |
|---|---|---|---|---|
| StepperBMG_holder | 1 | PrimaValue ABS (Dark Grey) | ❌ | Version with Cable Chain Mount |
| BLtouch_support | 1 | PrimaValue ABS (Dark Grey) | ❌ | |
| Fan_holder | 1 | PrimaValue ABS (Dark Grey) | ❌ | |
| Baseplate_BMG | 1 | PrimaValue ABS (Dark Grey) | ❌ | |
| Mistral_V2.1a_Leo_N | 1 | PrimaValue ABS (Dark Grey) | ❌ | |
| E3D_Fan_Duct | 1 | PrimaValue ABS (Dark Grey) | ❌ |