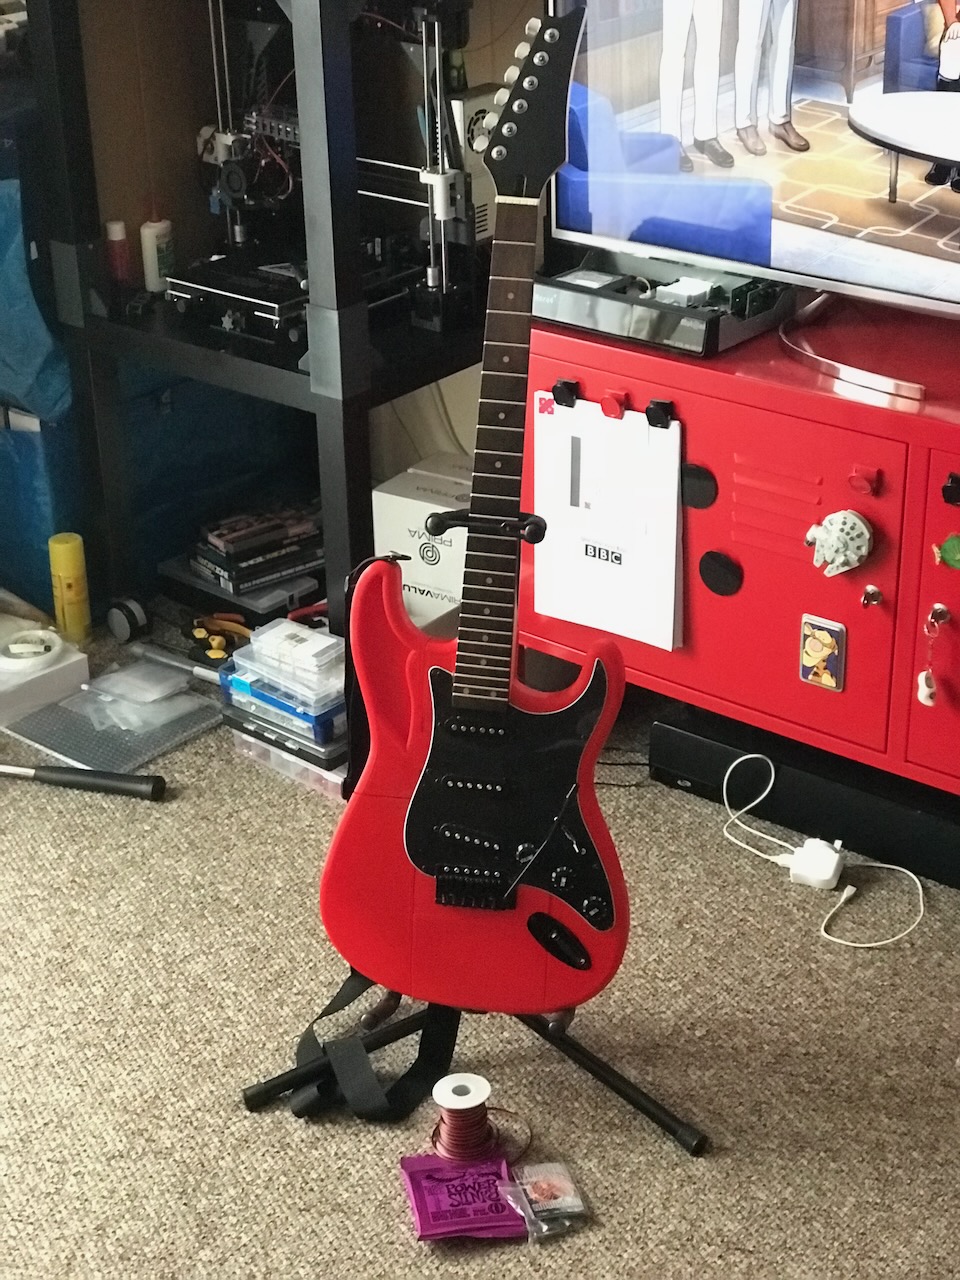
3D Printing an electric guitar


Table of contents
Intro
How I built a 3D printed Electric Guitar from scratch.
Sourcing Parts
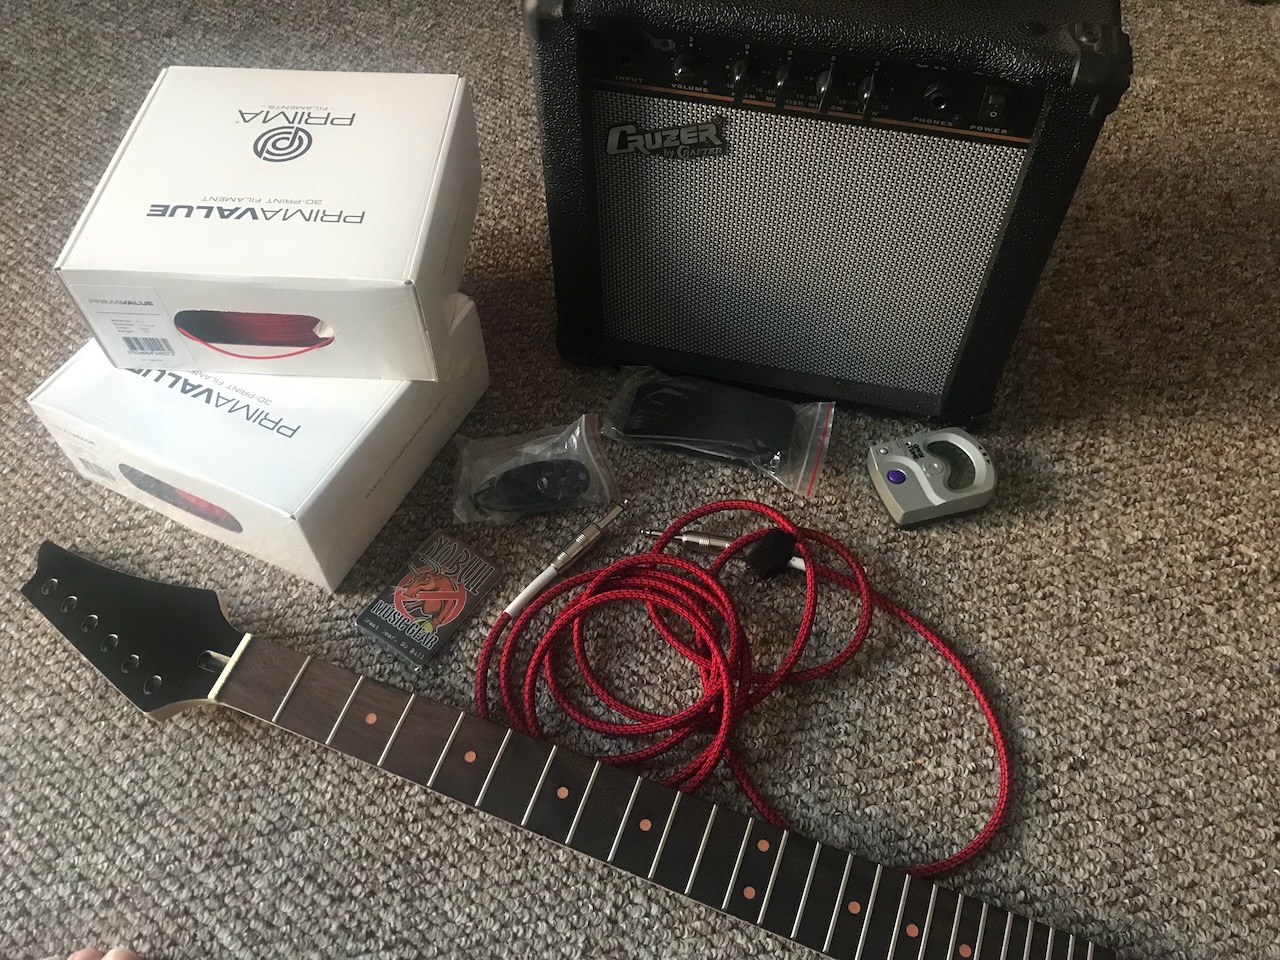
| Item | Quantity | Received | Notes |
|---|---|---|---|
| 18 Gauge wire | ~1ft | 40ft | |
| Various Bolts | 1 kit | 1 kit | |
| Araldite Epoxy | 1 | 1 | |
| Tuning Machine Head Tuners | 6 | 6 | |
| Tremolo Bridge | 1 | 1 | |
| Neck Plate | 1 | 1 | |
| Guitar Strap Buttons | 2 | 2 | |
| Scratchplate Pickguard Screws | 12 | 20 | |
| Maple Guitar Neck | 1 | 1 | |
| Input Jack Plug | 1 | 1 | |
| Pick Guard | 1 | 1 | |
| Guitar Strings | 1 pack of 6 | 1 pack of 6 |

All the parts required to assemble the guitar have been purchased from Amazon. They were the cheapest parts I could find that fit the aesthetic I was going for.
Printing Parts
Attaching Neck
| Item | Quantity | Material | Time | Size | Weight | Cost | Printed | Notes |
|---|---|---|---|---|---|---|---|---|
| upper_center_dovetailed | 1 | PrimaValue PLA (Red) | 14h 57m | 73.77m | 220.01g | £5.30 | ✔️ |

The parts were printed using a 1mm nozzle on my Anet A8 3D Printer. This is the only time I have used a nozzle different to the standard 0.4mm nozzle. I chose a larger nozzle to both print the parts faster but also ensure the parts come out strong.

Main Body
| Item | Quantity | Material | Time | Size | Weight | Cost | Printed | Notes |
|---|---|---|---|---|---|---|---|---|
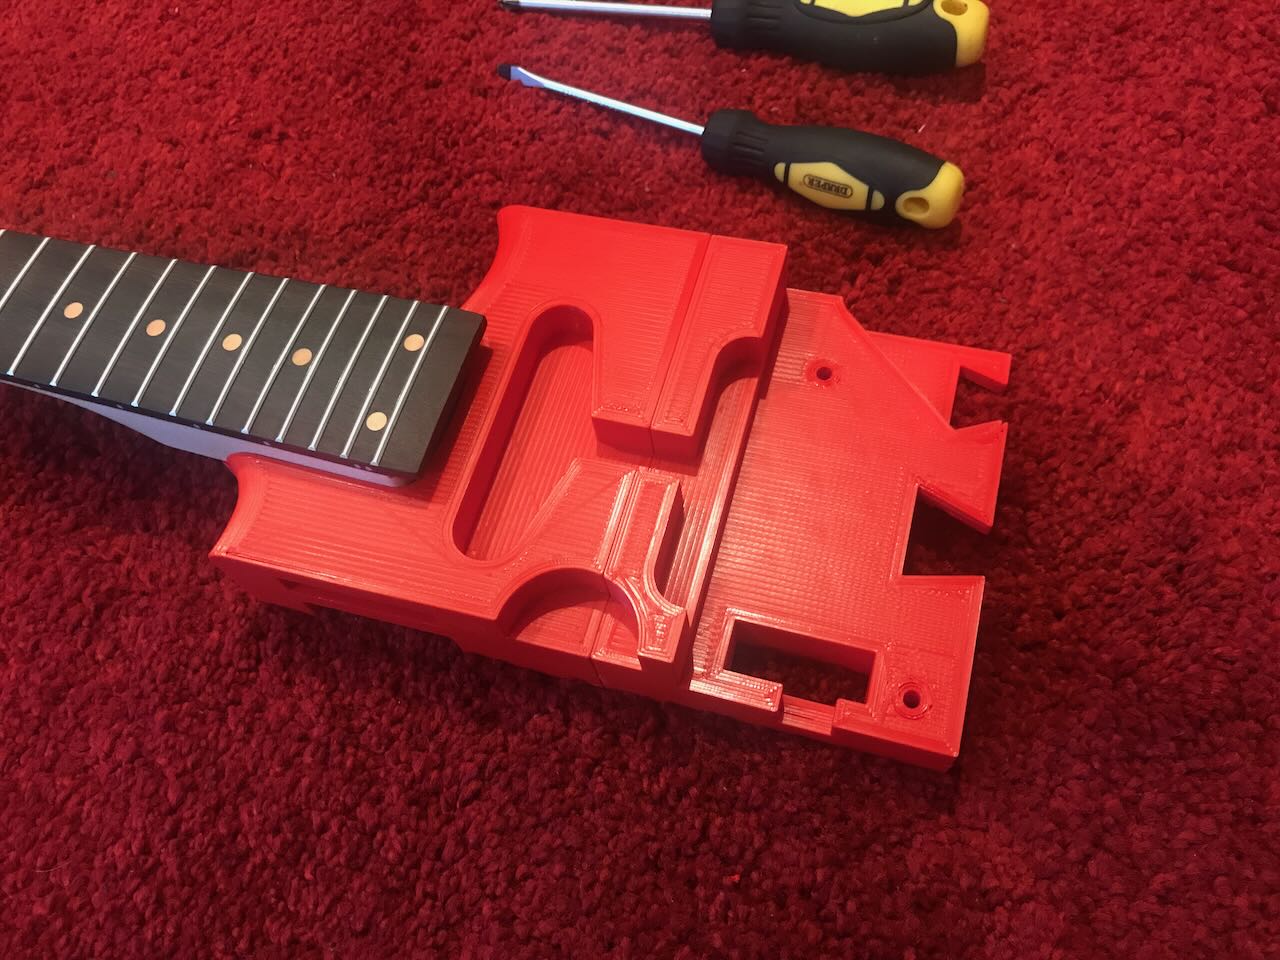
| upper_center_pc_2_dovetailed | 1 | PrimaValue PLA (Red) | 10h 22m | 45.70m | 136.29g | £3.28 | ✔️ | |
| bottom_center_upper_blind_dovetail | 1 | PrimaValue PLA (Red) | 17h 20m | 74.32m | 221.266g | £5.54 | ✔️ | |
| bottom_center_lower_blind_dovetail | 1 | PrimaValue PLA (Red) | 12h 54m | 70.29m | 209.64g | £5.05 | ✔️ |

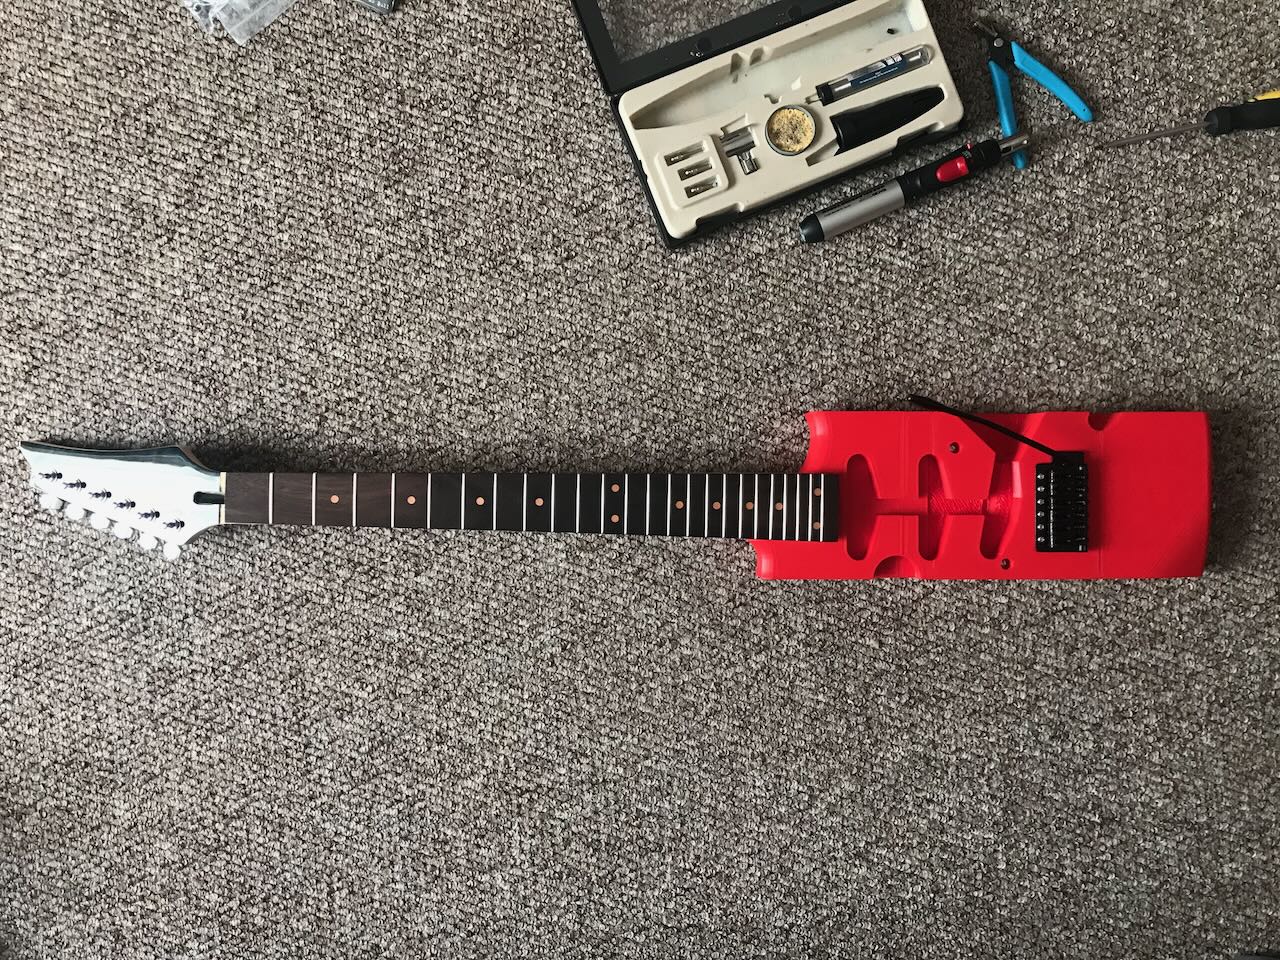
The Tremolo spring braket is mounted through holes in the upper_center_pc_2_dovetailed part.
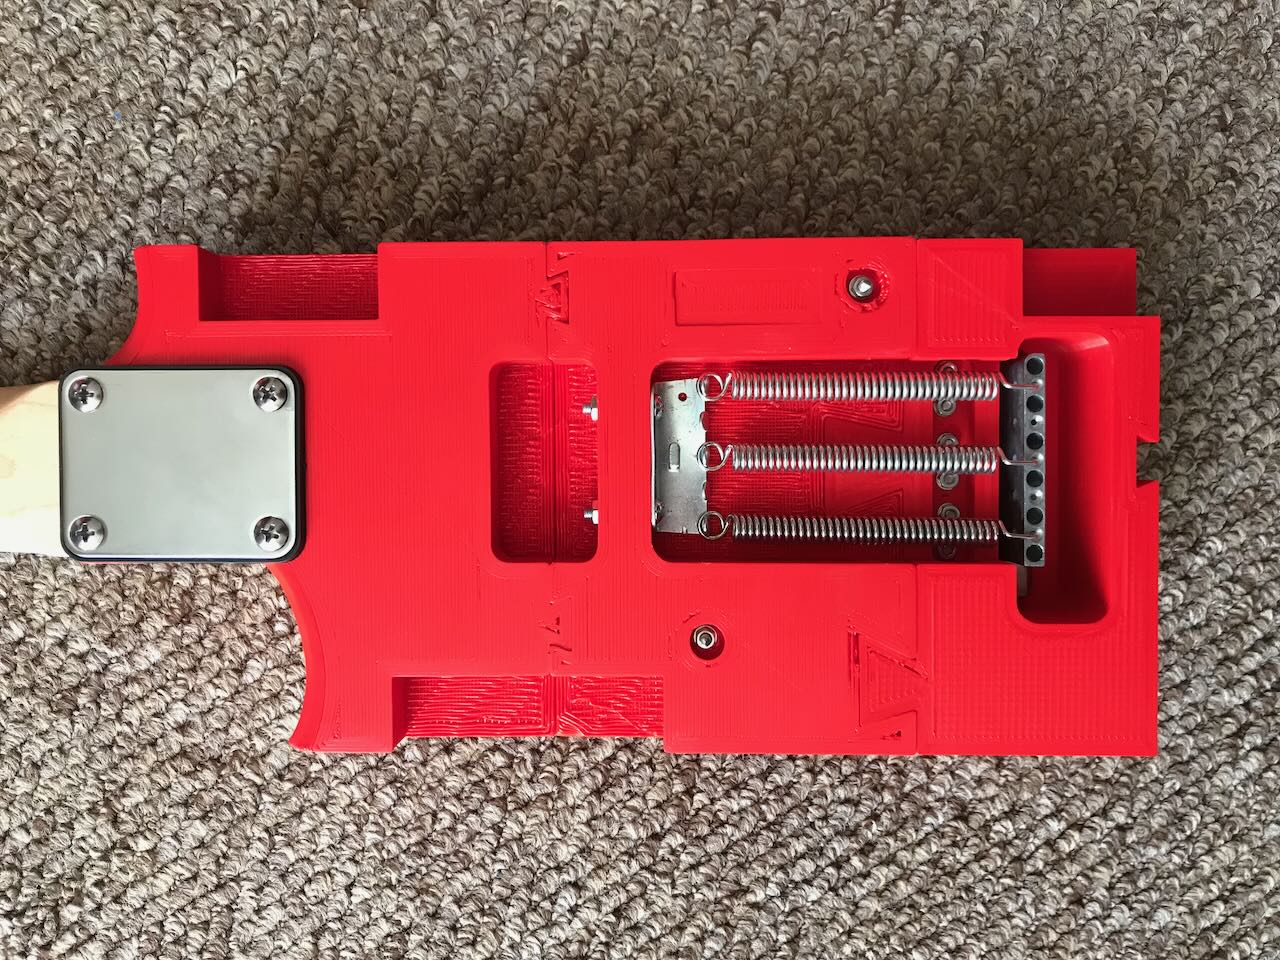
The parts are bolted together and the Bridge is attached down through the hole in the center of the guitar.

And finished off with an end cap.
Attaching Sides
| Item | Quantity | Material | Time | Size | Weight | Cost | Printed | Notes |
|---|---|---|---|---|---|---|---|---|
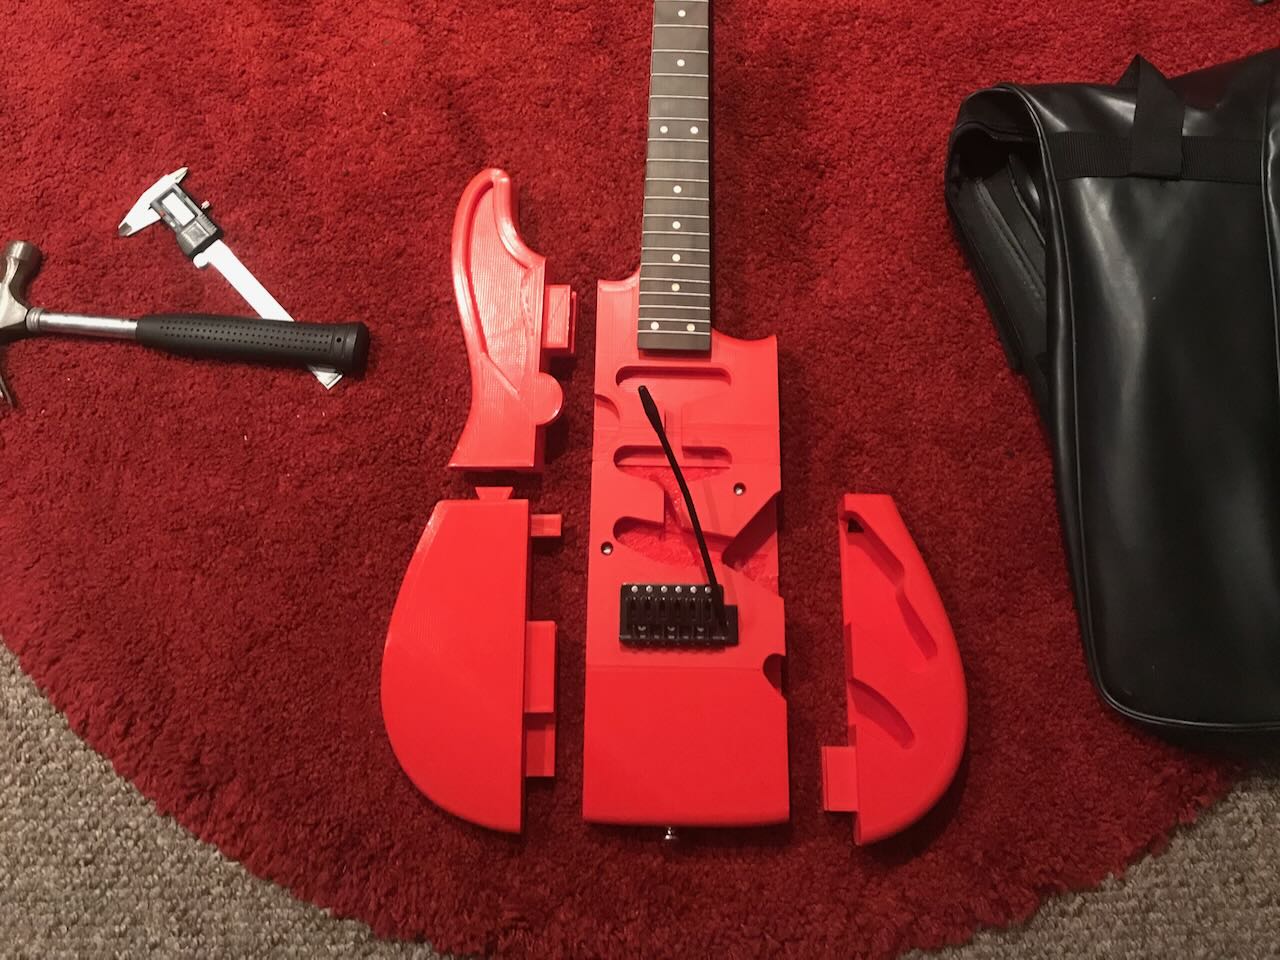
| bottom_left_no_initials | 1 | PrimaValue PLA (Red) | 18h 3m | 95.29m | 284.22g | £6.85 | ✔️ | |
| bottom_right | 1 | PrimaValue PLA (Red) | 13h 38m | 68.26m | 136.29g | £4.90 | ✔️ | |
| upper_left_edit | 1 | PrimaValue PLA (Red) | 15h 19m | 77.20m | 230.26g | £5.55 | ✔️ | |
| upper_right | 1 | PrimaValue PLA (Red) | 8h 37m | 45.49m | 135.67g | £3.27 | ✔️ |
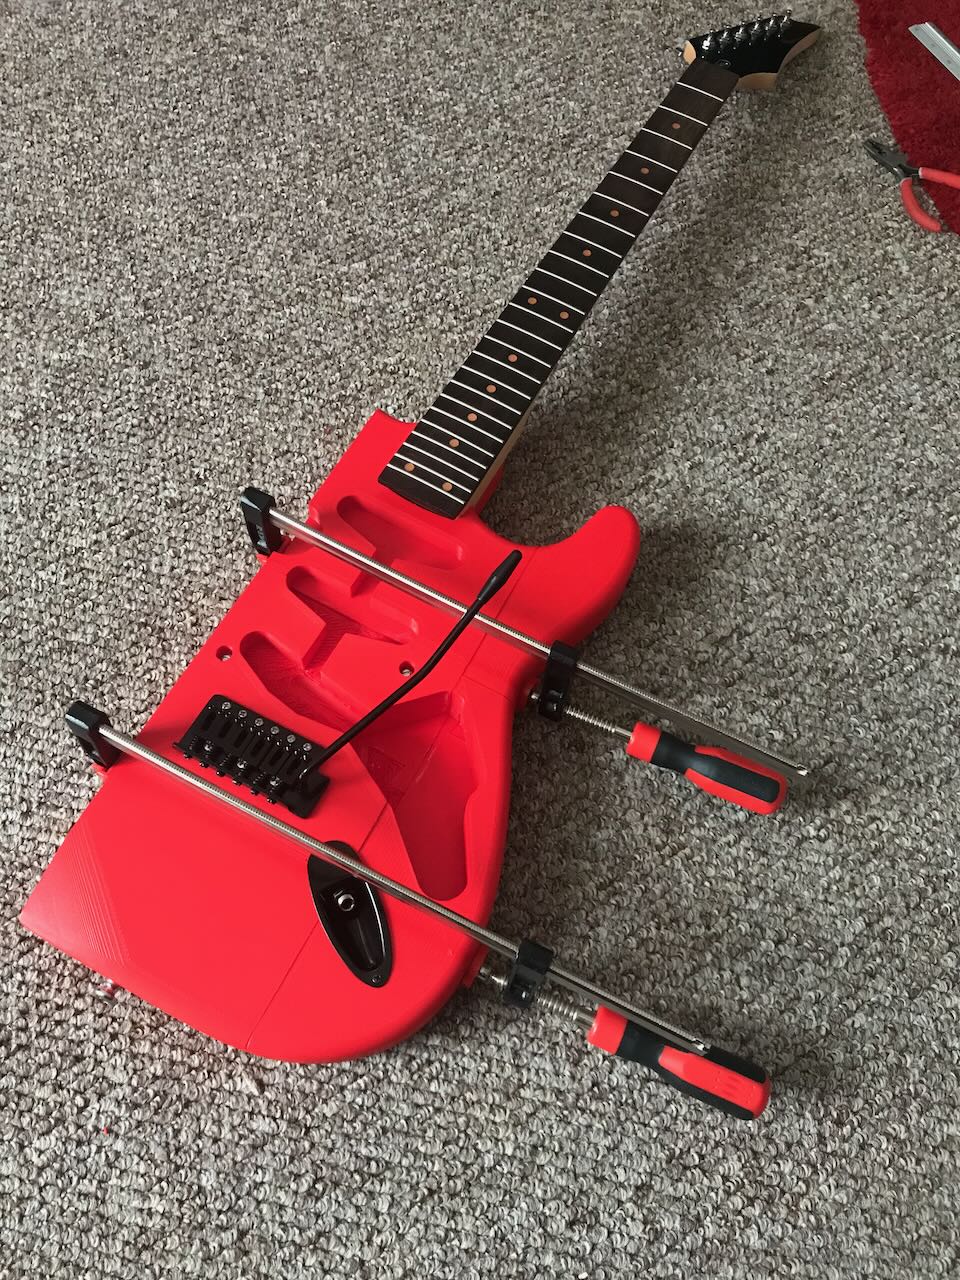
The right side of the guitar is clamped into place.
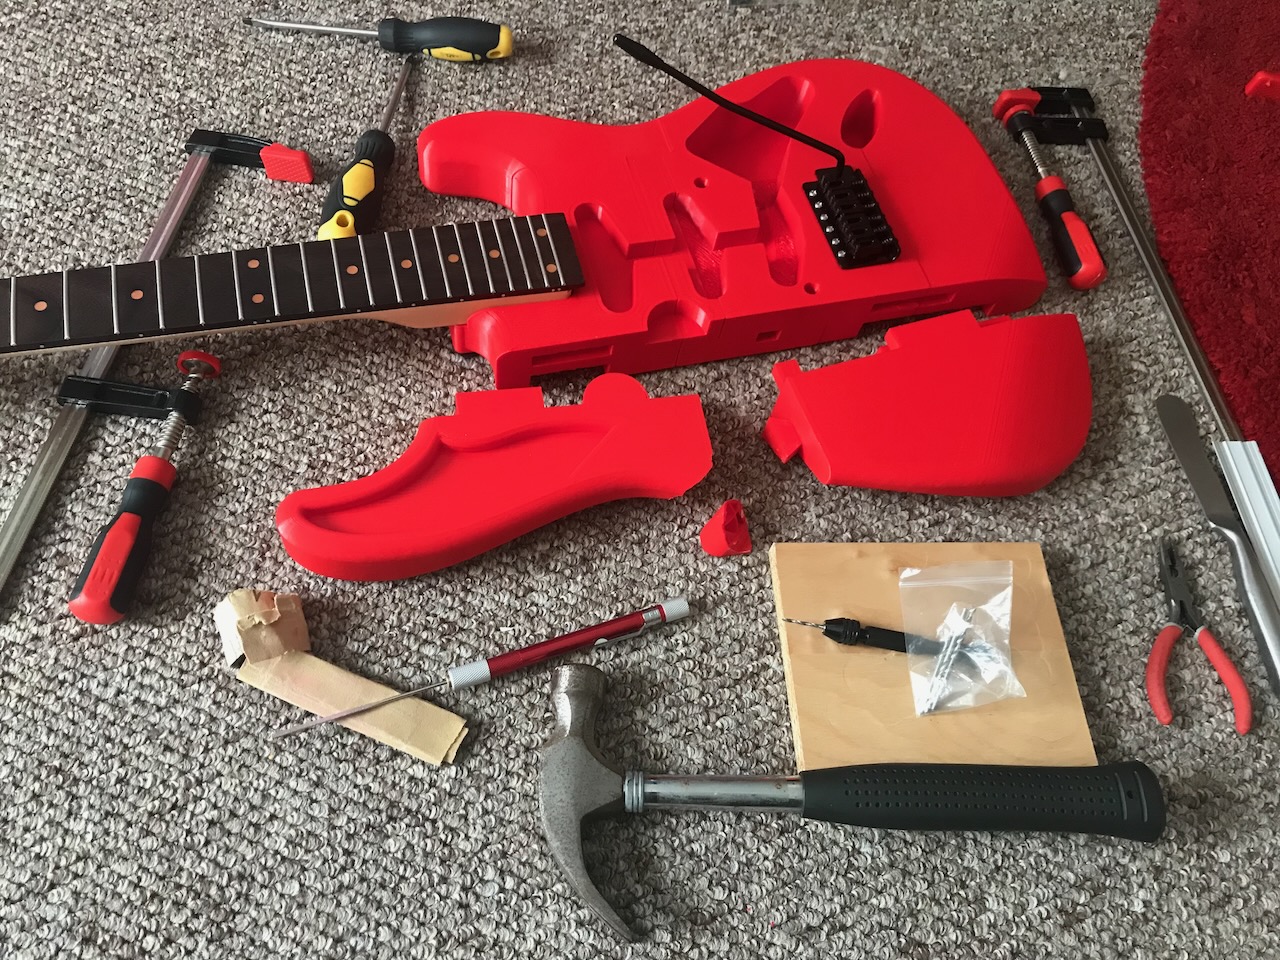
Due to the use of the large nozzle, the tolerences for fitment were a little tight and a lot of force was needed to attach the sides, I unfortunately broke a few pieces when trying to fit them and needed to reprint.

Finishing Up
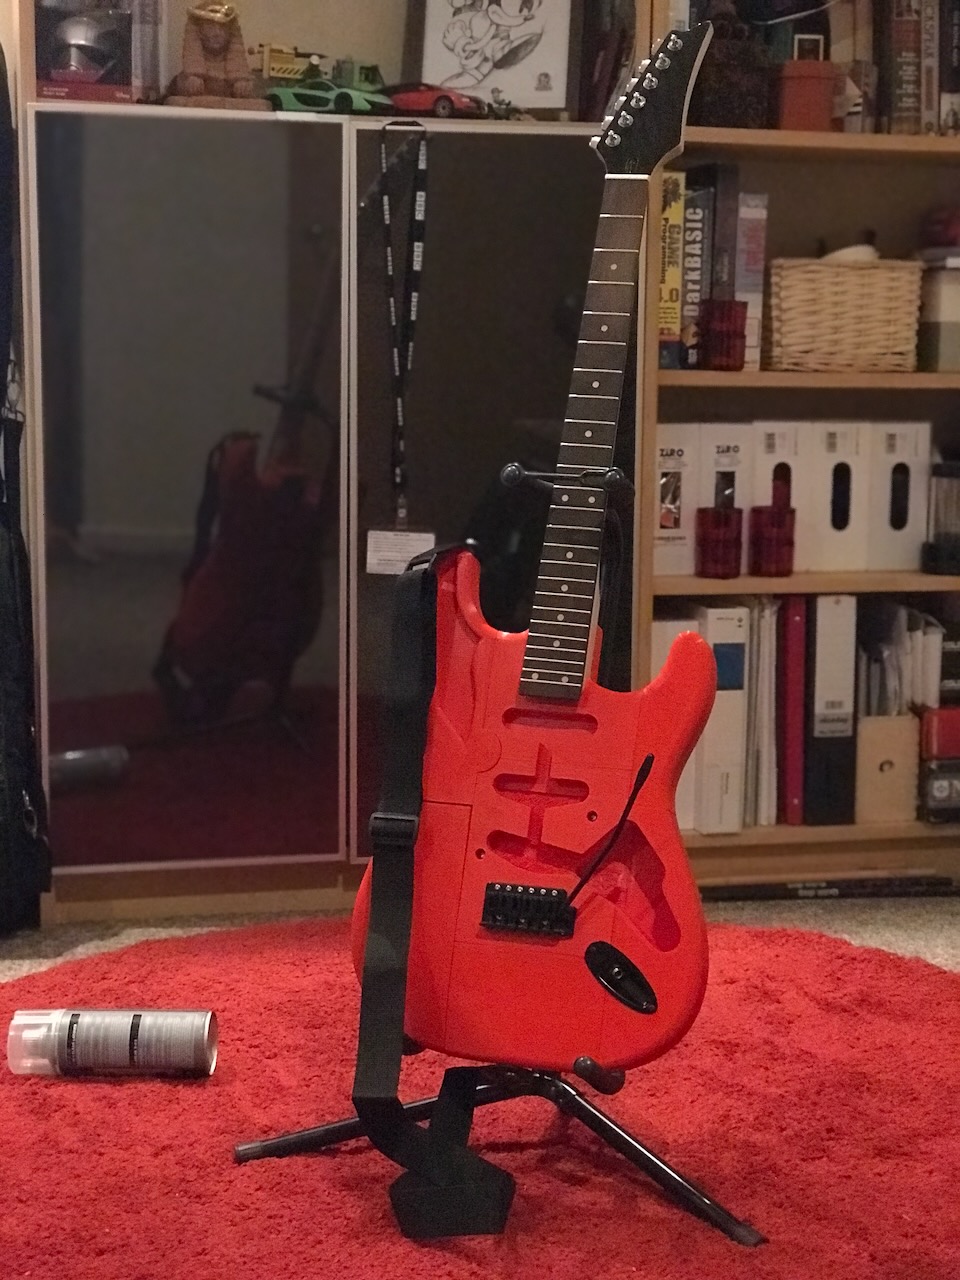
Installing the main electronics to the Pick Guard and attaching them to the guitar with blackened screws.
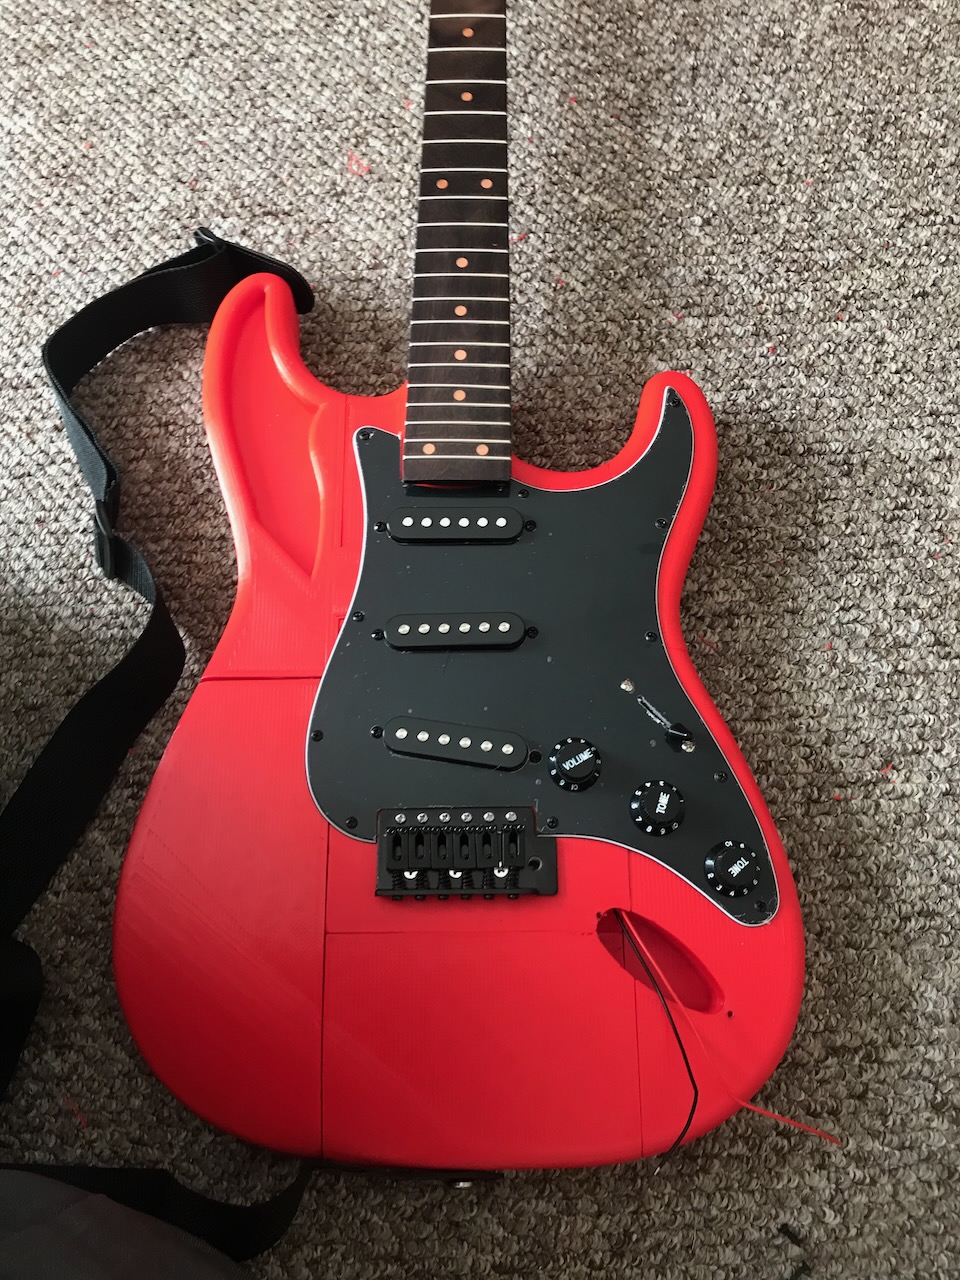
One of the last steps is to attch the Input Jack.
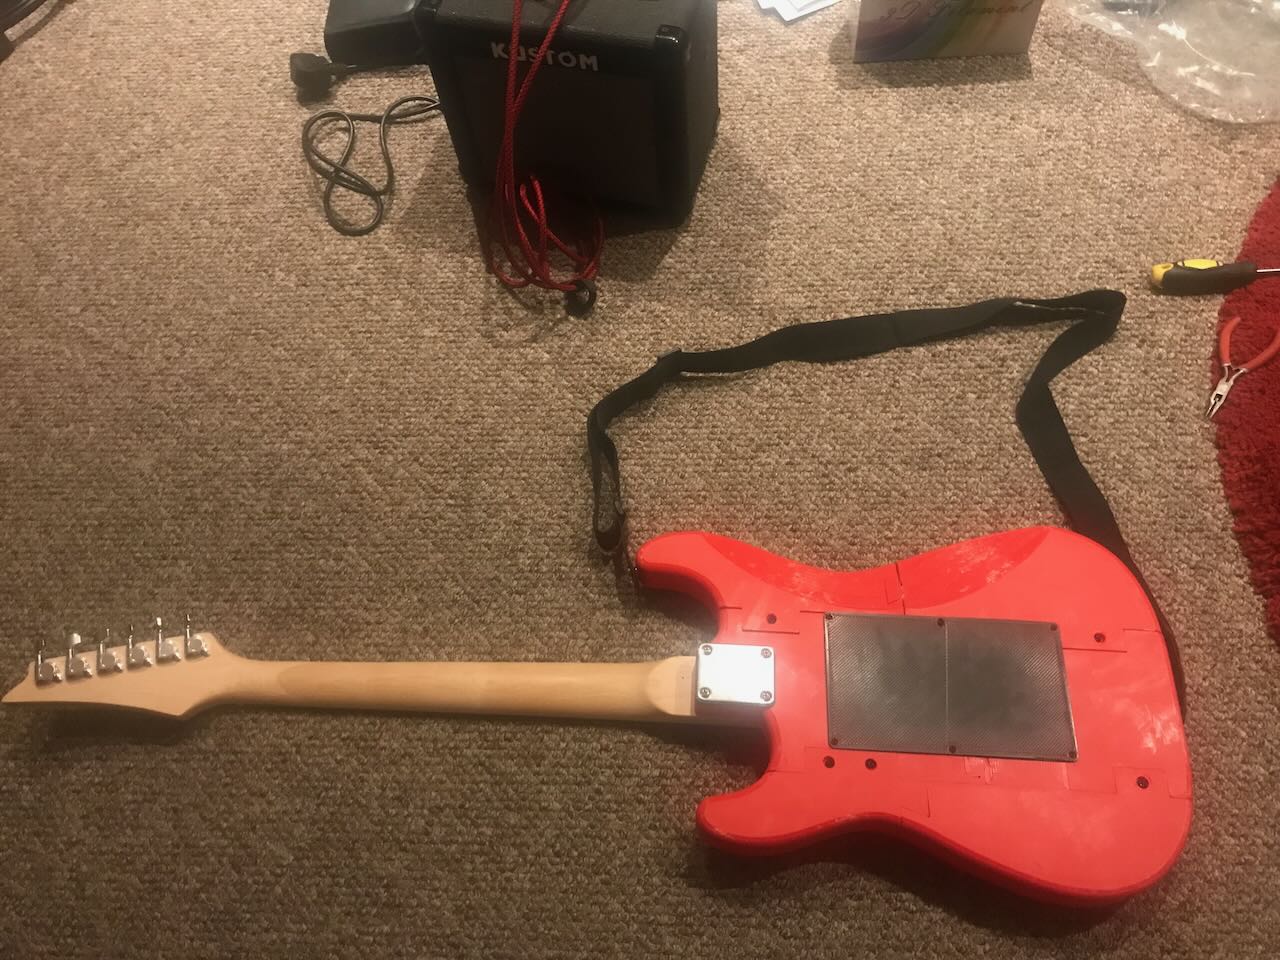
I designed the Tremolo cover in SketchUp 2017 and it is available on my 3D printing GitHub repository. You can also view the design on the SketchUp website.
