3D Printer Failures

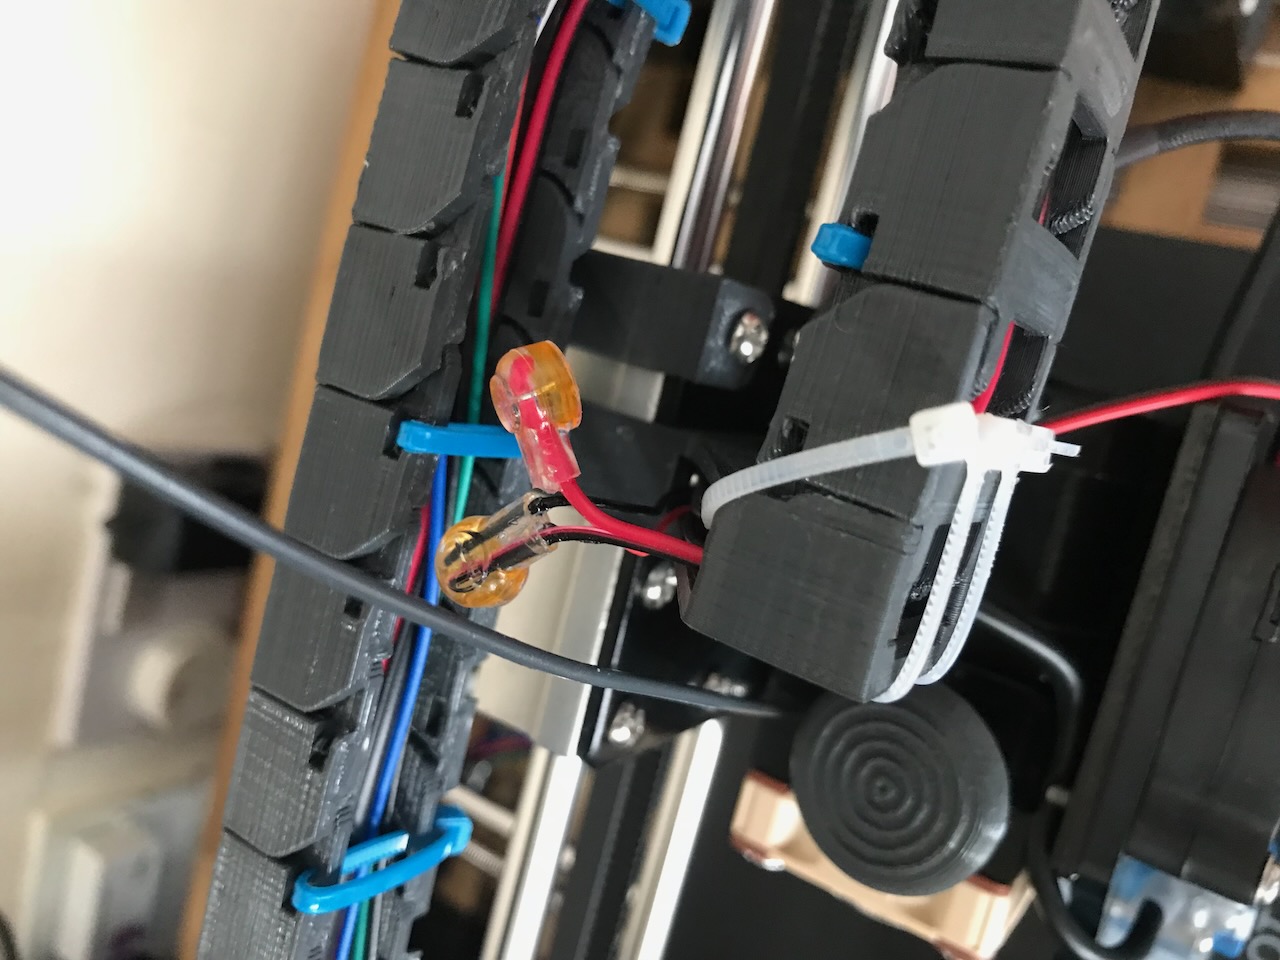
Table of contents
- Intro
- First Print
- Cable Chain
- Melted Part Fan Duct
- Broken Extruder Cooling Fan
- Cable Chain Strikes Back
- Heater Wire Wear
- Return of the Cable Chain
- Making Cables
- Worn Belt
- Broken Probe Wire
- Bearing Failure
- Chamber Temperature Heat Creep
- Overheating Extruder Motor
Intro
3D printing is not all plain sailing, sometimes things go wrong. The best thing about building a printer from scratch, is that you also know how to repair it.
First Print
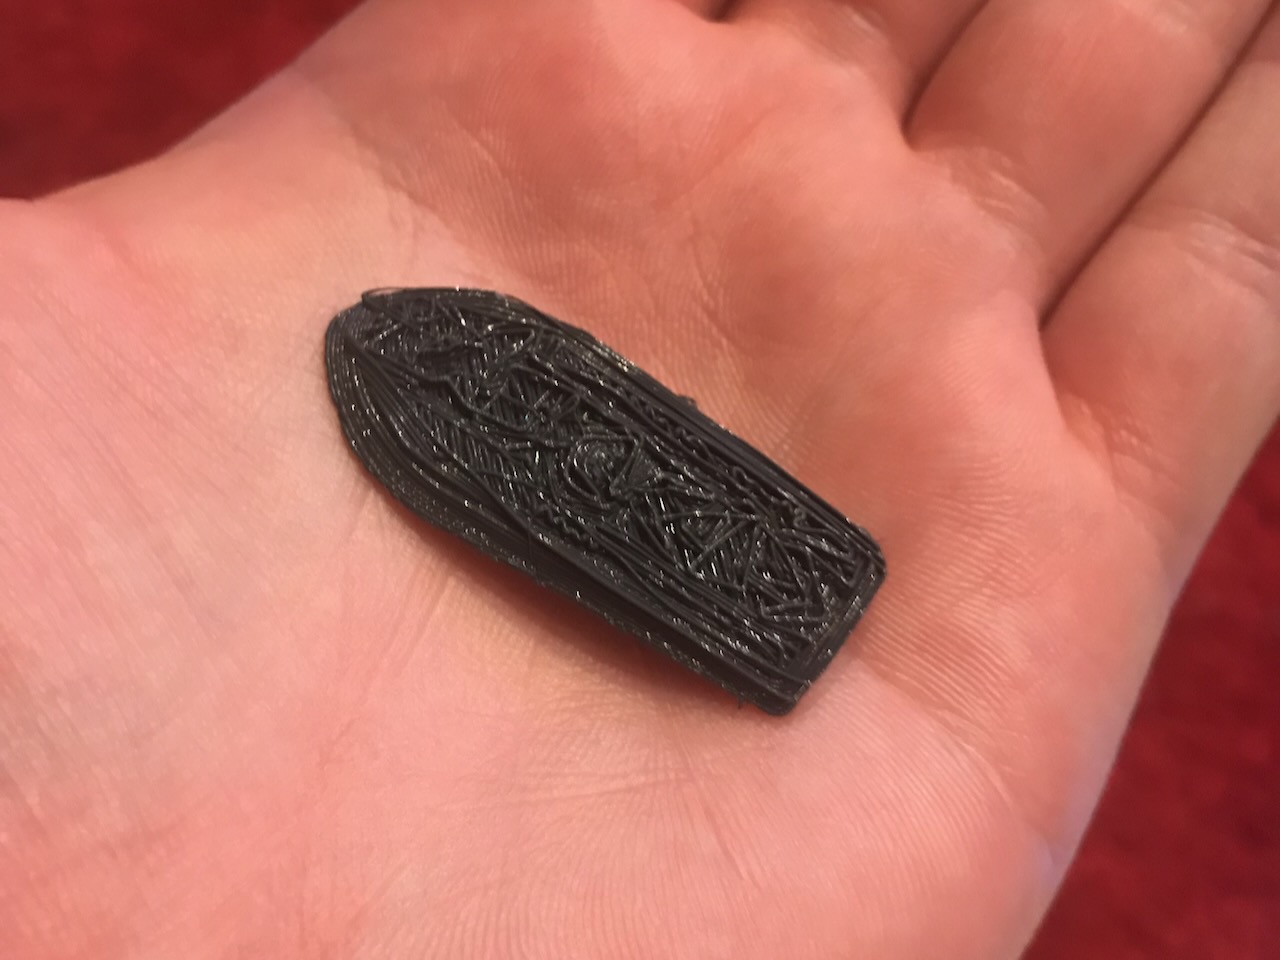
My first ever print, my first ever failure... Seems like it's the most common failure in 3D printing, make sure to level the bed and then level it again. This probably failed due to the nozzle being too far off the bed on the first layer as the filament did not "squish" to the bed. Once the bed had been relevelled, the print came out great.
Cable Chain
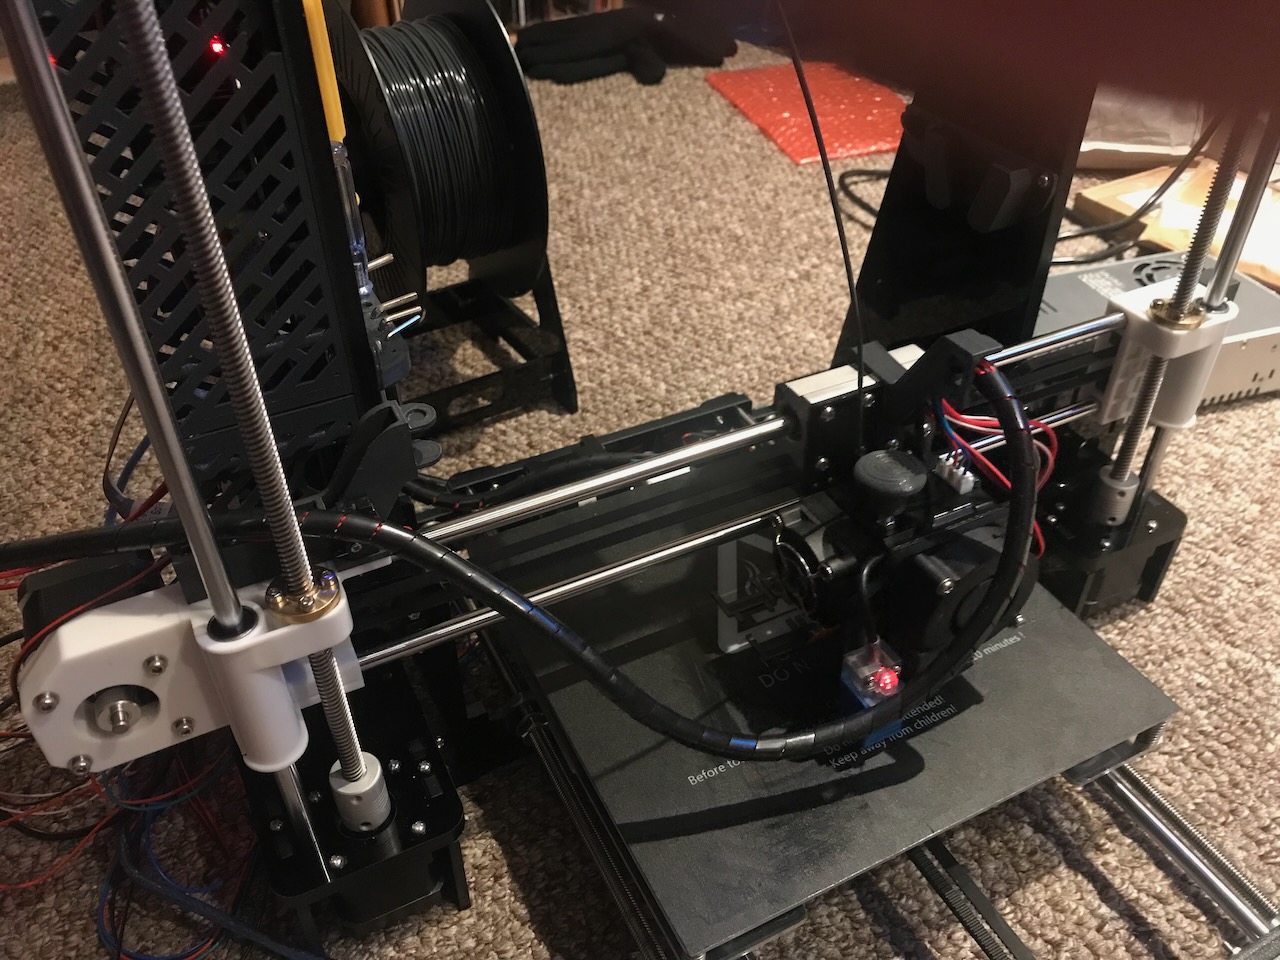
This was more of a failure of printing the wrong thing, I printed the fully enclosed cable chain links, and only when coming to fit them, did I find that the cables did not fit through the chain. I had to re-assemble everything to get back printing some new links that use cable ties to hold the cables in the chain.
Melted Part Fan Duct
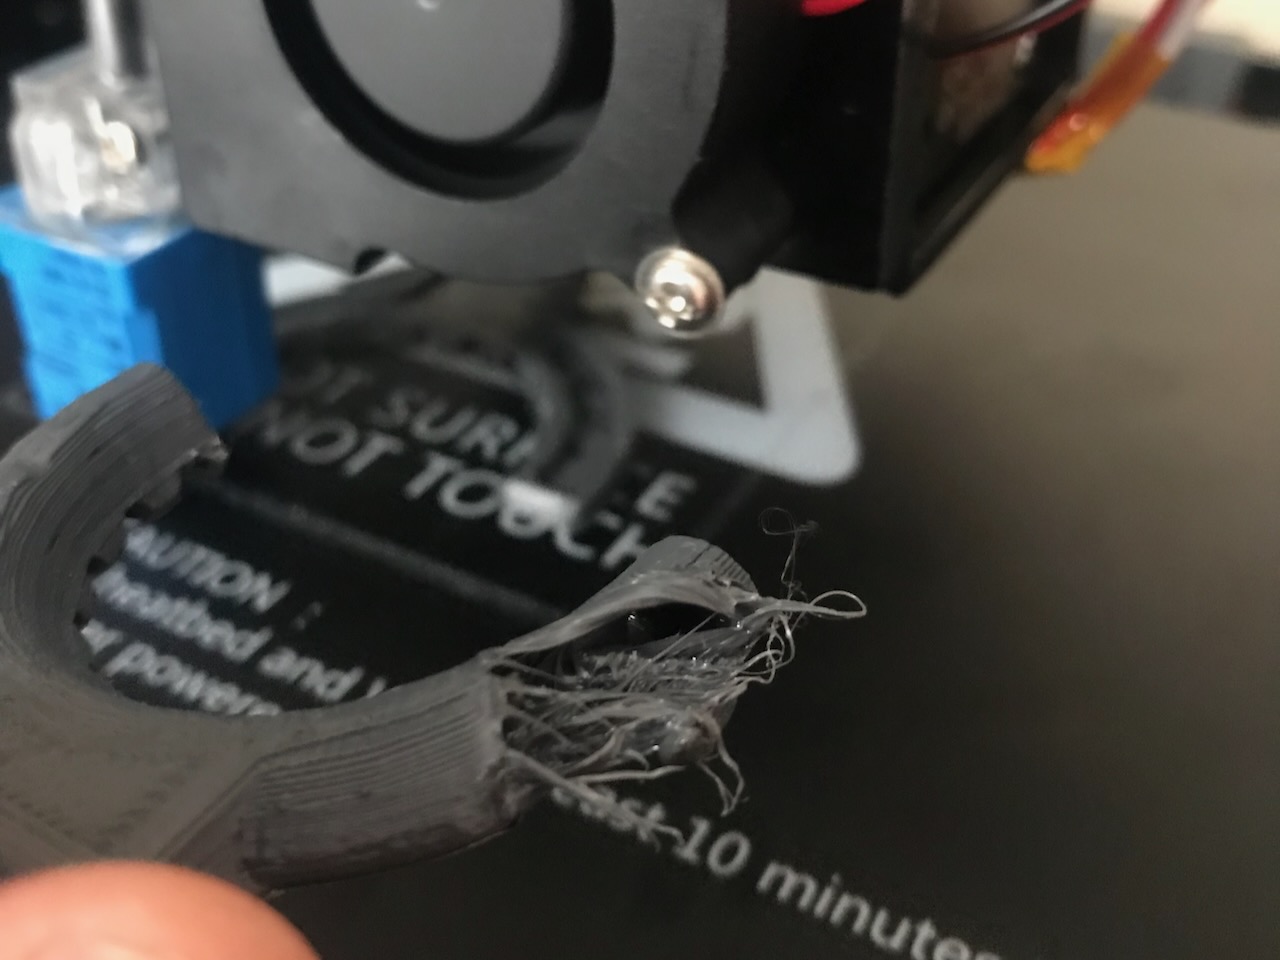
This one came down to user error, I had a jam in the hotend and had to disassemble the extruder to clear it. Once the jam was clear, I heated the nozzle to insert some filament. After starting a new print I noticed that I had forgotten to re-attach the part cooling fan duct. Being lazy, I did not want to cancel and restart the print so I tried to re-attach the duct whilst the printer was homing the Z axis, however, I was not quick enough and the hot nozzle squished the duct into the bed. Lesson learned as I then had spend more time to reprint a new duct.
Broken Extruder Cooling Fan
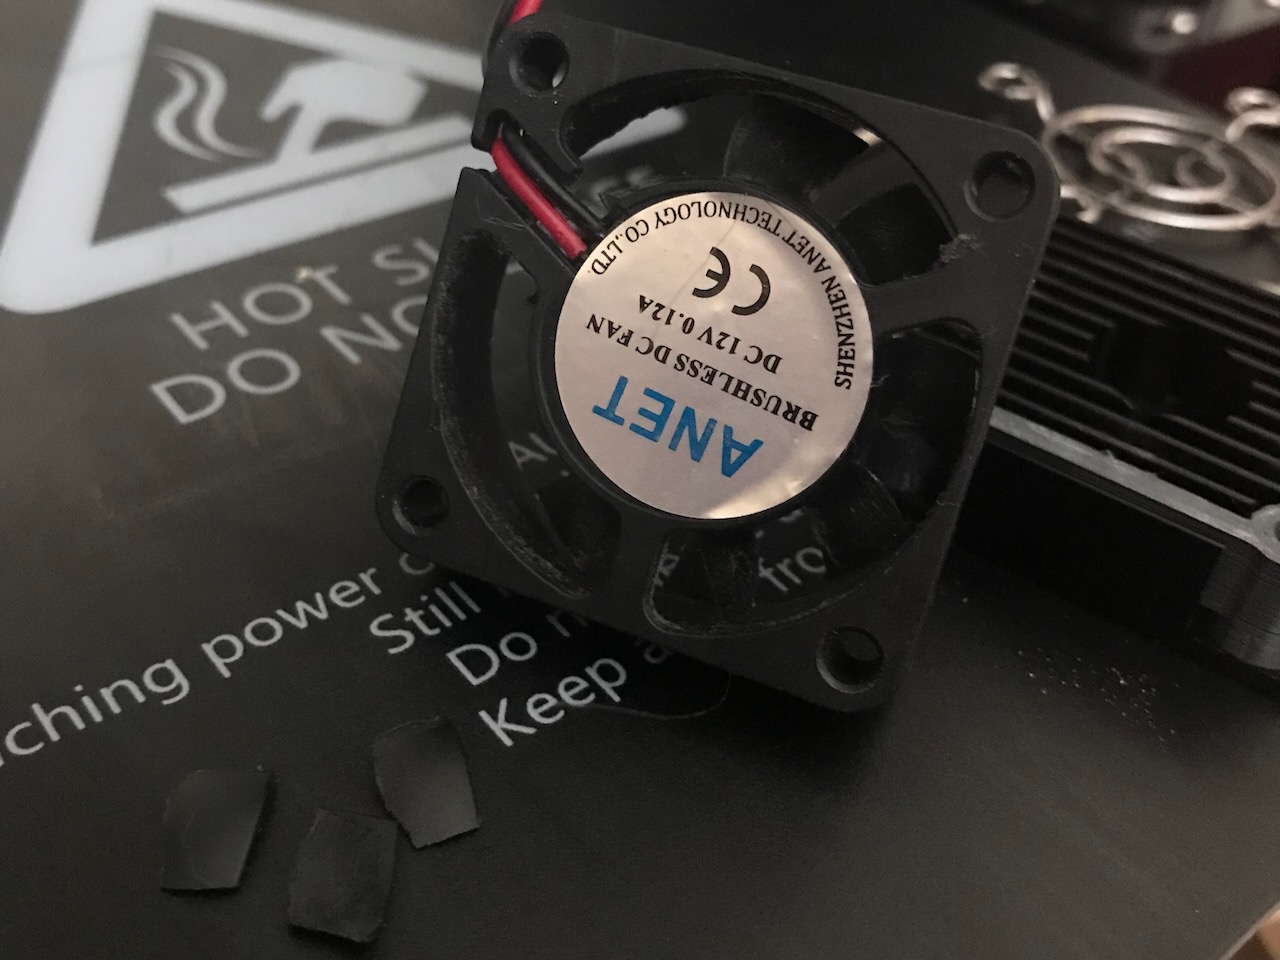
Another occurence of user error, I was attempting to print flexible TPU filament for the first time, however, I think I was trying to print it too fast and too cool as the filament kept wrapping around the gears in the extruder. The gears on the Anet A8 are hidden behind the hotend cooling fan and heatsink, held on by two socket head screws. To remove them you need to use an allen key, this is best done whilst the printer is off as my allen key slipped and went straight into the cooling fan sheering off some of the blades.
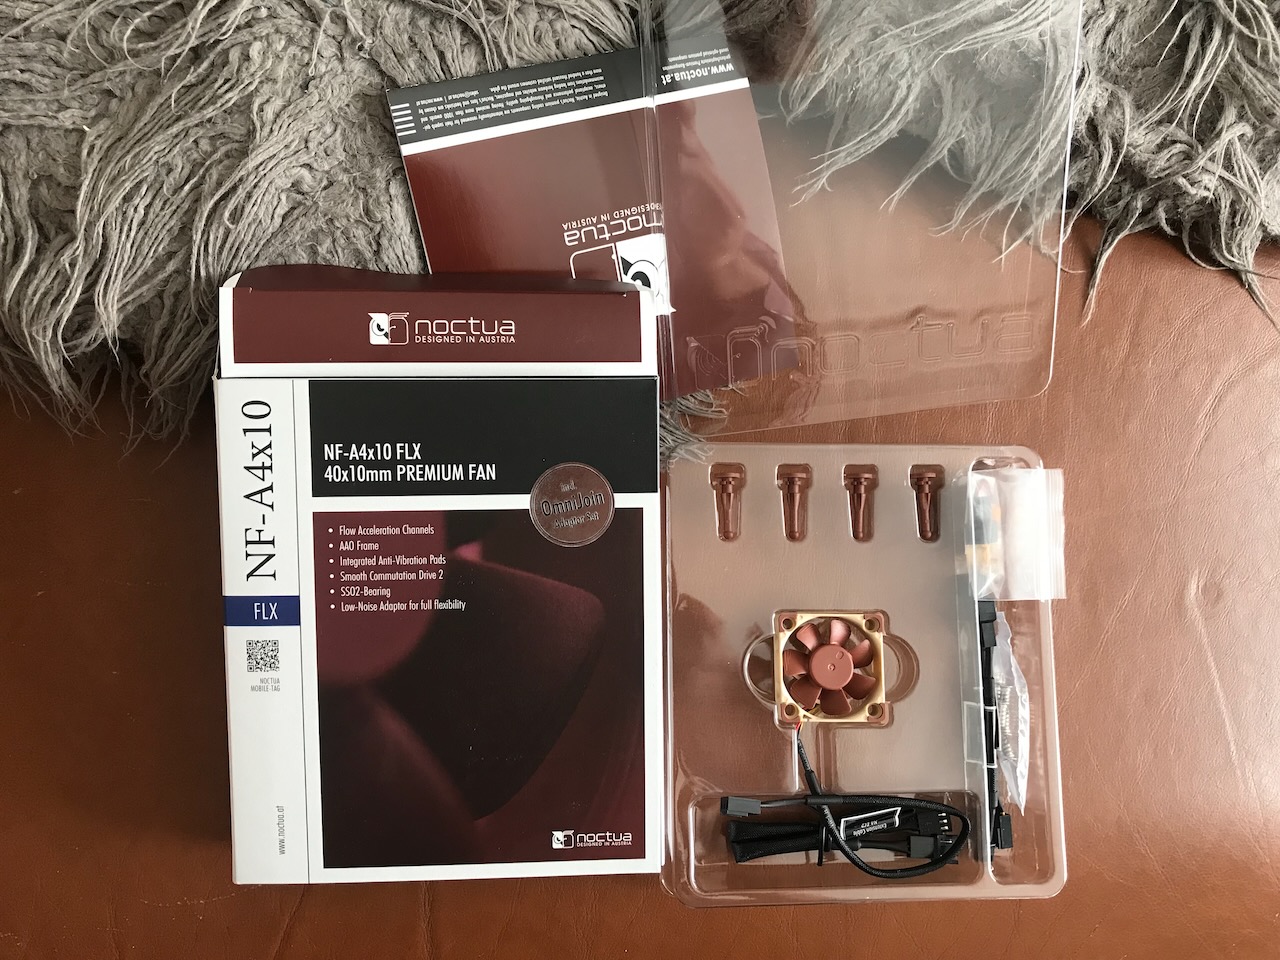
There was an upside to this as I replaced the (quite noisy) stock fan with a small noctua fan which made the printer a fair bit quieter whilst switched on. To help printing TPU without it wrapping around the extruder gears I found using this adapter really useful.
Cable Chain Strikes Back
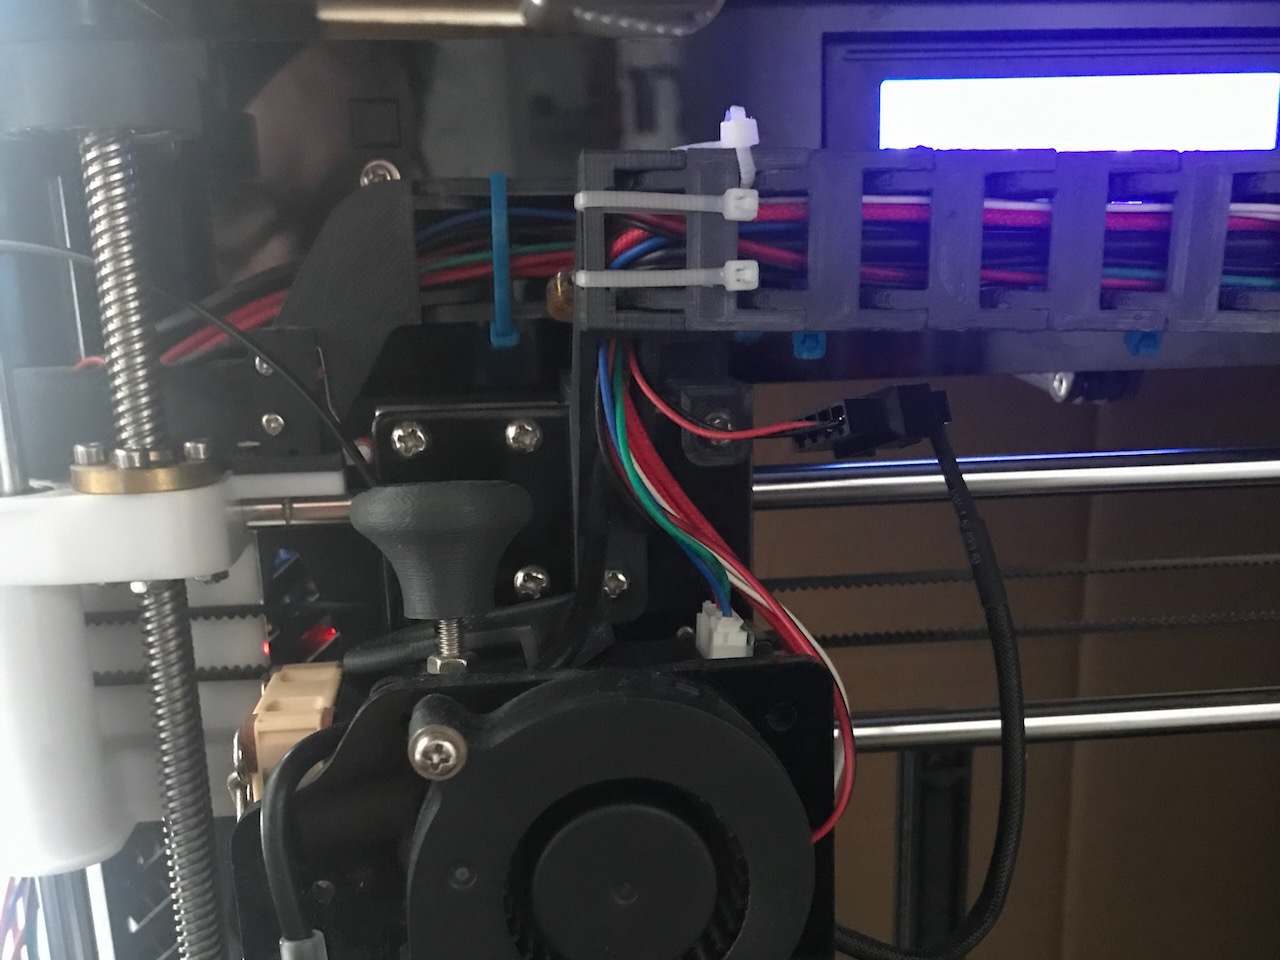
The X axis cable chain connection to the extruder carriage must have been weakened over time or whilst re-routing the wires for the new fan. The connection kept popping off when the X axis moved. I tried to superglue it back into place, however that did not last very long and eventually wore out. In the end I just cable tied it back into place and called it a day.
Heater Wire Wear
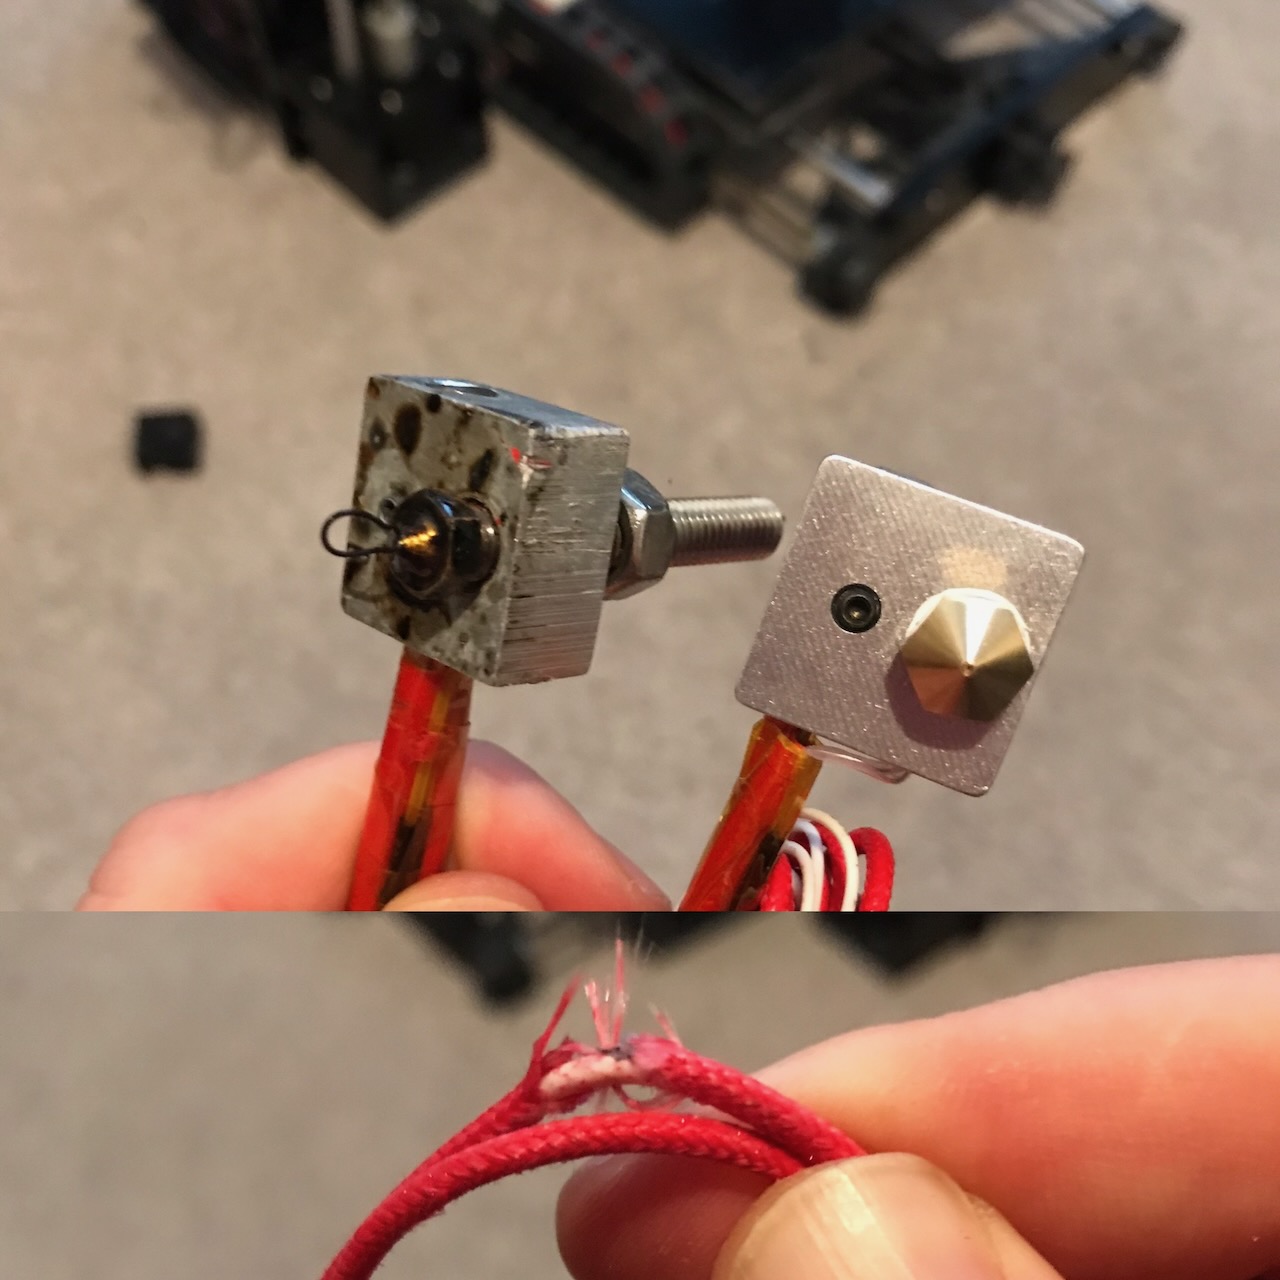
The original hotend heater cartridge lasted about two and a half years, all the bending in the cable chain eventually wore through the flex of the cable and needed to be replaced. I chose to replace it with a complete Aibecy hotend including the Aluminium heater block, thermistor and heat break.
Return of the Cable Chain
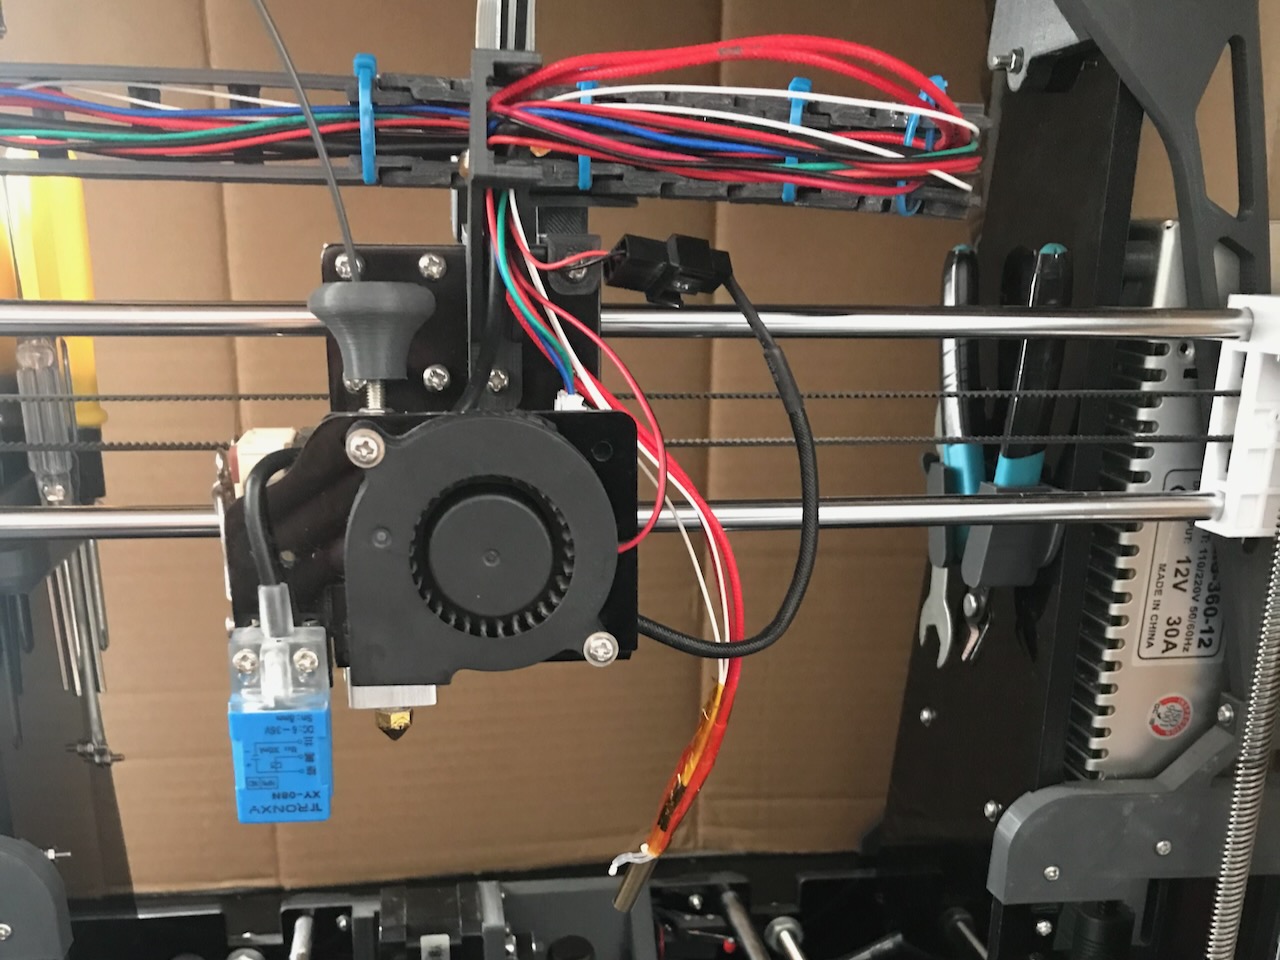
The new Aibecy hotend lasted about 6 months. It arrived with the wires all folded up and cable tied together rather than being coiled up. I believe this weakened the cable which eventually caused the heater cartridge wire to get really hot and melted the cable chain (you can see a spot of grey filament melted to the red wire in the top of the image). I replaced the heater cartridge with an Afunta one which showed the cables coiled up in the images so that I wouldn't get this issue again, looking back I probably didn't need to order 6 as I am still using the first one from this kit to the present day. I replaced the melted cable chain with a different design as the cable chain reduced my print volume when upgrading display for the new control board.
Making Cables
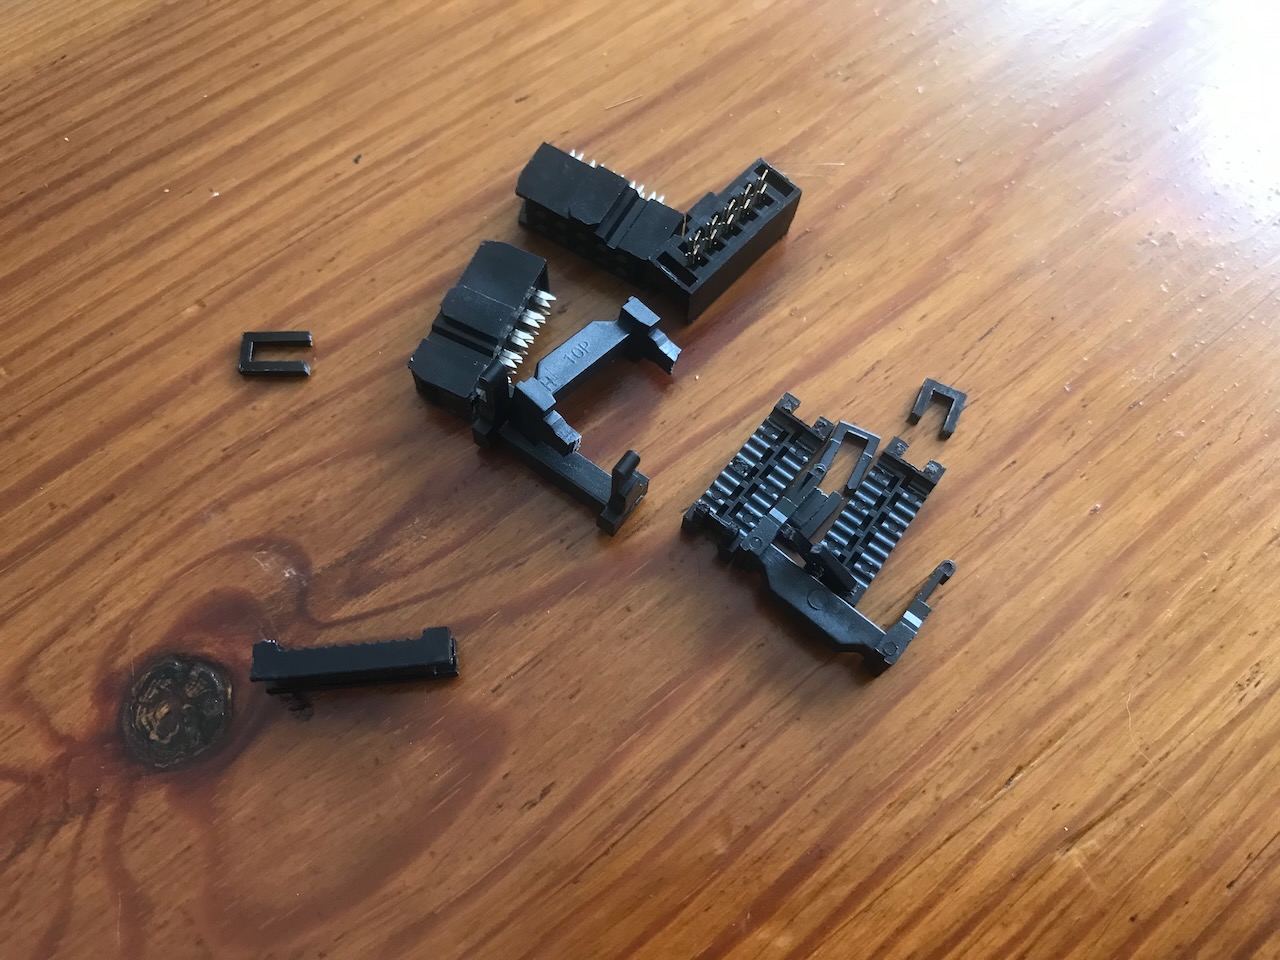
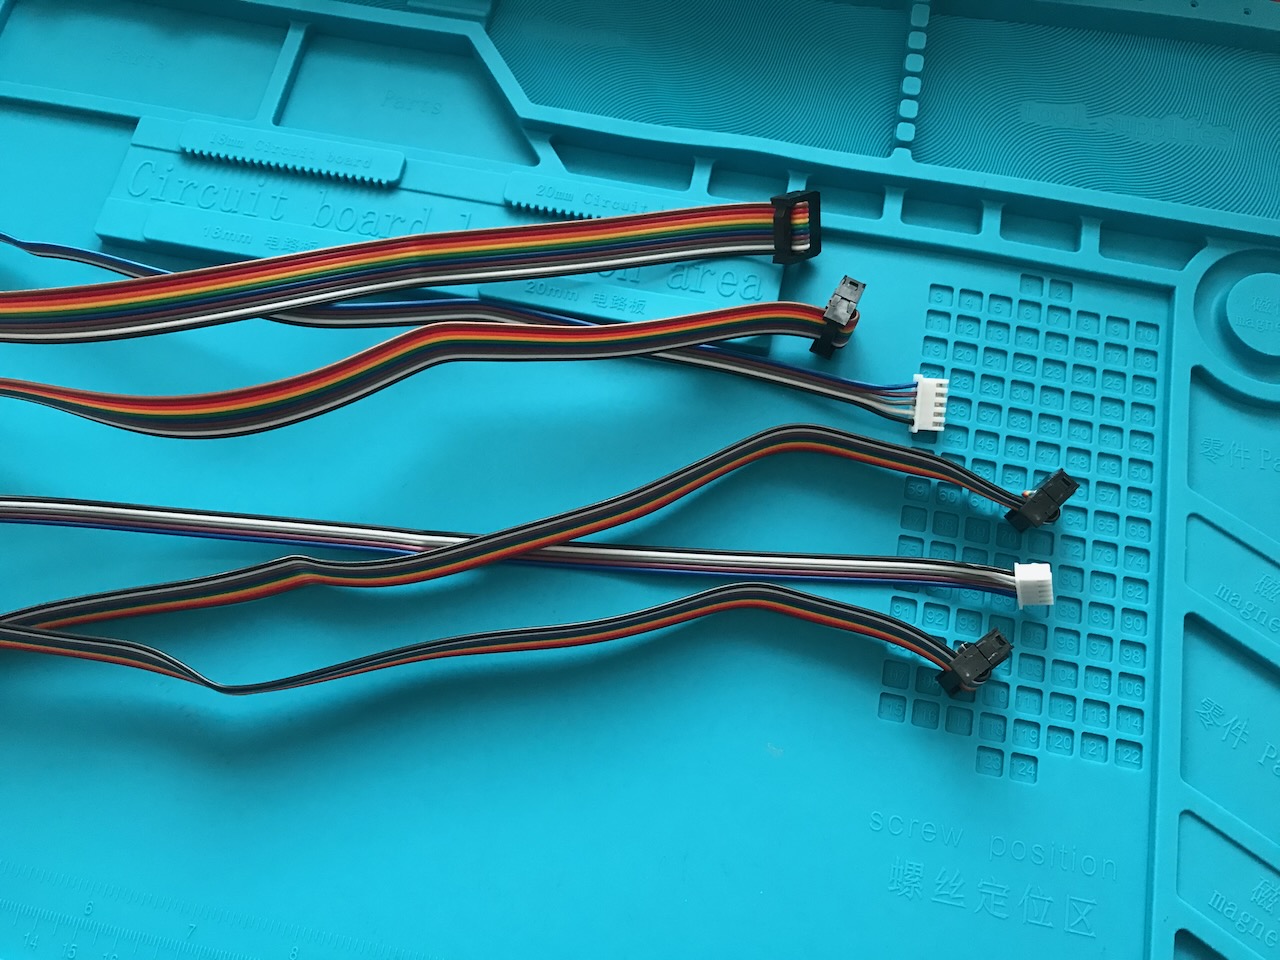
Whilst upgrading the mainboard of the printer I needed some longer cables for the LCD display. I could not find ones of the correct length so therefore decided to make my own. This turned out to be a little harder than expected due to the ends being rather brittle. However, with some perserverence I managed to successfully make some working cables.
Worn Belt
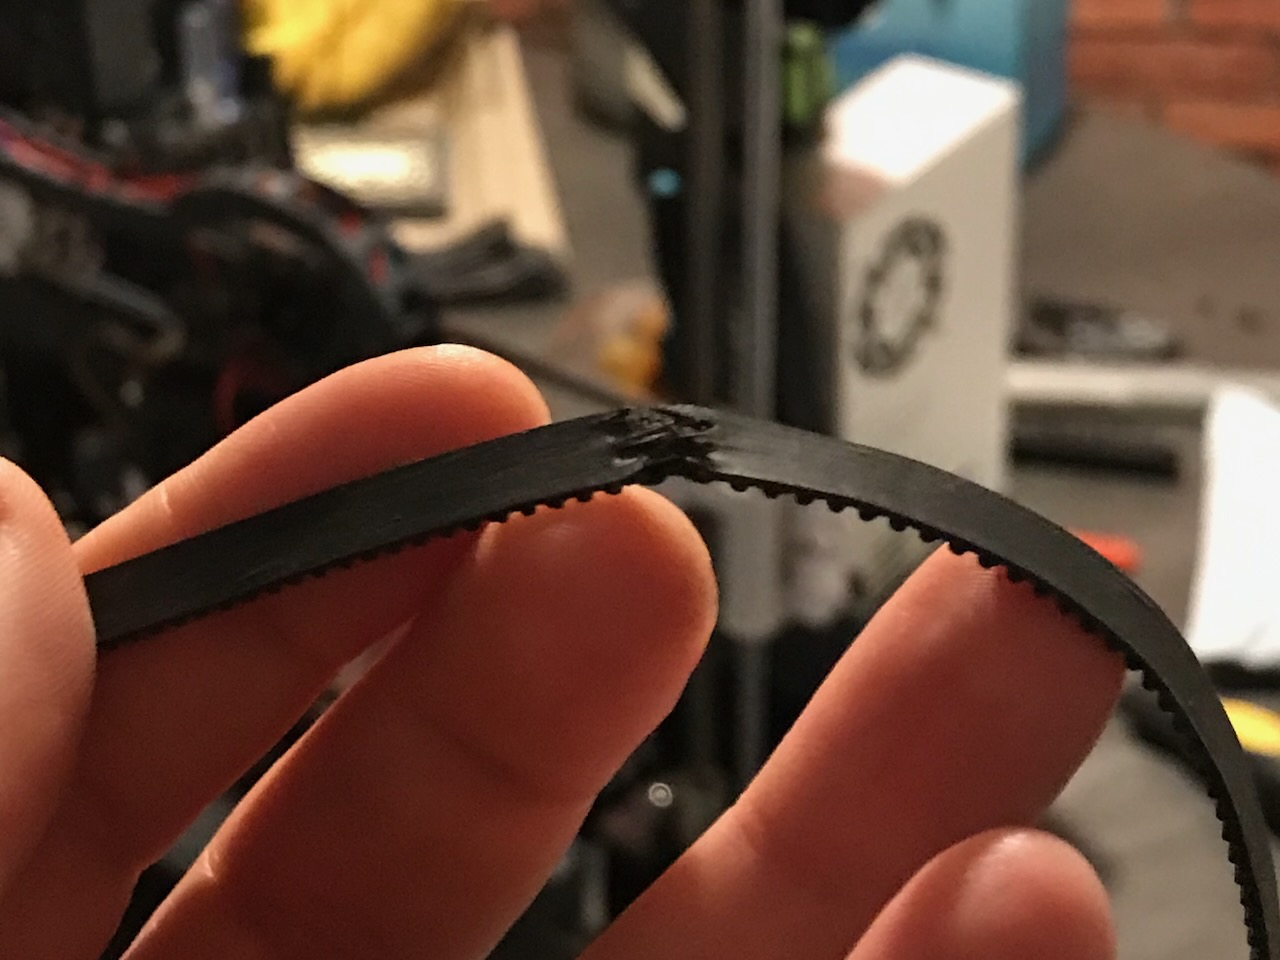
When adding belt tentioners to both the X and Y axes I realised that I cut the stock belts a little too short, so I had to buy some new belt It was rather cheap (£5.99 for 2 meters including two 20 tooth GT2 pulleys). I'm surprised it lasted about 2 and a half years and the Y axis belt is still going strong. I have replaced the X axis belt with a slightly higher quality cloth and rubber fiberglass reinforced one and have enough new belt to replace the Y axis belt, if/when it breaks.
Broken Probe Wire
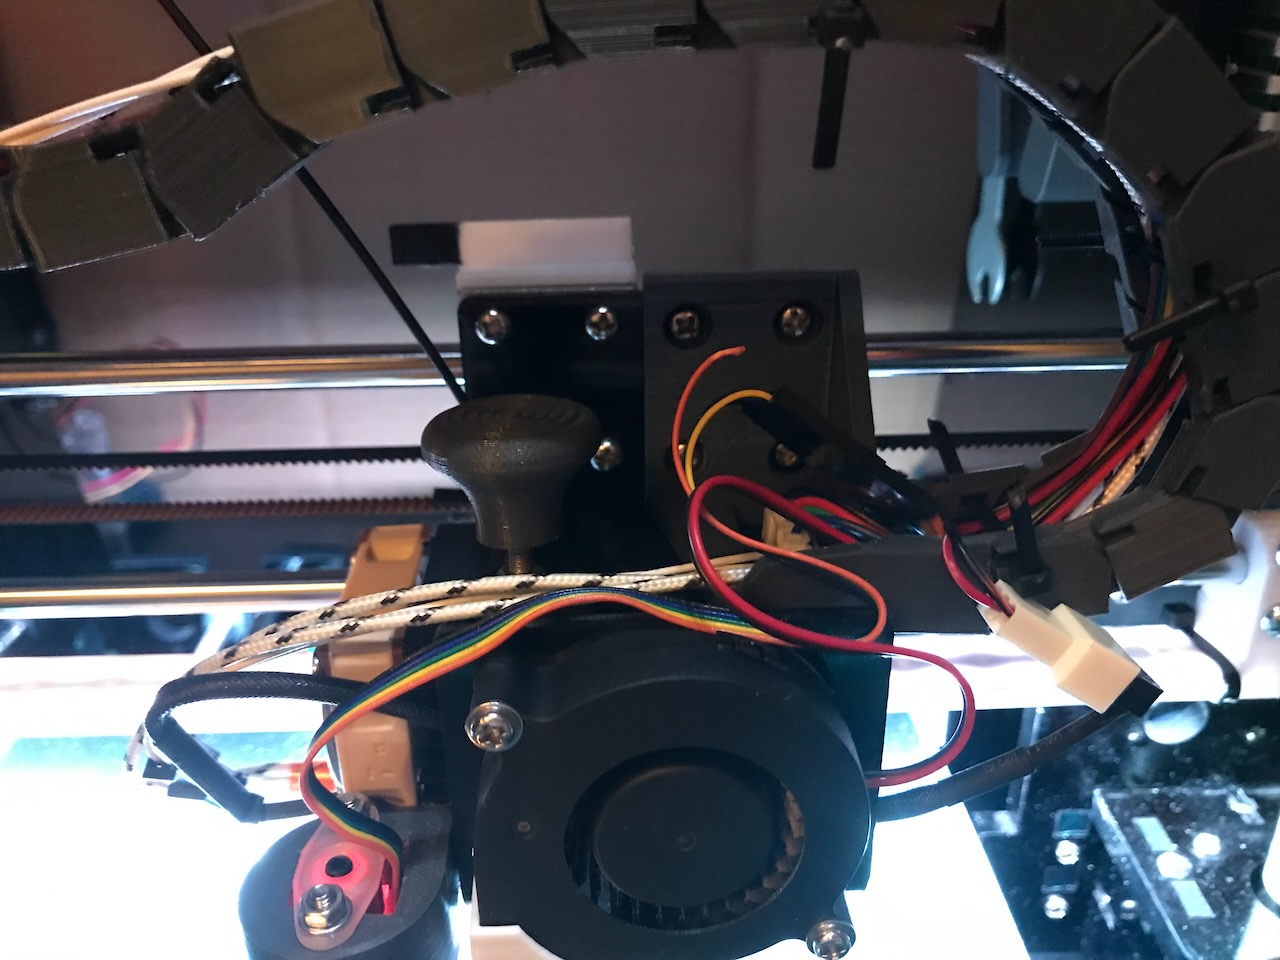
Due to the repetitive sideways movement of the X axis one of the wires of the 3D Touch probe has broken loose (the orange wire in the center of the picture). Luckily there are two ground wires in the probe and the cable that has come loose is one of them, therefore the probe is stll functional. I have ordered a couple of replacements as the wire is very thin and I have found it very dificult to strip with my wire strippers and do not want to damage it further, putting the machine out of action until the replacements arrive.
Bearing Failure
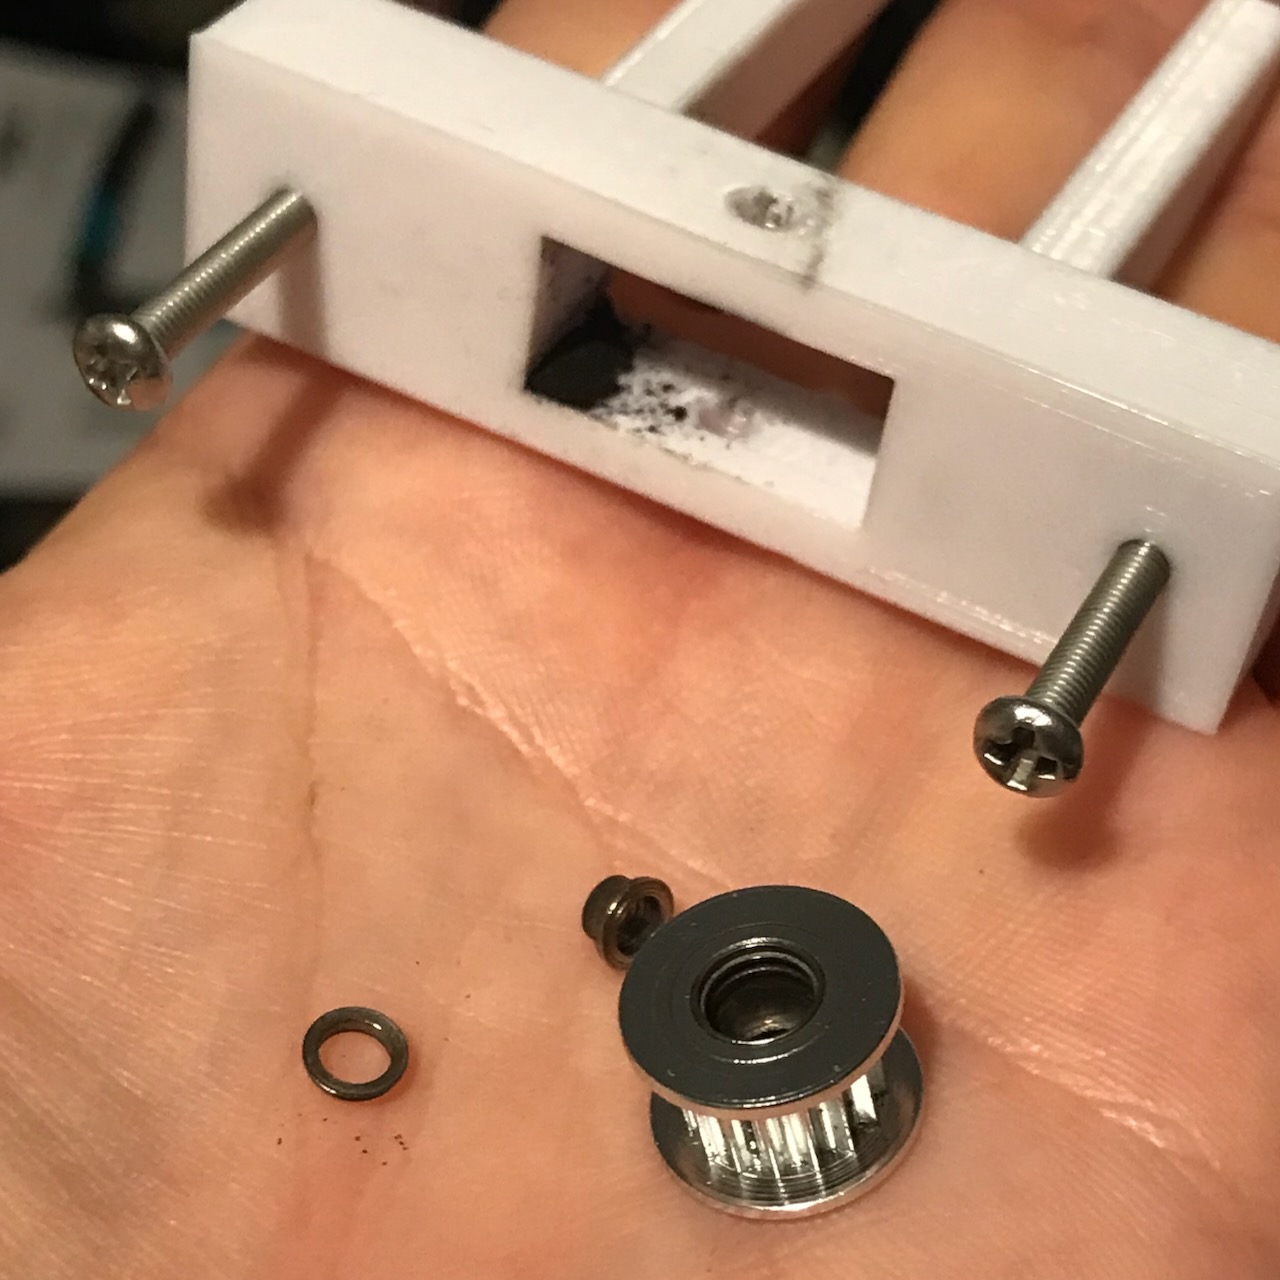
The X axis movements started to make a grinding noise, the cheap toothed idlers I purchased have ground their bearings to dust (I also checked the Y axis bearing, it however wasn't making any noise but has also ground the bearings away) I have put back the stock Anet A8 smooth bearings for now and ordered some higher quality toothed ones.
Chamber Temperature Heat Creep
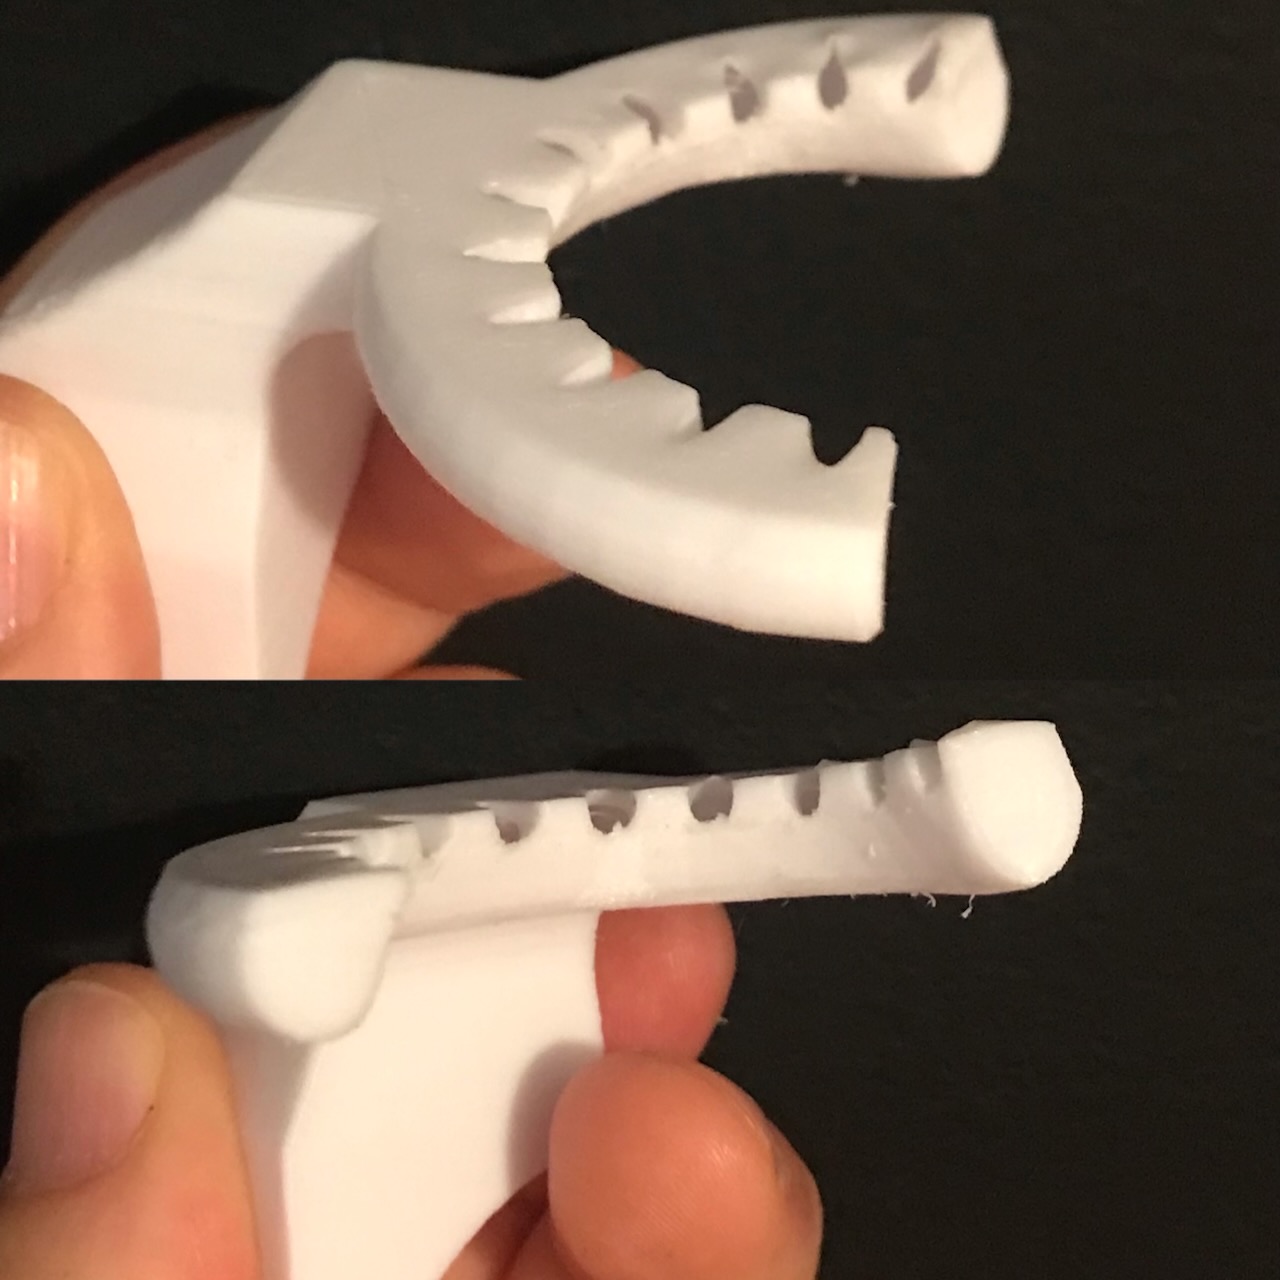
Due to the close proximity to the hot end and the higher temperatures required to print ABS my replacement PETG parts near to the hotend and bed have stated to deform. I have reprinted the fan duct and 3D touch sensor holder in ABS to withstand the higher temperatures and removed the LED Strip away from the hotend.
Overheating Extruder Motor
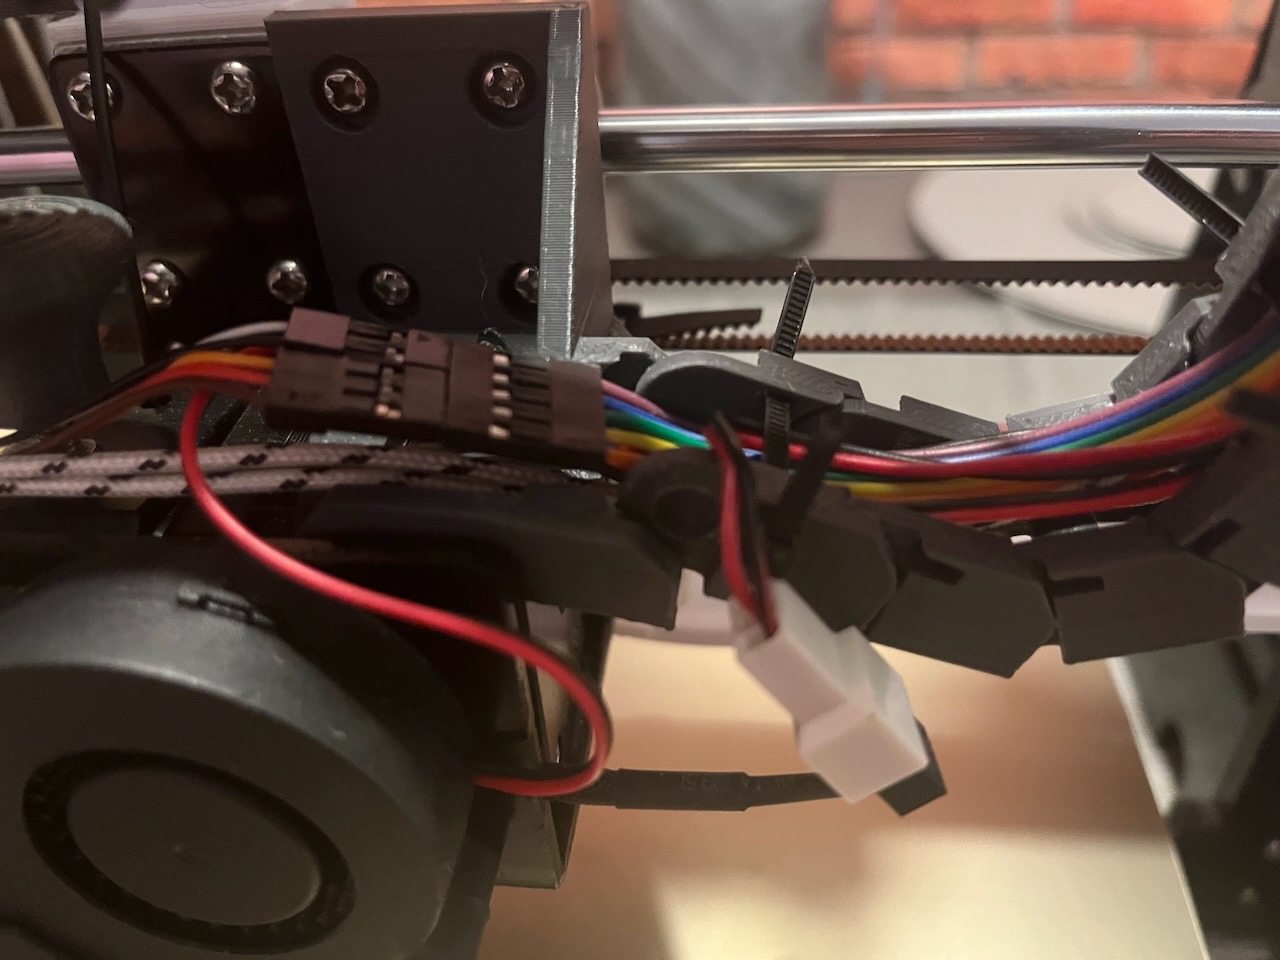
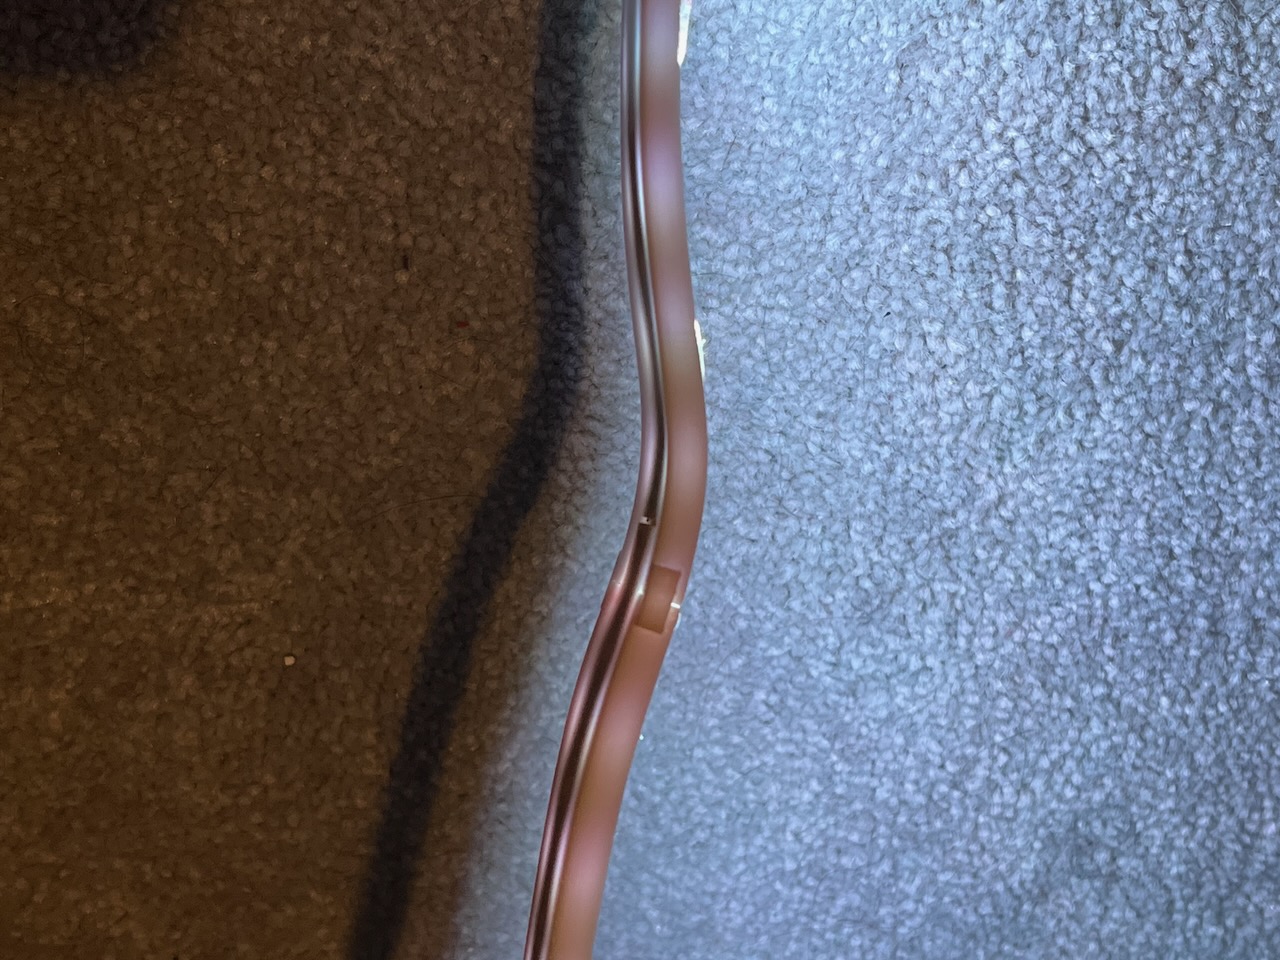
Whilst using a Filament Dryer, and a Filament Runout Sensor at the same time (also with an awkwardly placed spool) there was a little too much friction in the filament path. This put more strain on the extruder motor and therefore caused it to heat up a lot more than usual.
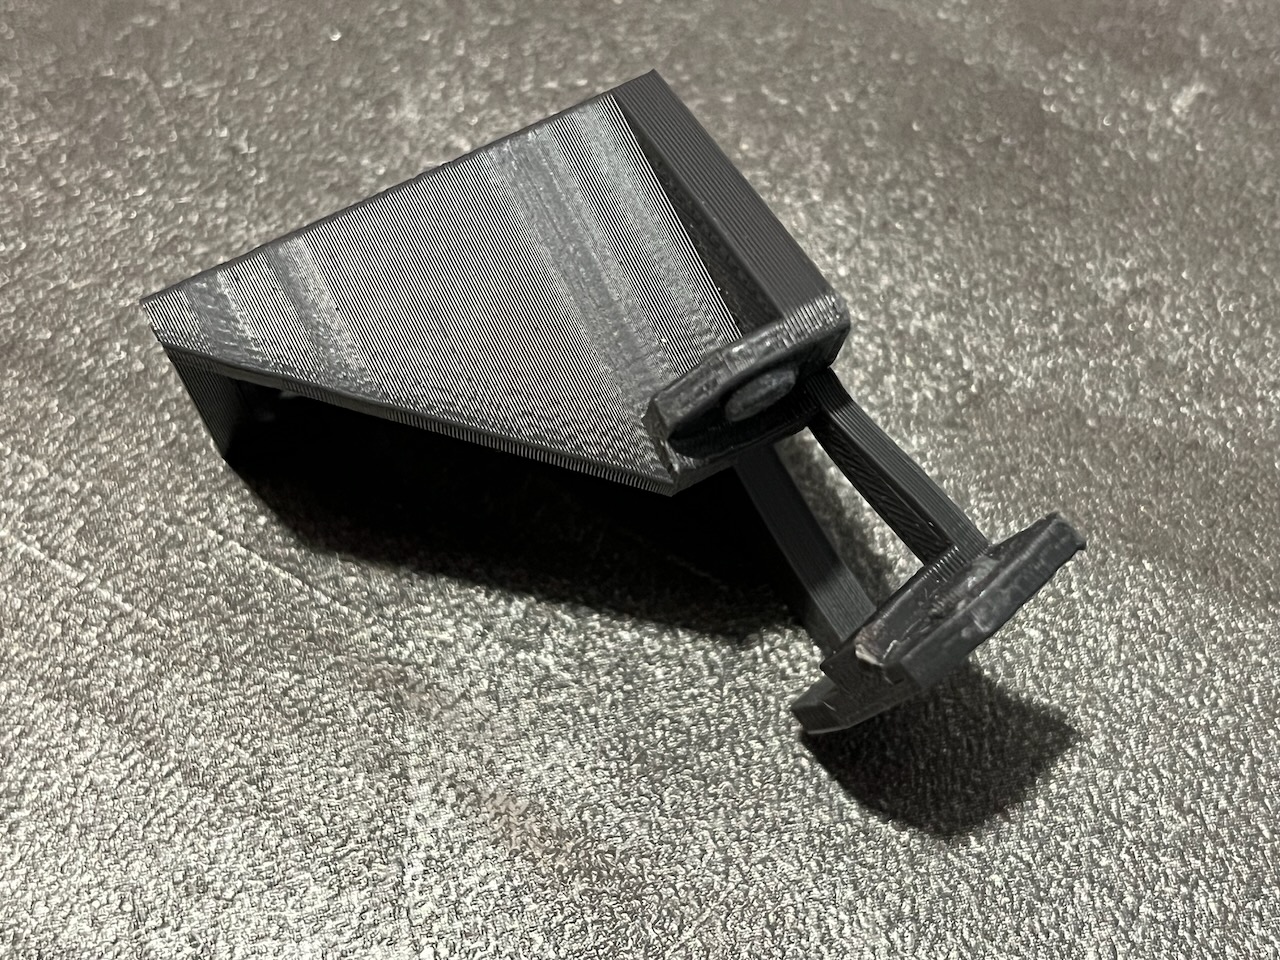
The extra heat deformed the PLA printed Extruder Chain Mount causing it to release the chain and jammed up the X-Axis. The belt was pulled out of the retaining bracket on the rear of the extruder carriage which caused the print to fail.
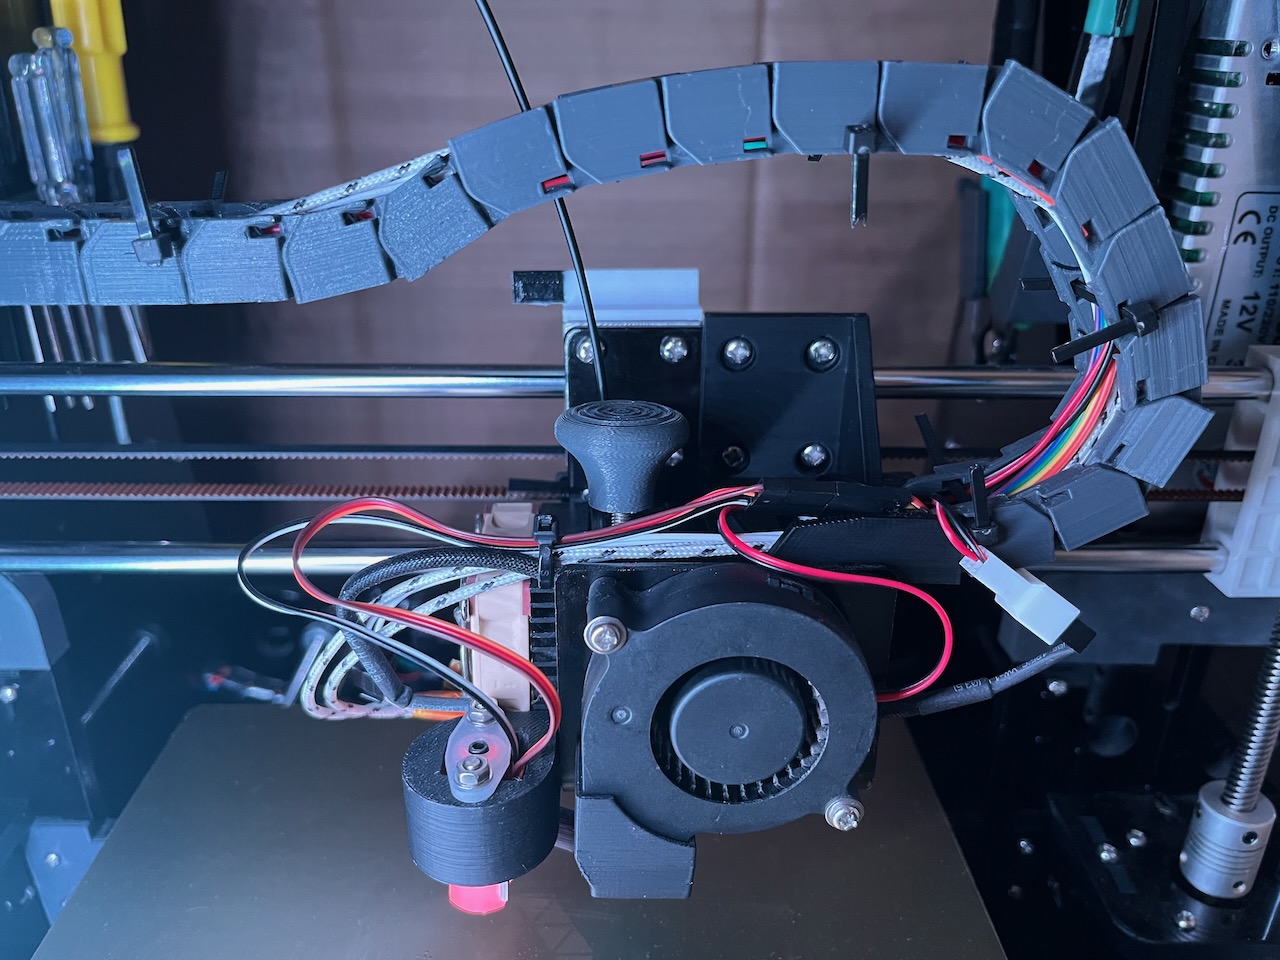
I have now reprinted the part in ABS to handle any higher temperatures that the motor can get to and removed any obstructions allowing the filament to move more freely.