3D Printer Enclosure

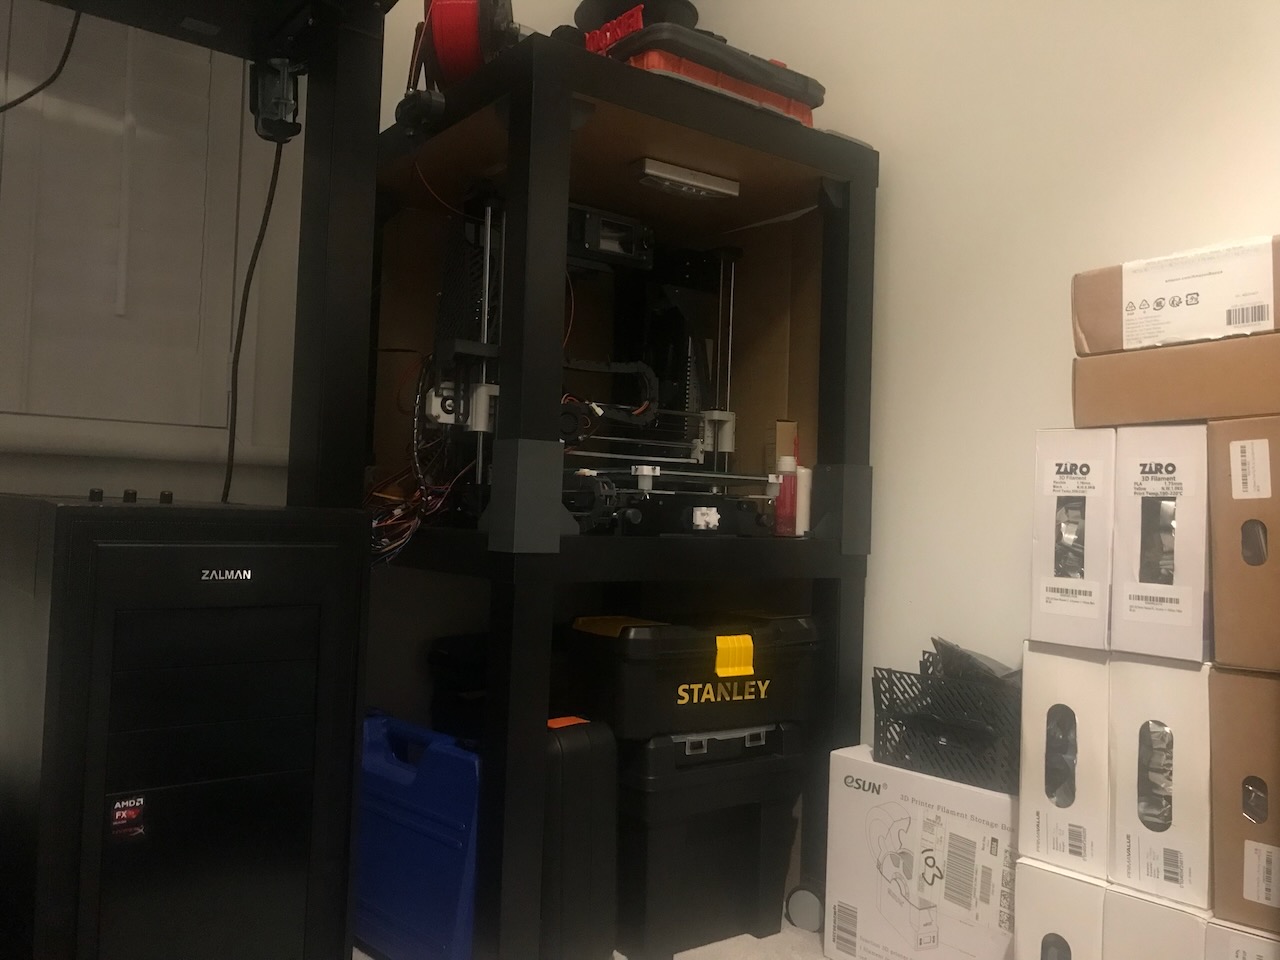
Table of contents
Assembling Tables
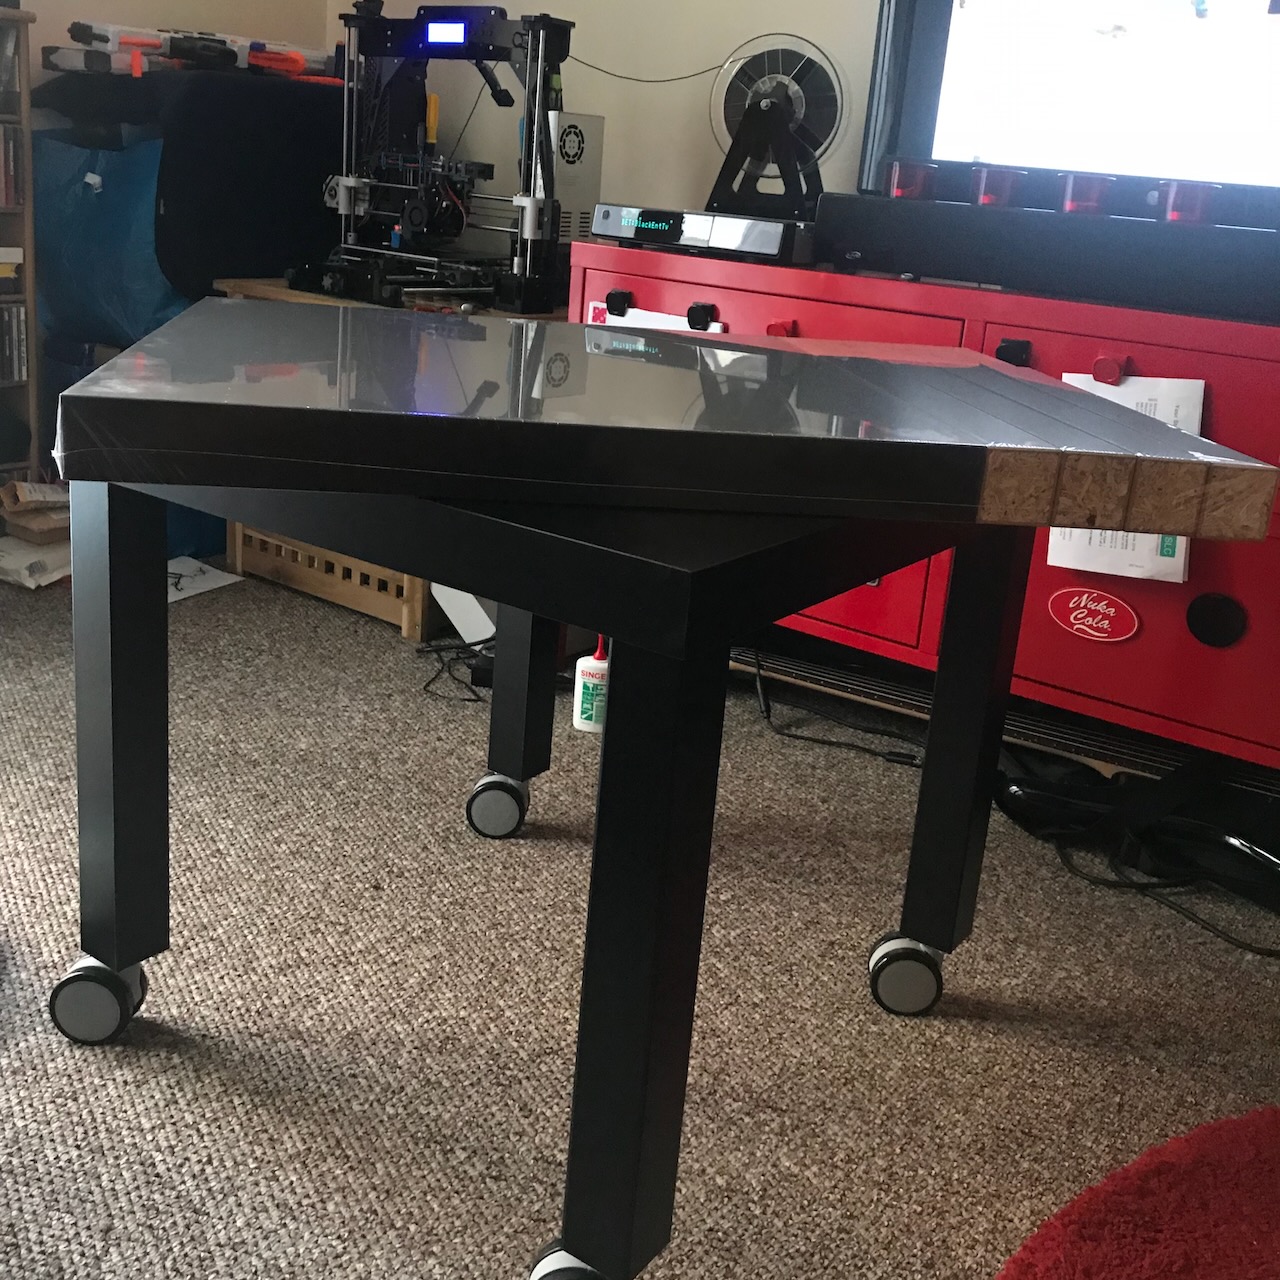
I purchased and assembled 2 Lack tables from Ikea to make a more permanent home for my 3D printer. I had some casters laying around from an old TV cabinet, so I screwed them to the bottom of one of the tables to make the unit a little easier to move around (never throw anything out, you never know when they might come in useful).
Adding Risers
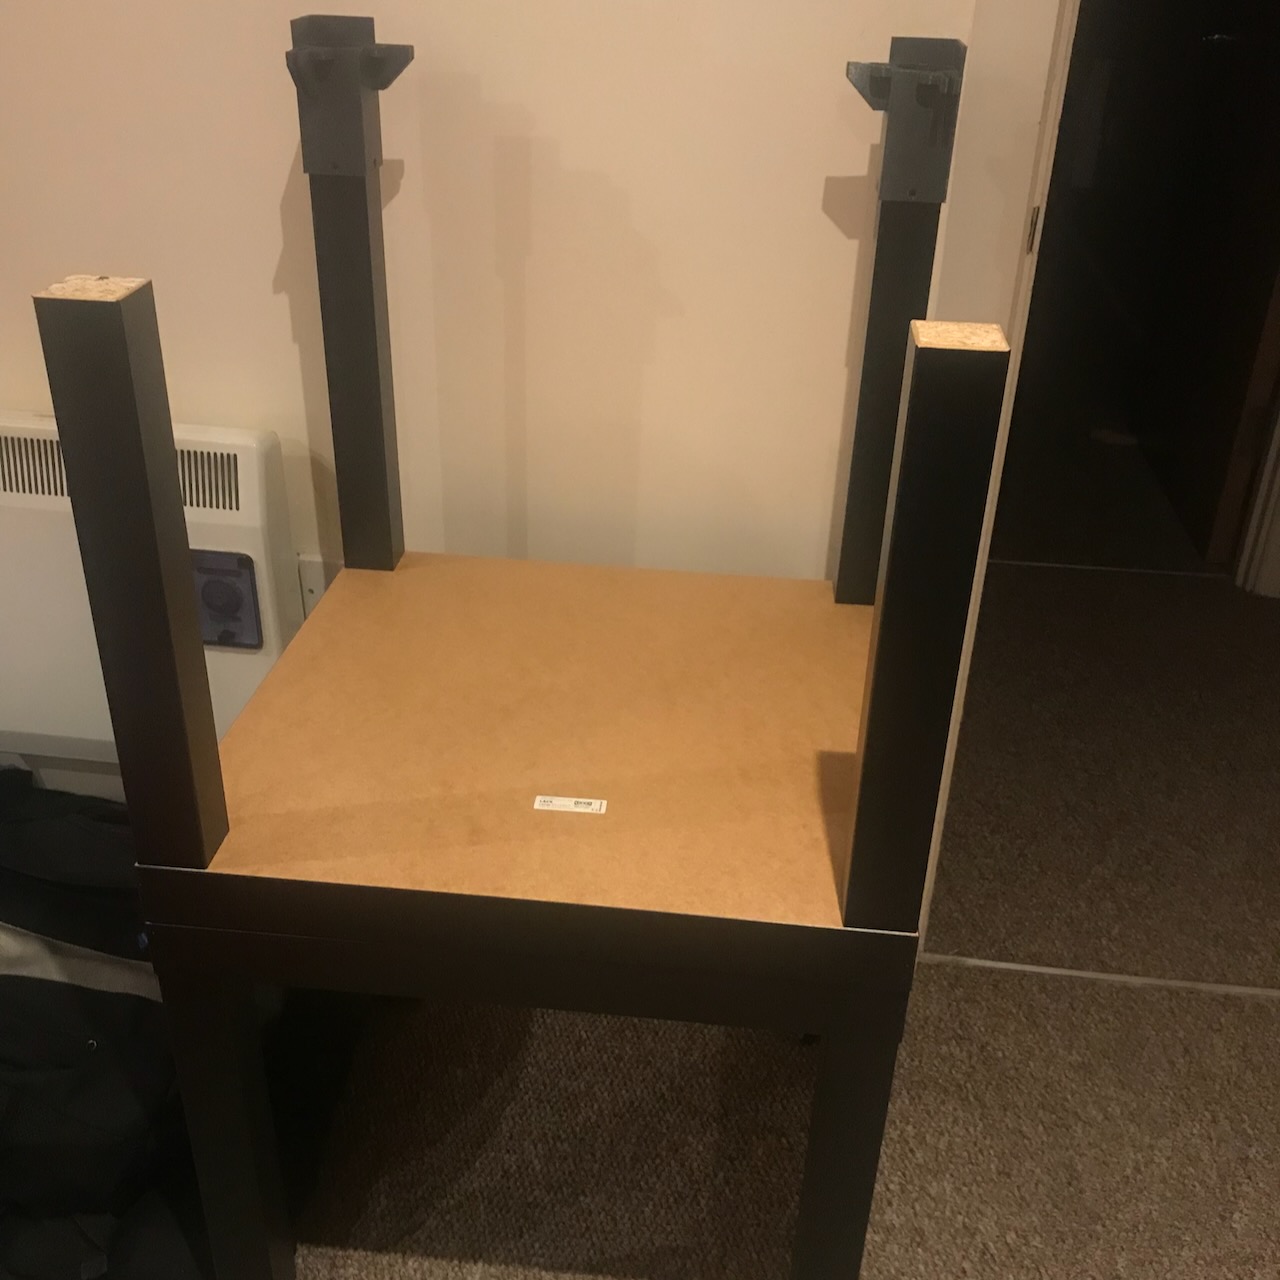
The top table needs to be attached to the bottom one in some way, and will also need to be raised slightly to allow enough space to fit the printer inside. I found some risers on Thingyverse by user Tobi97l that didn't need any hardware to attach the tables together, which also had the option to permenently attach them at a later date with screws. It is a remix of another riser by Latzenpratz so I printed the top connectors from that.
Enclosing the Printer

I used some cardboard from the box the printer came in to get an idea of what size acrylic sheets I would need to purchase to fully enclose the printer, however, the cost of buying 3 large custom cut-to-size panels for the sides and 2 smaller ones for the doors turned out to be quite expensive (around £50-60), so the enclosure has remained unfinished for about a 5 years.
Ongoing Upgrades
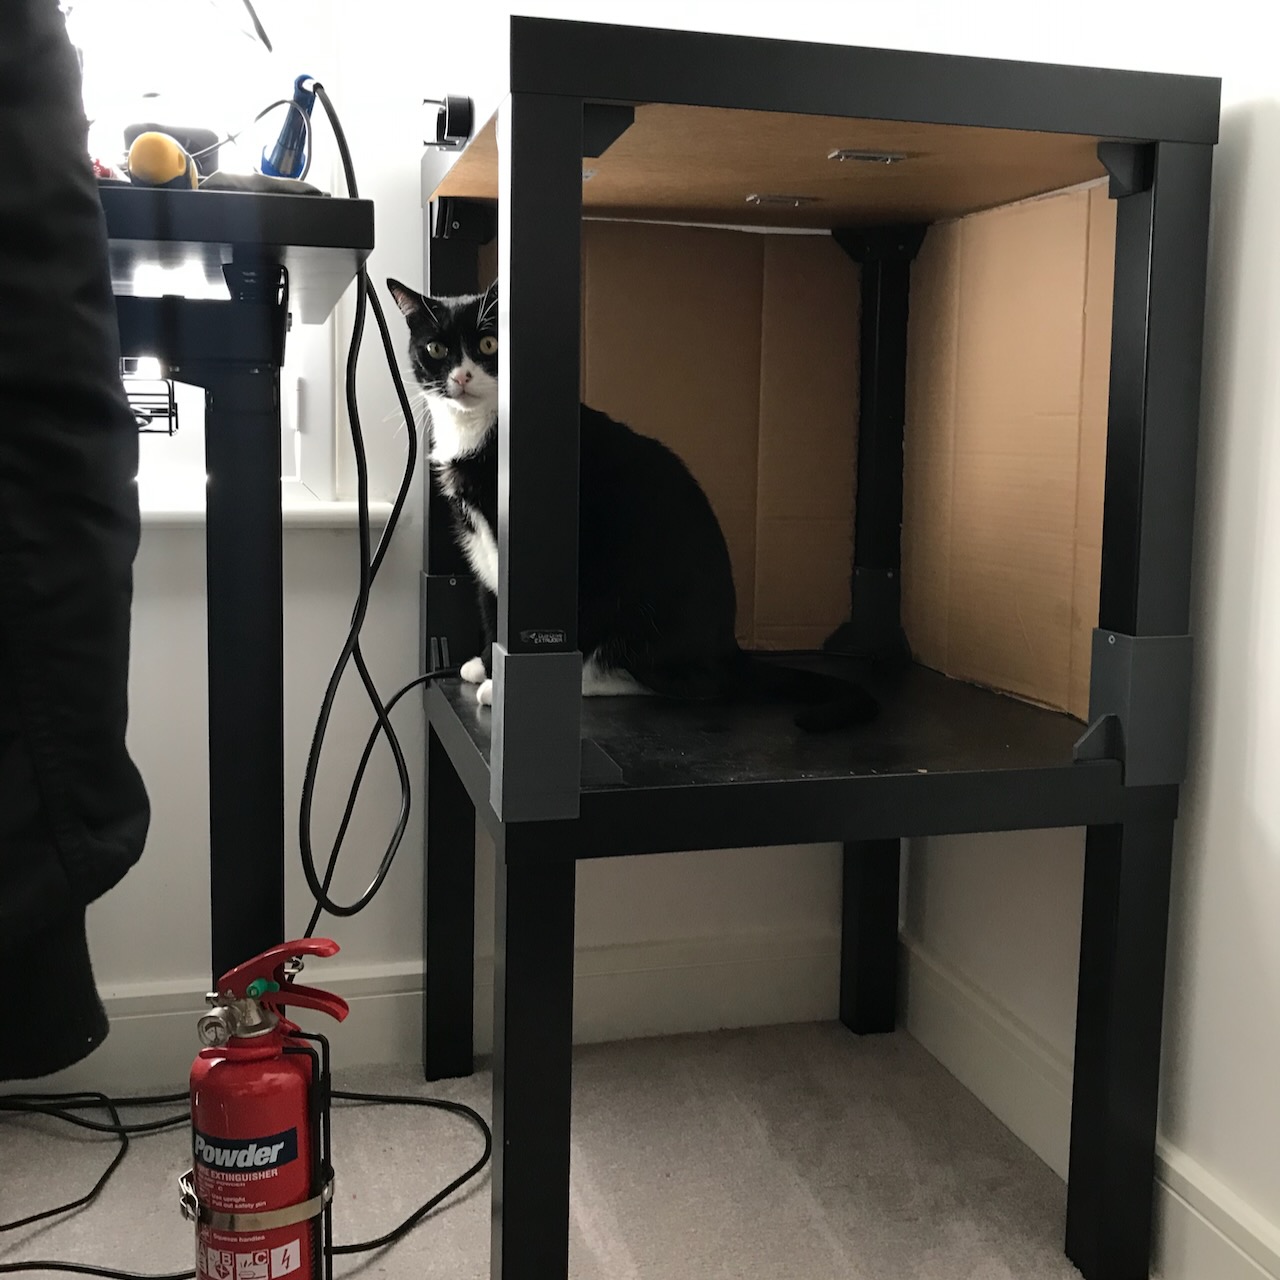
I have recently been needing to print some ABS parts that will be close to the hotend of the printer as ABS deals with higher temperatures better than PETG that I normally print with. Therefore, I have been looking at enclosing the printer again to prevent warping of parts as ABS is very prone to shrinkage and warping, when not printed in an enclosure.
I have purchased some Corroplast sheets to replace the cardboard box sides, and plan to purchase some clear acrylic sheets to use as doors on the front using some 3D printed hinges.
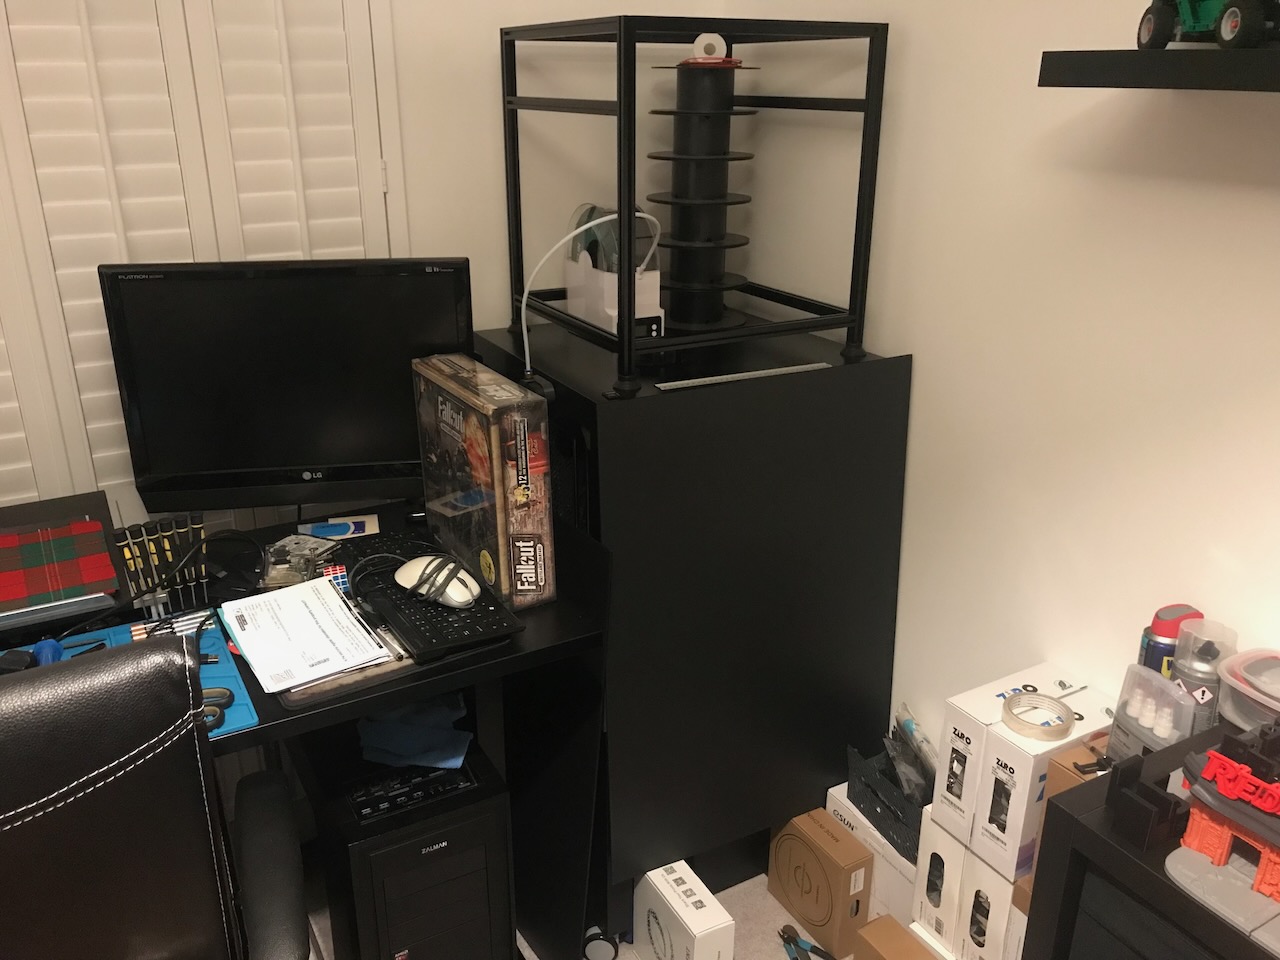
This is not how I was originally intending on using the Corroplast sheets to enclose the printer, However I will need most of the new sheets to build the new printer so have decided not to cut them down yet.
Filament Storage
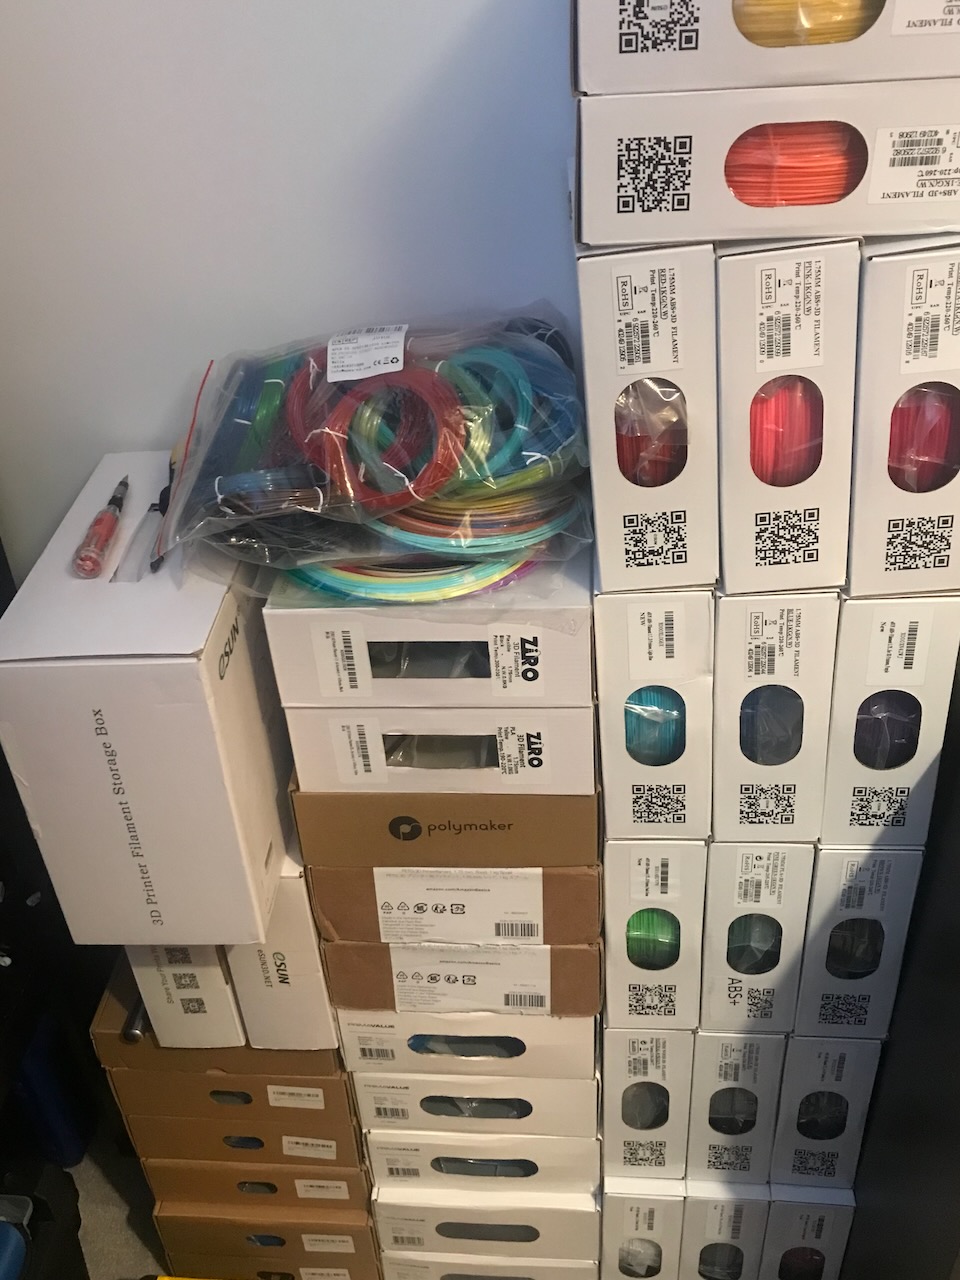
I seem to be planning projects faster than actually completing them, therefore I have now aquired more filament than I can store in my filament pile.
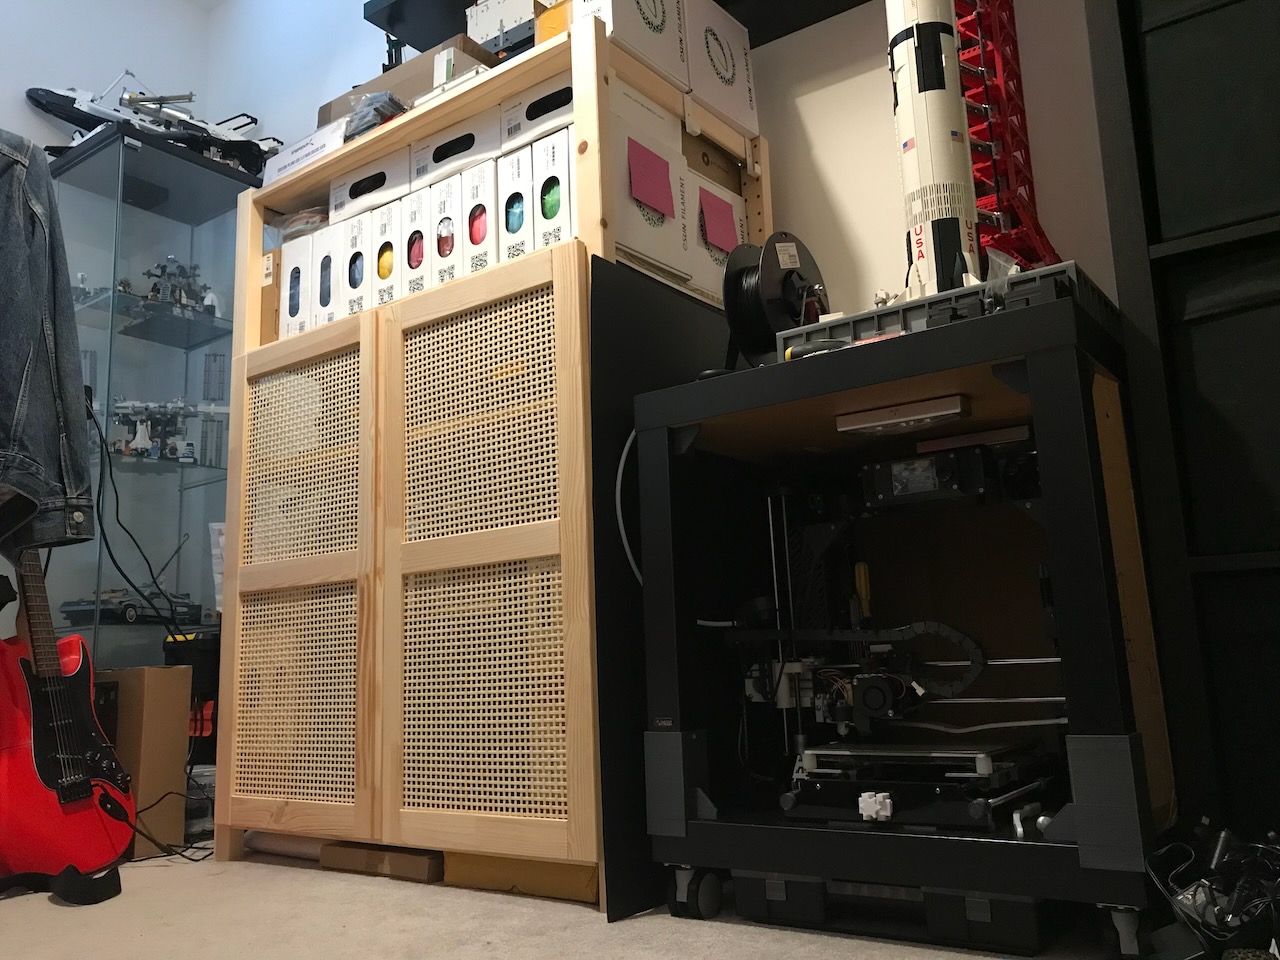
Now that I have assembled my new frame this printer is too tall to fit inside the Lack enclosure. I have therefore decided to buy an Ikea Ivar cabinet to hold my unused filament spools, my Voron Printers and some tools.
I have also removed the lower table's legs of the original enclosure and attached the casters underneath the lower tables tabletop, however I plan on adding these adapters in the future which should also stiffen the attachment of the casters to the table.
Handle and Hinges
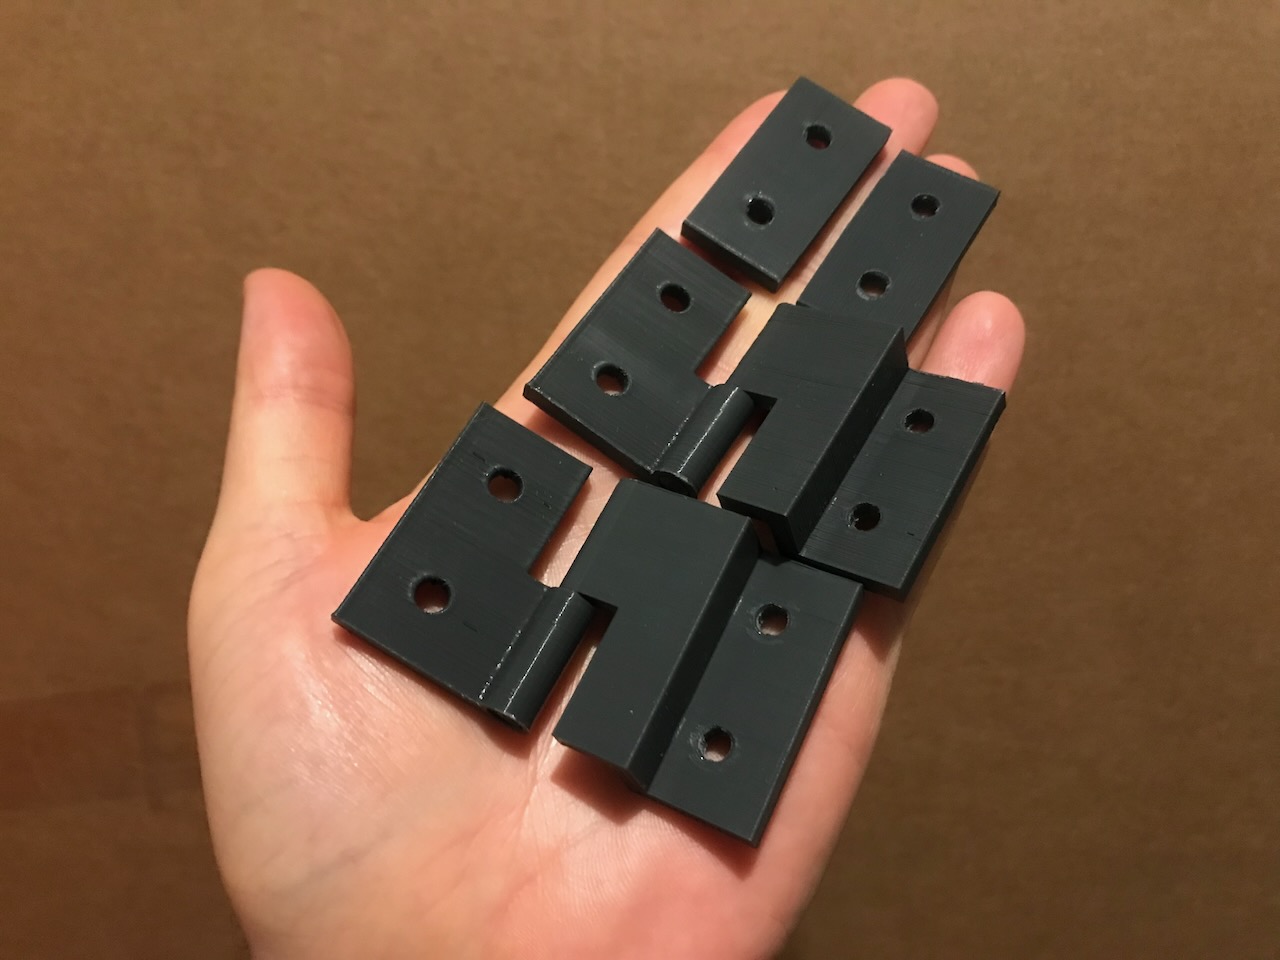
Once I have some clear acrylic panels for the doors I will need to attach them to the enclosure some way so I have already printed some Hinges. Then I will print a couple of Handles to make the doors easier to open.
Carbon Filter Exhaust
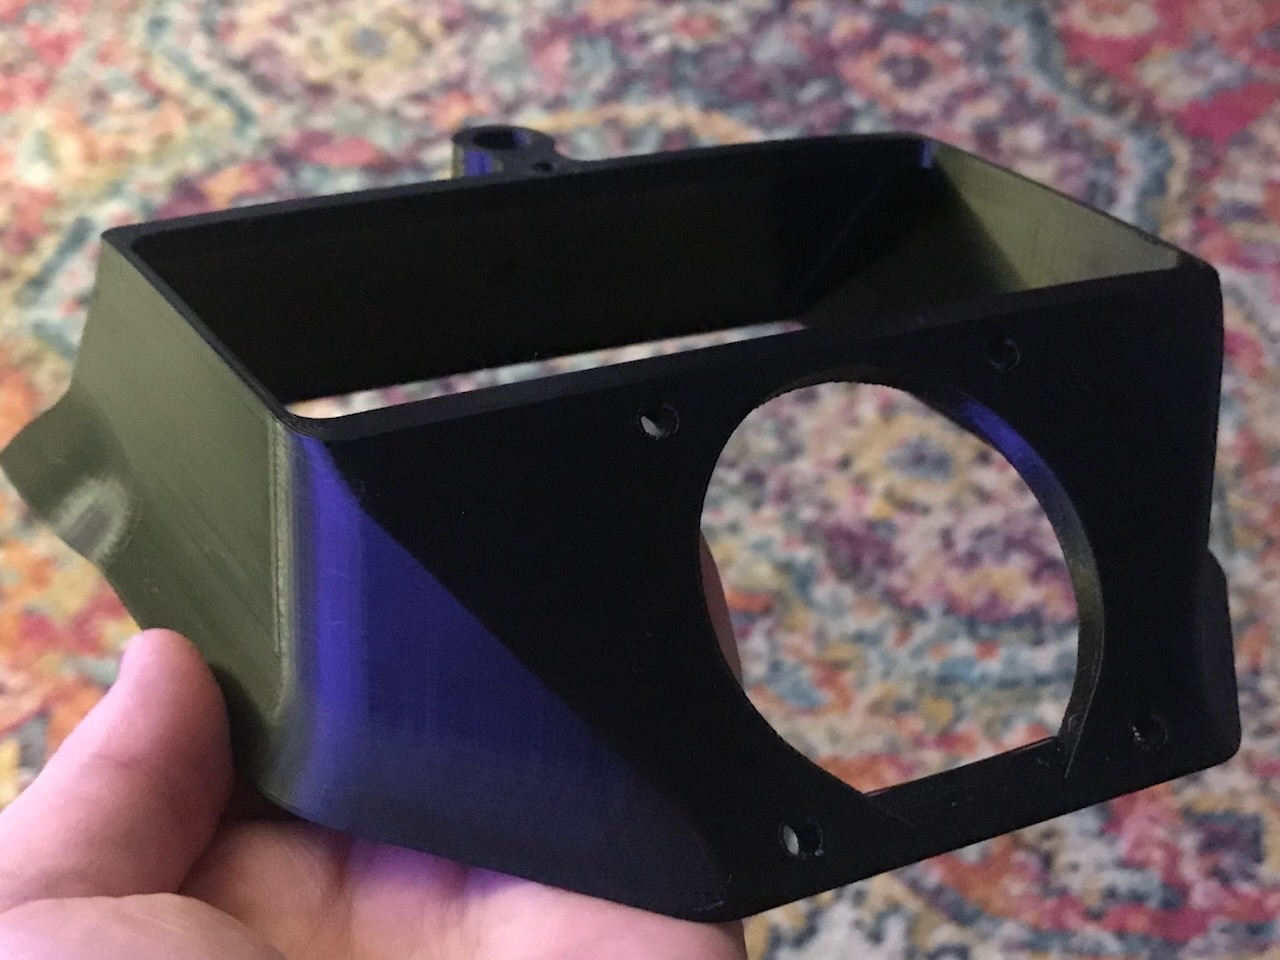
As I am planning on printing with ABS, I want to run any gasses produced through a carbon filter to reduce the smell. I plan on using the Exhaust filter housing from the Voron Printer, attached to the rear Coroplast sheet. This is also a part that can be attached directly to the printer when I have upgraded to the new frame.